背景
原有 DSM 6.23 无法直接升级至 7.2 (引导变动、过程繁琐,同时存在一定风险)。
警告

本篇教程仅做学习使用,不对任何数据及可用性负责。
安装步骤
事前准备
此处跳过KVM环境安装,如需安装管理工具,可参考: WebVirtCloud–KVM管理工具的部署及使用详细文档
引导文件及系统安装包
访问链接: 黑群晖DSM6.24和DSM7.x测试版 | GXNAS网盘(远程)
下载红框中的文件
本篇以安装 DS3622 机器型号的黑群晖为例。

注意:
- DS3622xs_7.X引导文件(支持7.0.1-42218到7.1.1-42962up4).img
- 需要将文件上传至服务器
/data2/kvm/images/ds3622_7.2/目录,并重命名为synoboot.img;- 完整绝对路径:
/data2/kvm/images/ds3622_7.2/synoboot.img- DS3622xs_7.2-64216(系统安装包).pat
- 放在电脑本地即可
Synology Assistant (非必须)
下載中心 - DS3622xs+ | 群暉科技 Synology Inc.
根据红框选项并下载
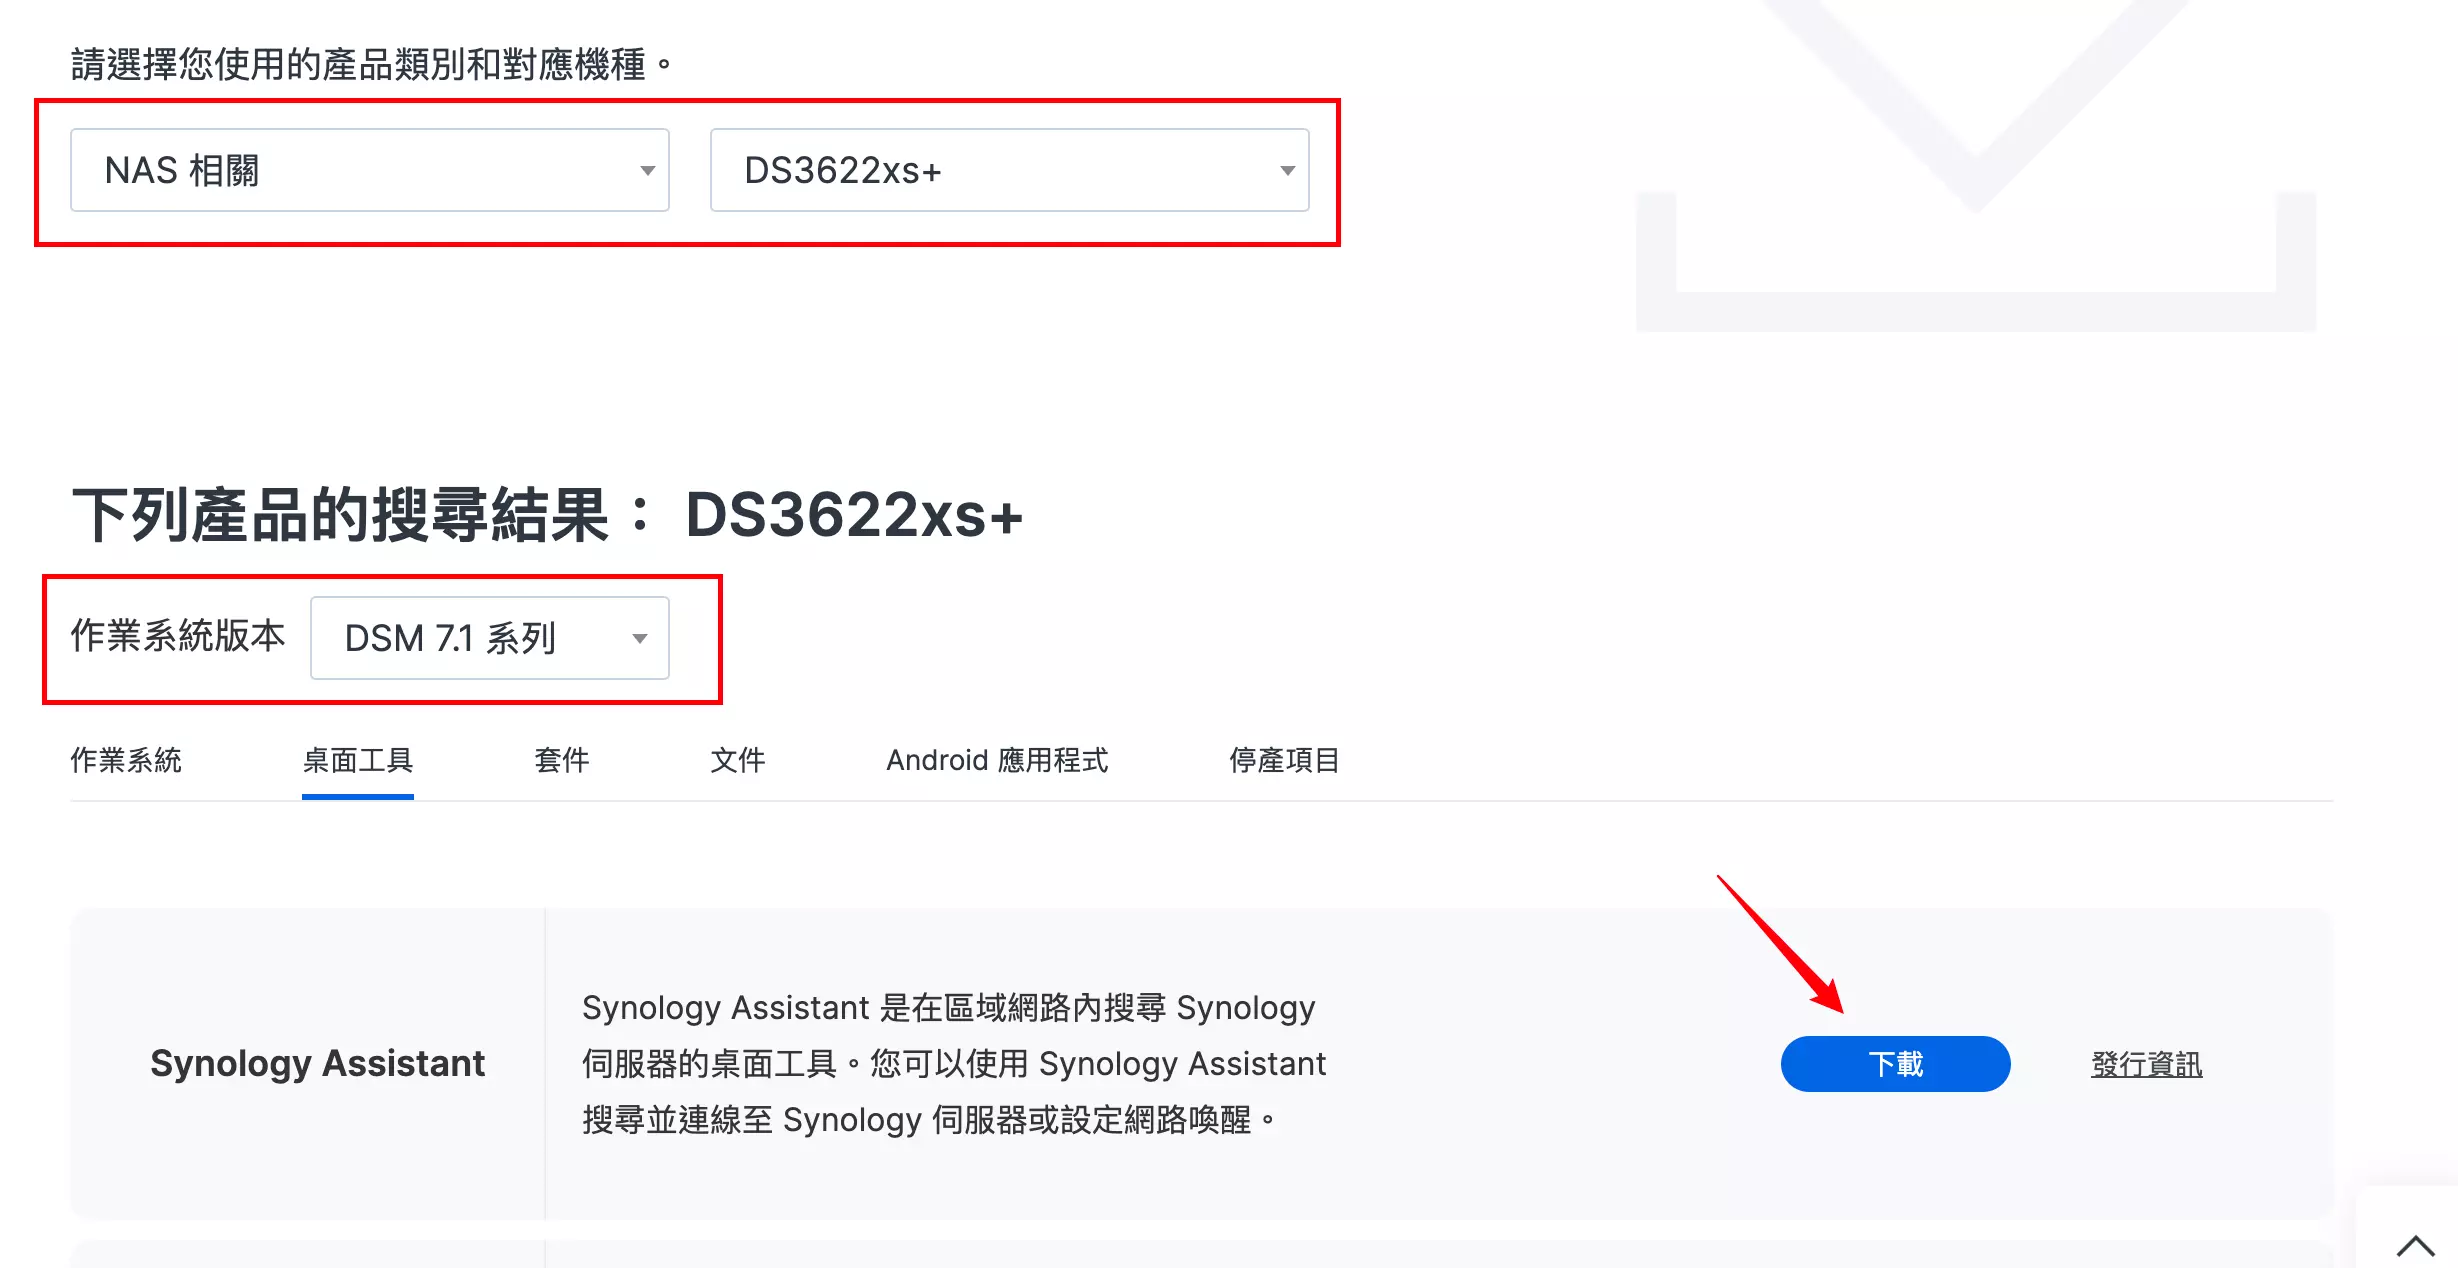
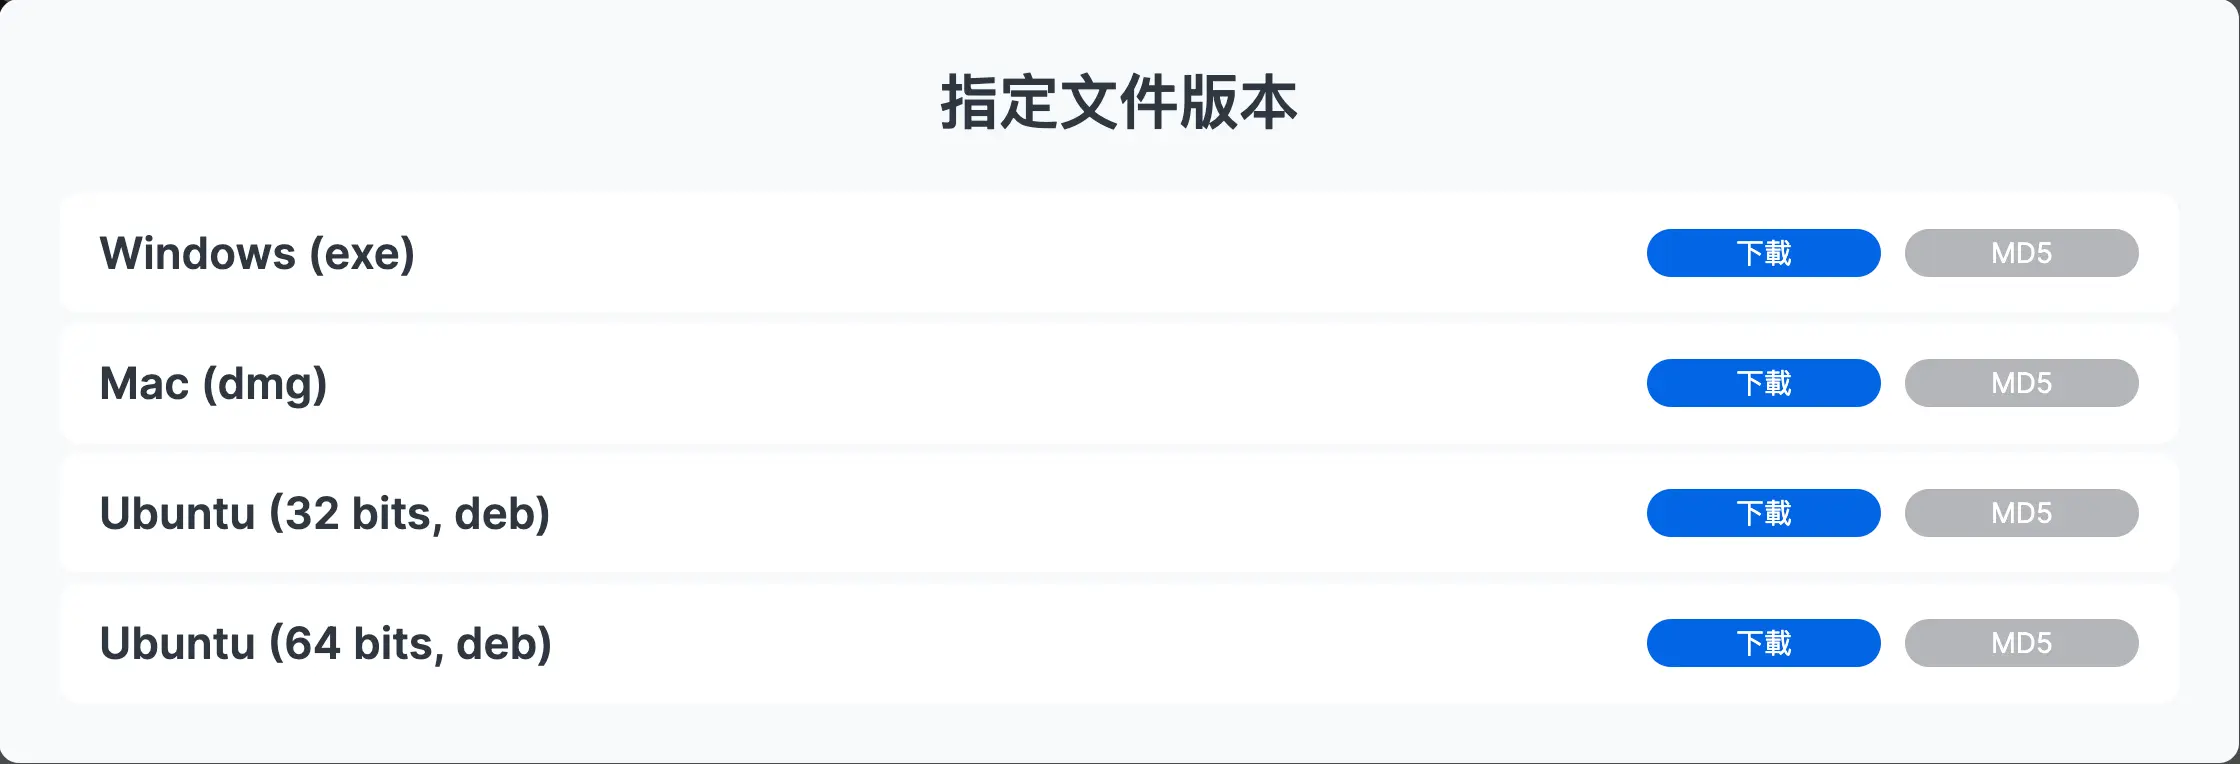
根据系统选择合适的文件,下载后在本地安装即可。
KVM启动
镜像准备
主要镜像:
- 引导文件:
/data2/kvm/images/ds3622_7.2/synoboot.img(即上面下载的DS3622xs_7.X引导文件(支持7.0.1-42218到7.1.1-42962up4).img) - 数据盘:
/data2/kvm/images/synology_72_data.img(需要手动创建)
引导文件下载”事前准备”中有提到,不再重复。
创建数据盘
cd /data2/kvm/images
# 根据实际情况,决定创建大小
qemu-img create -f qcow2 synology_72_data.img 3000G
KVM配置文件
vim synology-72.xml
填入如下内容: ( 以下内容仅供参考,需要根据实际情况进行调整 )
<domain type='kvm'>
  <name>synology-72</name>
  <memory unit='KiB'>4194304</memory>
  <currentMemory unit='KiB'>2097152</currentMemory>
  <vcpu placement='static' current='4'>4</vcpu>
  <os>
    <type arch='x86_64' machine='pc-i440fx-rhel7.0.0'>hvm</type>
    <bootmenu enable='yes'/>
  </os>
  <features>
    <acpi/>
    <apic/>
  </features>
  <cpu mode='custom' match='exact' check='partial'>
    <model fallback='allow'>Westmere</model>
    <vendor>Intel</vendor>
    <feature policy='require' name='vme'/>
    <feature policy='require' name='ds'/>
    <feature policy='require' name='acpi'/>
    <feature policy='require' name='ss'/>
    <feature policy='require' name='ht'/>
    <feature policy='require' name='tm'/>
    <feature policy='require' name='pbe'/>
    <feature policy='require' name='pclmuldq'/>
    <feature policy='require' name='dtes64'/>
    <feature policy='require' name='ds_cpl'/>
    <feature policy='require' name='vmx'/>
    <feature policy='require' name='est'/>
    <feature policy='require' name='tm2'/>
    <feature policy='require' name='xtpr'/>
    <feature policy='require' name='pdcm'/>
    <feature policy='require' name='movbe'/>
    <feature policy='require' name='tsc-deadline'/>
    <feature policy='require' name='rdrand'/>
    <feature policy='require' name='arat'/>
    <feature policy='require' name='tsc_adjust'/>
    <feature policy='require' name='smep'/>
    <feature policy='require' name='erms'/>
    <feature policy='require' name='rdtscp'/>
  </cpu>
  <clock offset='utc'>
    <timer name='rtc' tickpolicy='catchup'/>
    <timer name='pit' tickpolicy='delay'/>
    <timer name='hpet' present='no'/>
  </clock>
  <on_poweroff>destroy</on_poweroff>
  <on_reboot>restart</on_reboot>
  <on_crash>restart</on_crash>
  <pm>
    <suspend-to-mem enabled='no'/>
    <suspend-to-disk enabled='no'/>
  </pm>
  <devices>
    <emulator>/usr/libexec/qemu-kvm</emulator>
    <disk type='file' device='disk'>
      <driver name='qemu' type='raw' cache='writeback'/>
      <source file='/data2/kvm/images/ds3622_7.2/synoboot.img'/>
      <target dev='hdc' bus='usb'/>
      <boot order='1'/>
      <address type='usb' bus='0' port='2'/>
    </disk>
    <disk type='file' device='disk'>
      <driver name='qemu' type='qcow2'/>
      <source file='/data2/kvm/images/synology_72_data.img'/>
      <target dev='sda' bus='sata'/>
      <boot order='2'/>
      <address type='drive' controller='1' bus='0' target='0' unit='0'/>
    </disk>
    <controller type='usb' index='0' model='ich9-ehci1'>
      <address type='pci' domain='0x0000' bus='0x00' slot='0x04' function='0x7'/>
    </controller>
    <controller type='usb' index='0' model='ich9-uhci1'>
      <master startport='0'/>
      <address type='pci' domain='0x0000' bus='0x00' slot='0x04' function='0x0' multifunction='on'/>
    </controller>
    <controller type='usb' index='0' model='ich9-uhci2'>
      <master startport='2'/>
      <address type='pci' domain='0x0000' bus='0x00' slot='0x04' function='0x1'/>
    </controller>
    <controller type='usb' index='0' model='ich9-uhci3'>
      <master startport='4'/>
      <address type='pci' domain='0x0000' bus='0x00' slot='0x04' function='0x2'/>
    </controller>
    <controller type='sata' index='0'>
      <address type='pci' domain='0x0000' bus='0x00' slot='0x07' function='0x0'/>
    </controller>
    <controller type='sata' index='1'>
      <address type='pci' domain='0x0000' bus='0x00' slot='0x09' function='0x0'/>
    </controller>
    <controller type='pci' index='0' model='pci-root'/>
    <controller type='scsi' index='0' model='virtio-scsi'>
      <address type='pci' domain='0x0000' bus='0x00' slot='0x03' function='0x0'/>
    </controller>
    <controller type='ide' index='0'>
      <address type='pci' domain='0x0000' bus='0x00' slot='0x01' function='0x1'/>
    </controller>
    <interface type='bridge'>
      <mac address='52:72:13:65:c4:2b'/>
      <source bridge='br0'/>
      <model type='e1000'/>
      <address type='pci' domain='0x0000' bus='0x00' slot='0x13' function='0x0'/>
    </interface>
    <serial type='pty'>
      <target type='isa-serial' port='0'>
        <model name='isa-serial'/>
      </target>
    </serial>
    <console type='pty'>
      <target type='serial' port='0'/>
    </console>
    <input type='mouse' bus='ps2'/>
    <input type='keyboard' bus='ps2'/>
    <graphics type='vnc' port='15999' autoport='no' listen='0.0.0.0' passwd='000000'>
      <listen type='address' address='0.0.0.0'/>
    </graphics>
    <video>
      <model type='cirrus' vram='16384' heads='1' primary='yes'/>
      <address type='pci' domain='0x0000' bus='0x00' slot='0x02' function='0x0'/>
    </video>
    <memballoon model='virtio'>
      <address type='pci' domain='0x0000' bus='0x00' slot='0x05' function='0x0'/>
    </memballoon>
  </devices>
</domain>
加载配置并运行
virsh define synology-72.xml
virsh list --all | grep synology
virsh start synology-72
在本地以 VNC Viewer 进行连接

首次启动时会自动制作”引导程序”
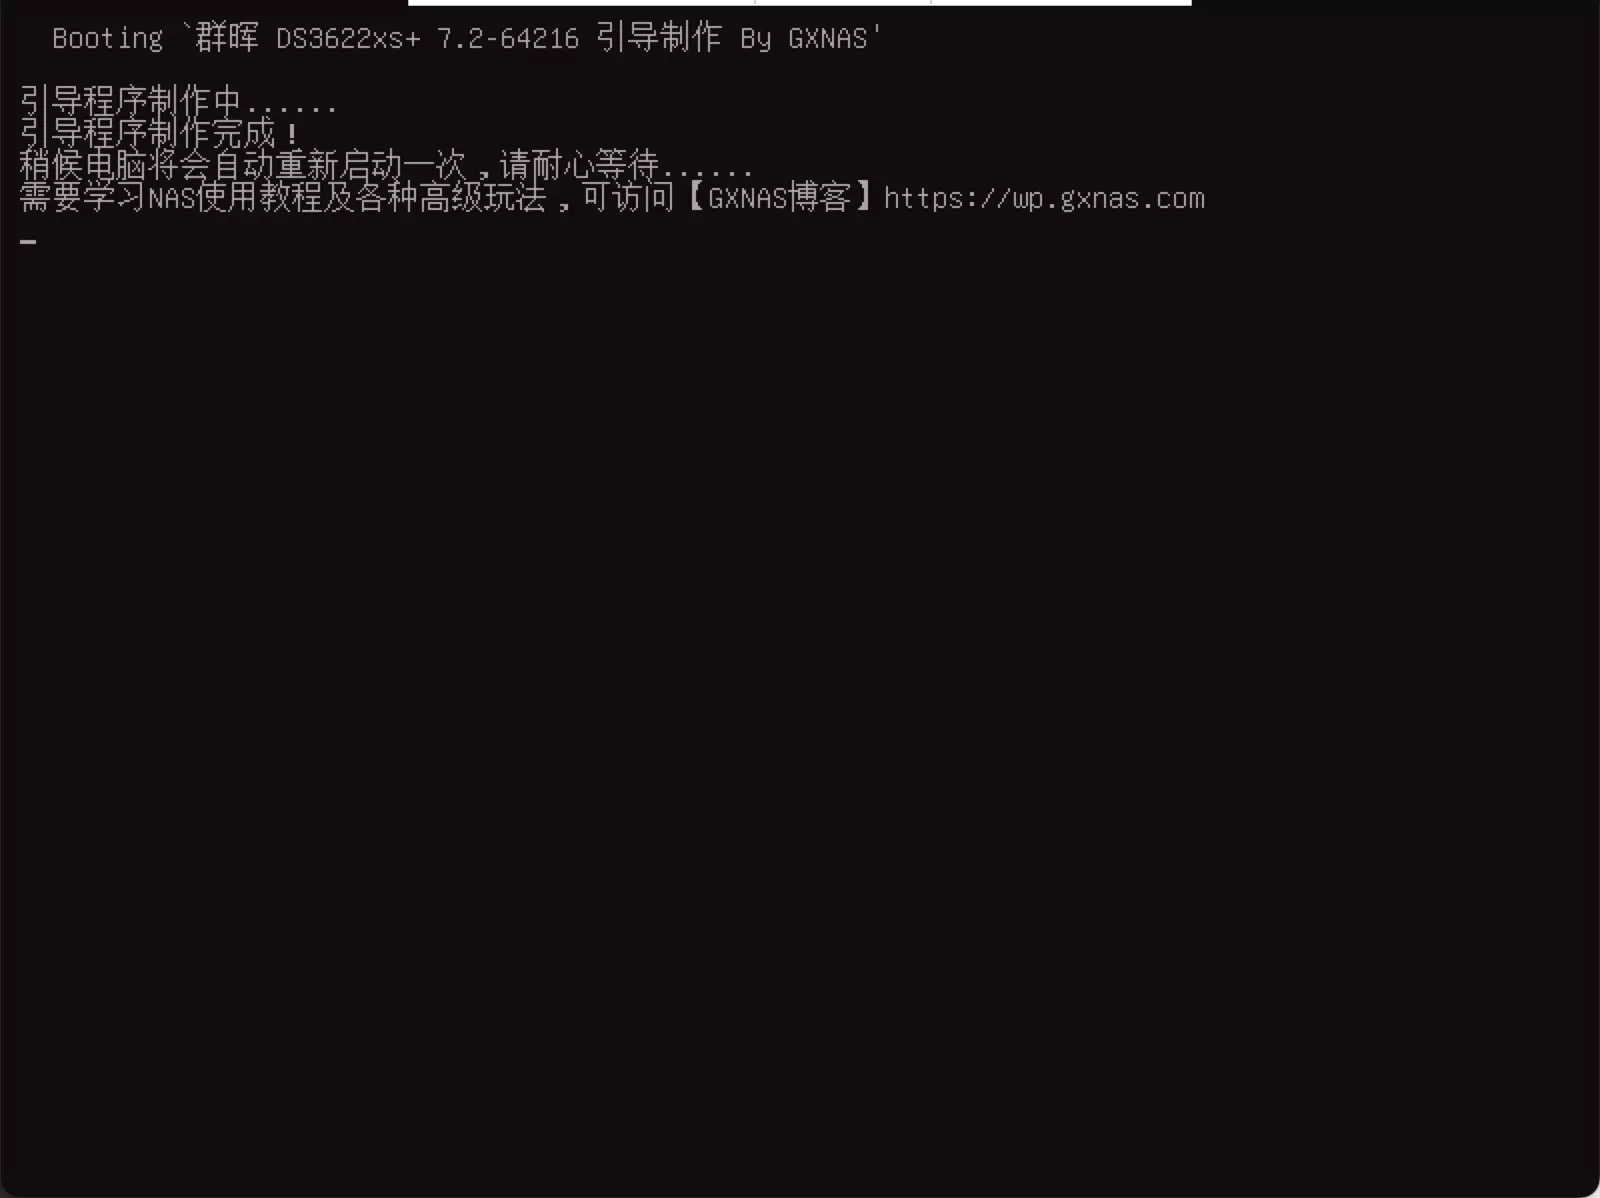
看到如上提示时代表引导成功,可以继续本地配置
安装DSM
安装系统
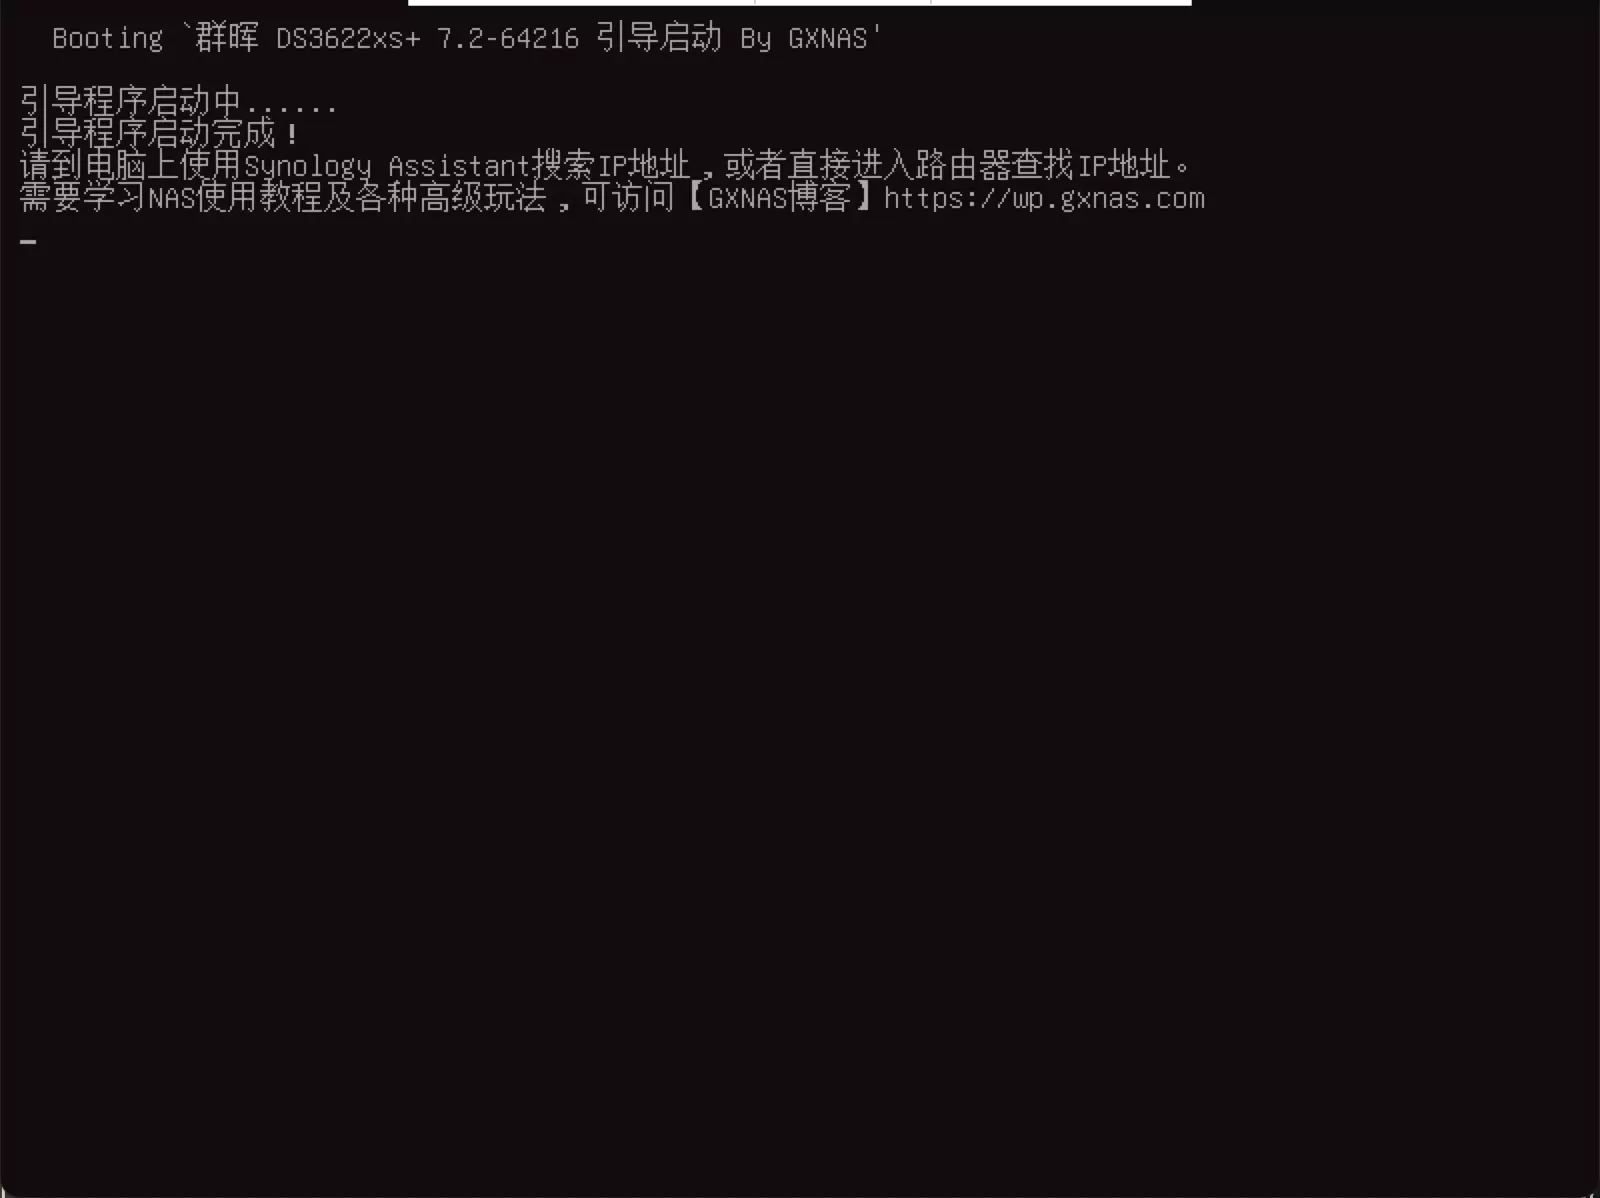
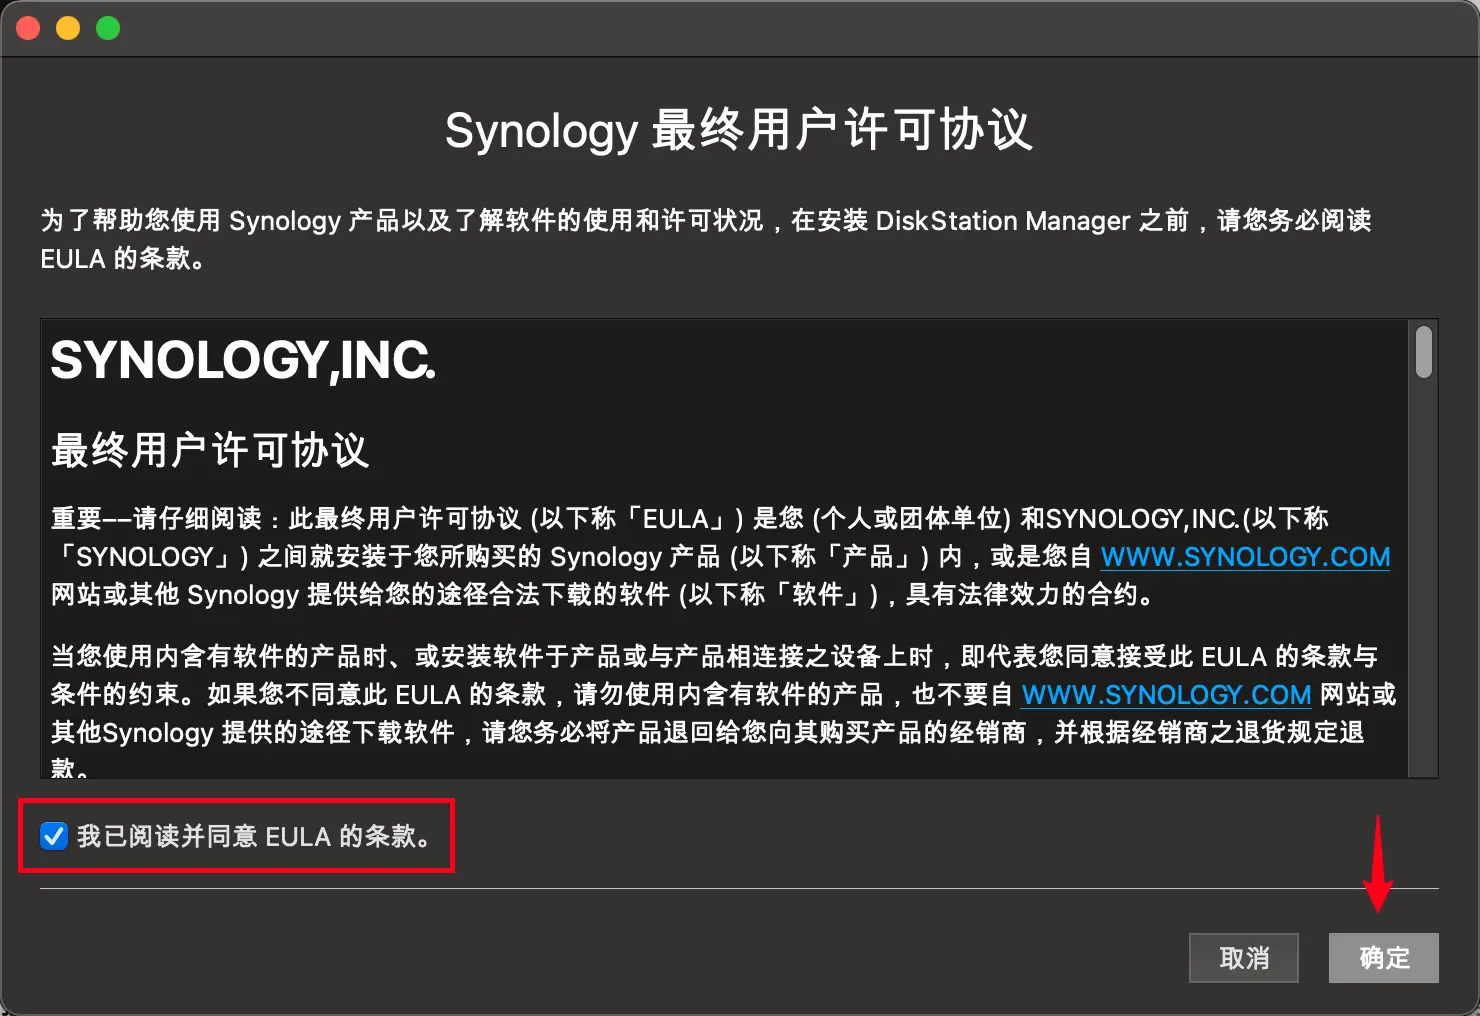
打开 Synology Assistant 同意”许可协议”并开始搜索内网服务。
有如下提示则代表引导正常
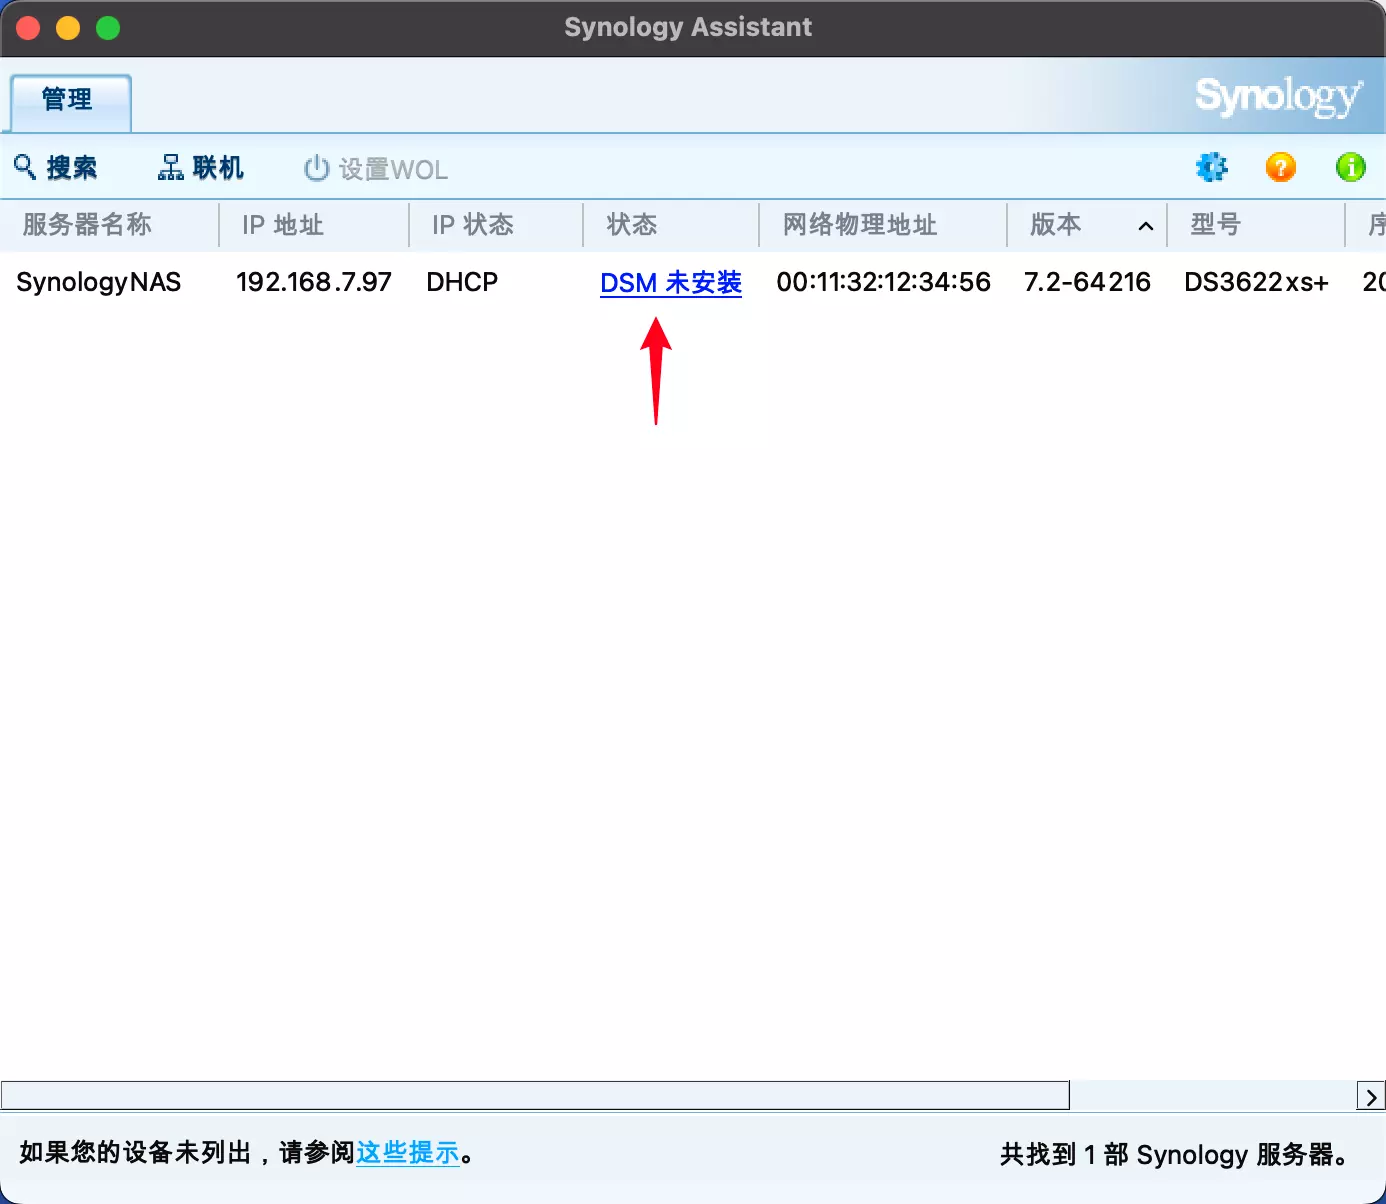
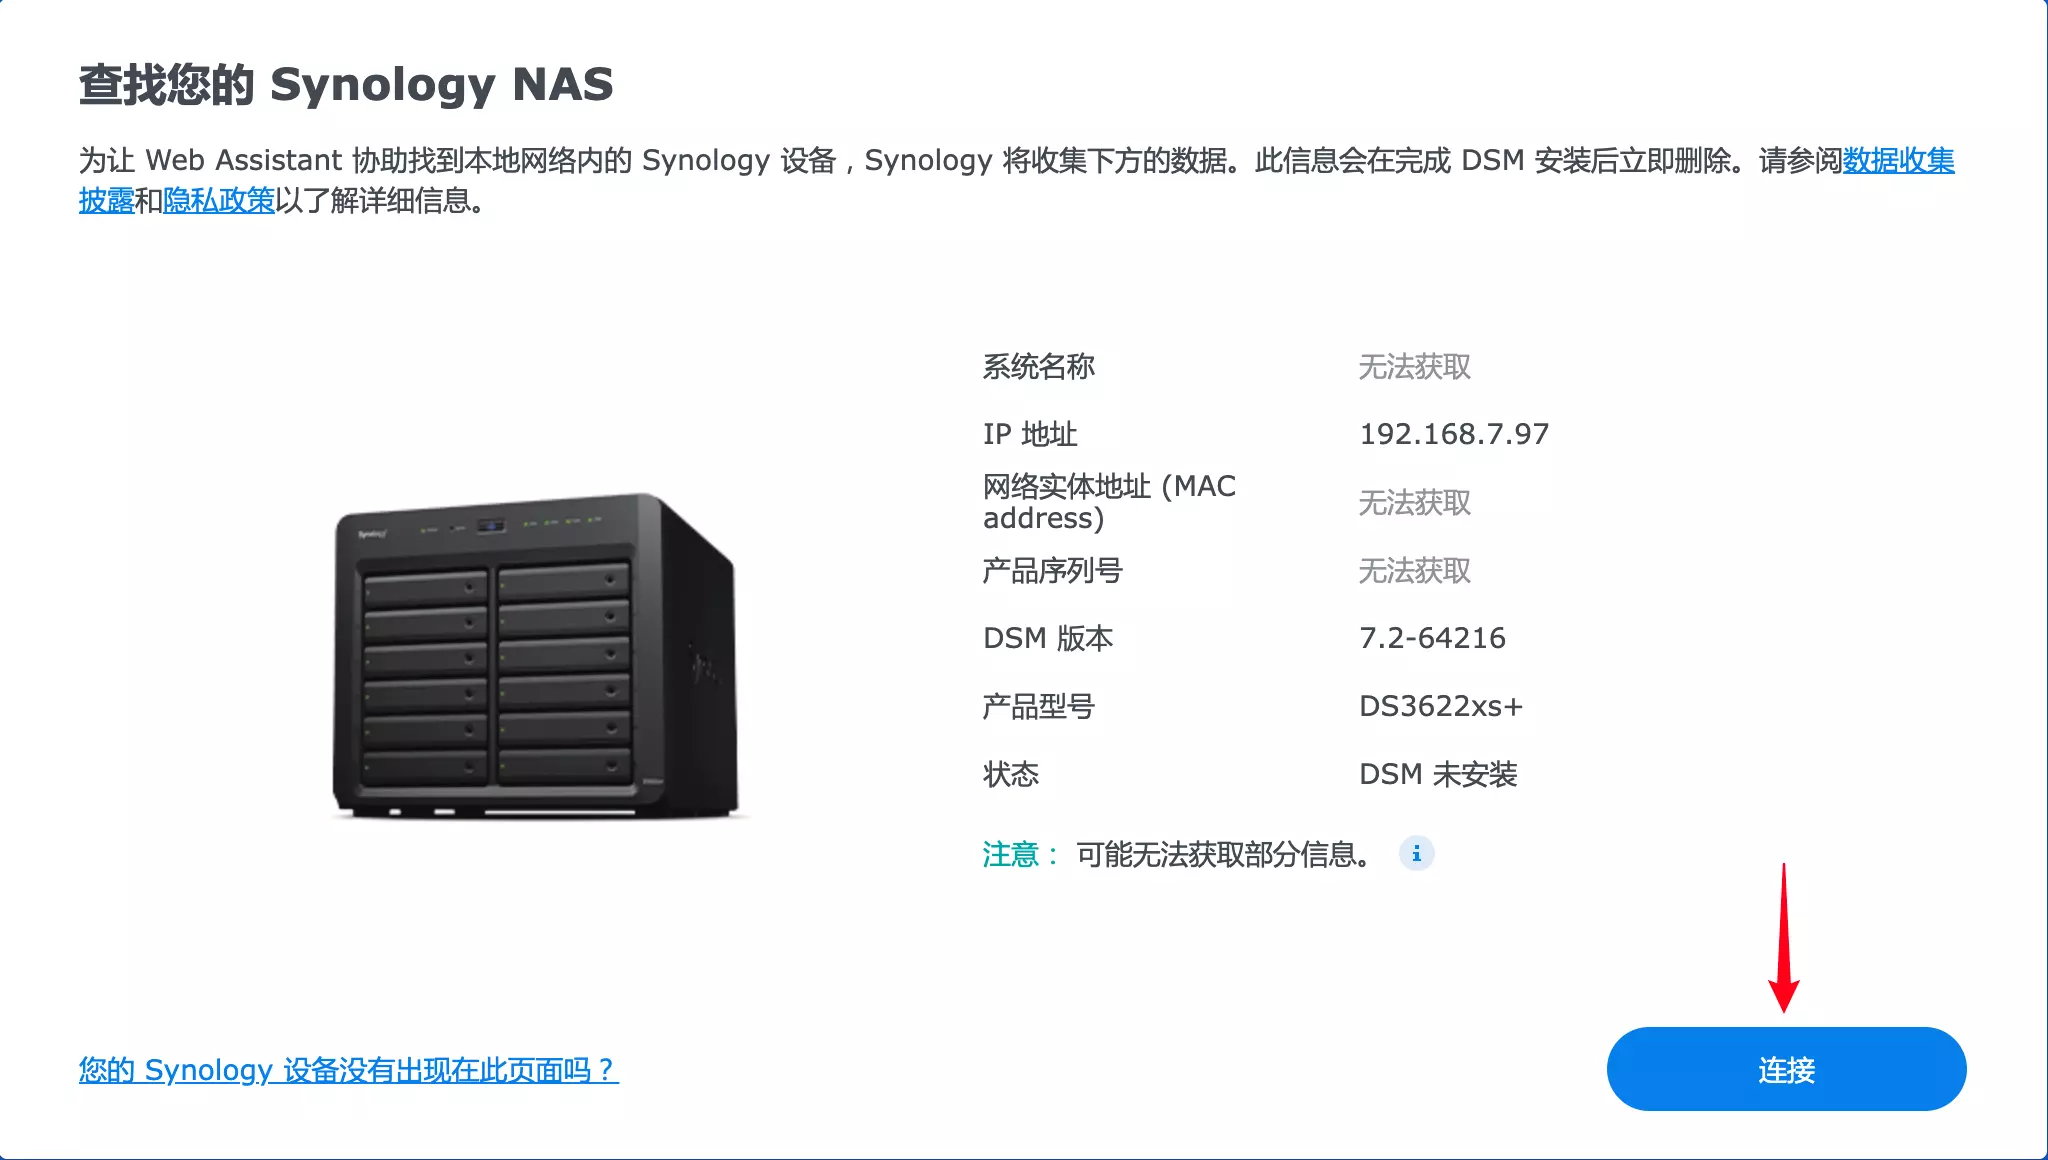
在电脑浏览器新开一个标签,输入(http://find.synology.com/)这个地址回车,开始搜索局域网内的群晖设备;
如果局域网内有多台群晖设备的,右边会有一个三角形显示,可以翻页找到我们需要安装的设备(状态会显示:未安装),点”连接”;
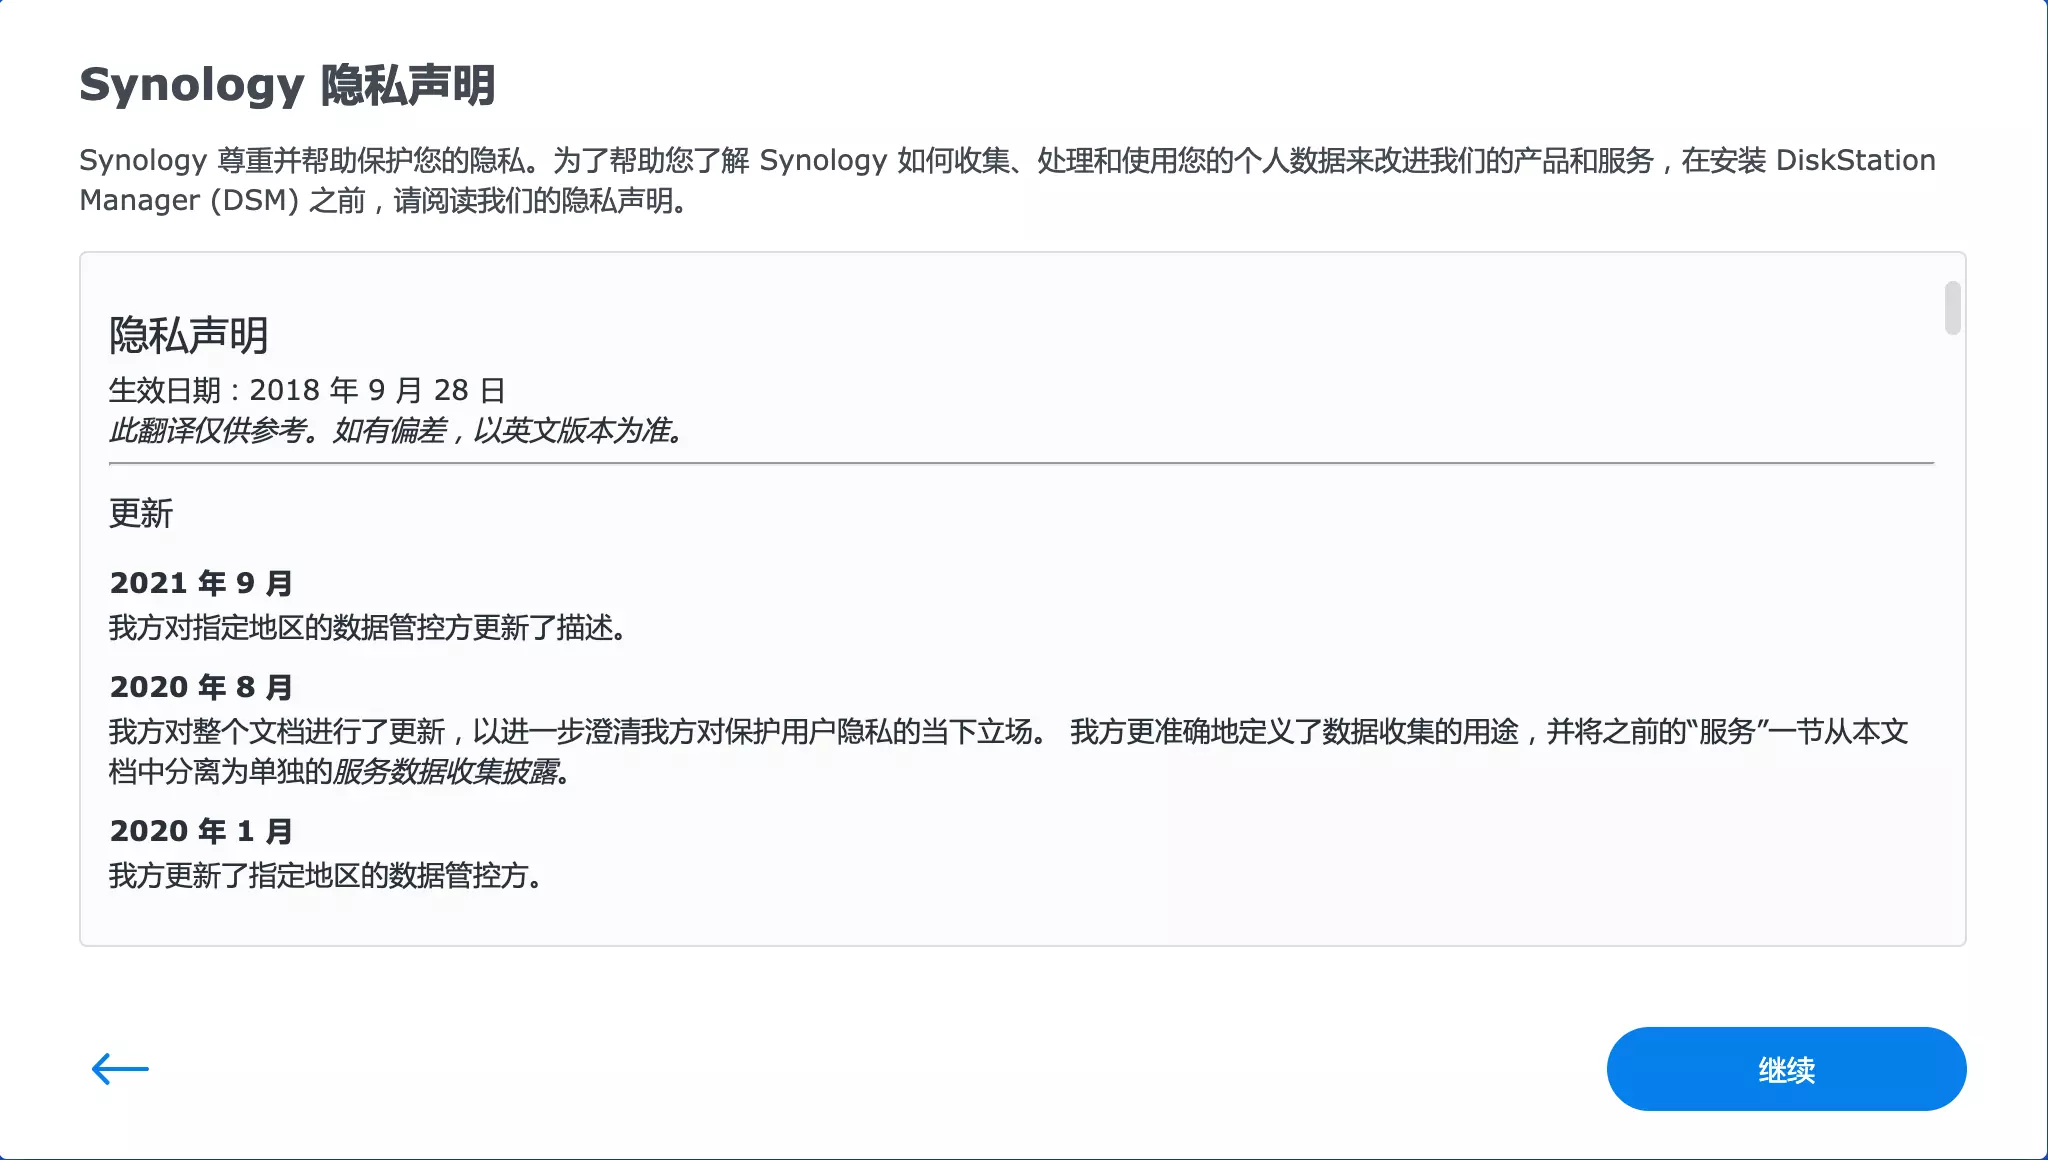
左下角”我已阅读并同意 EULA 的条款”打勾,下一步;
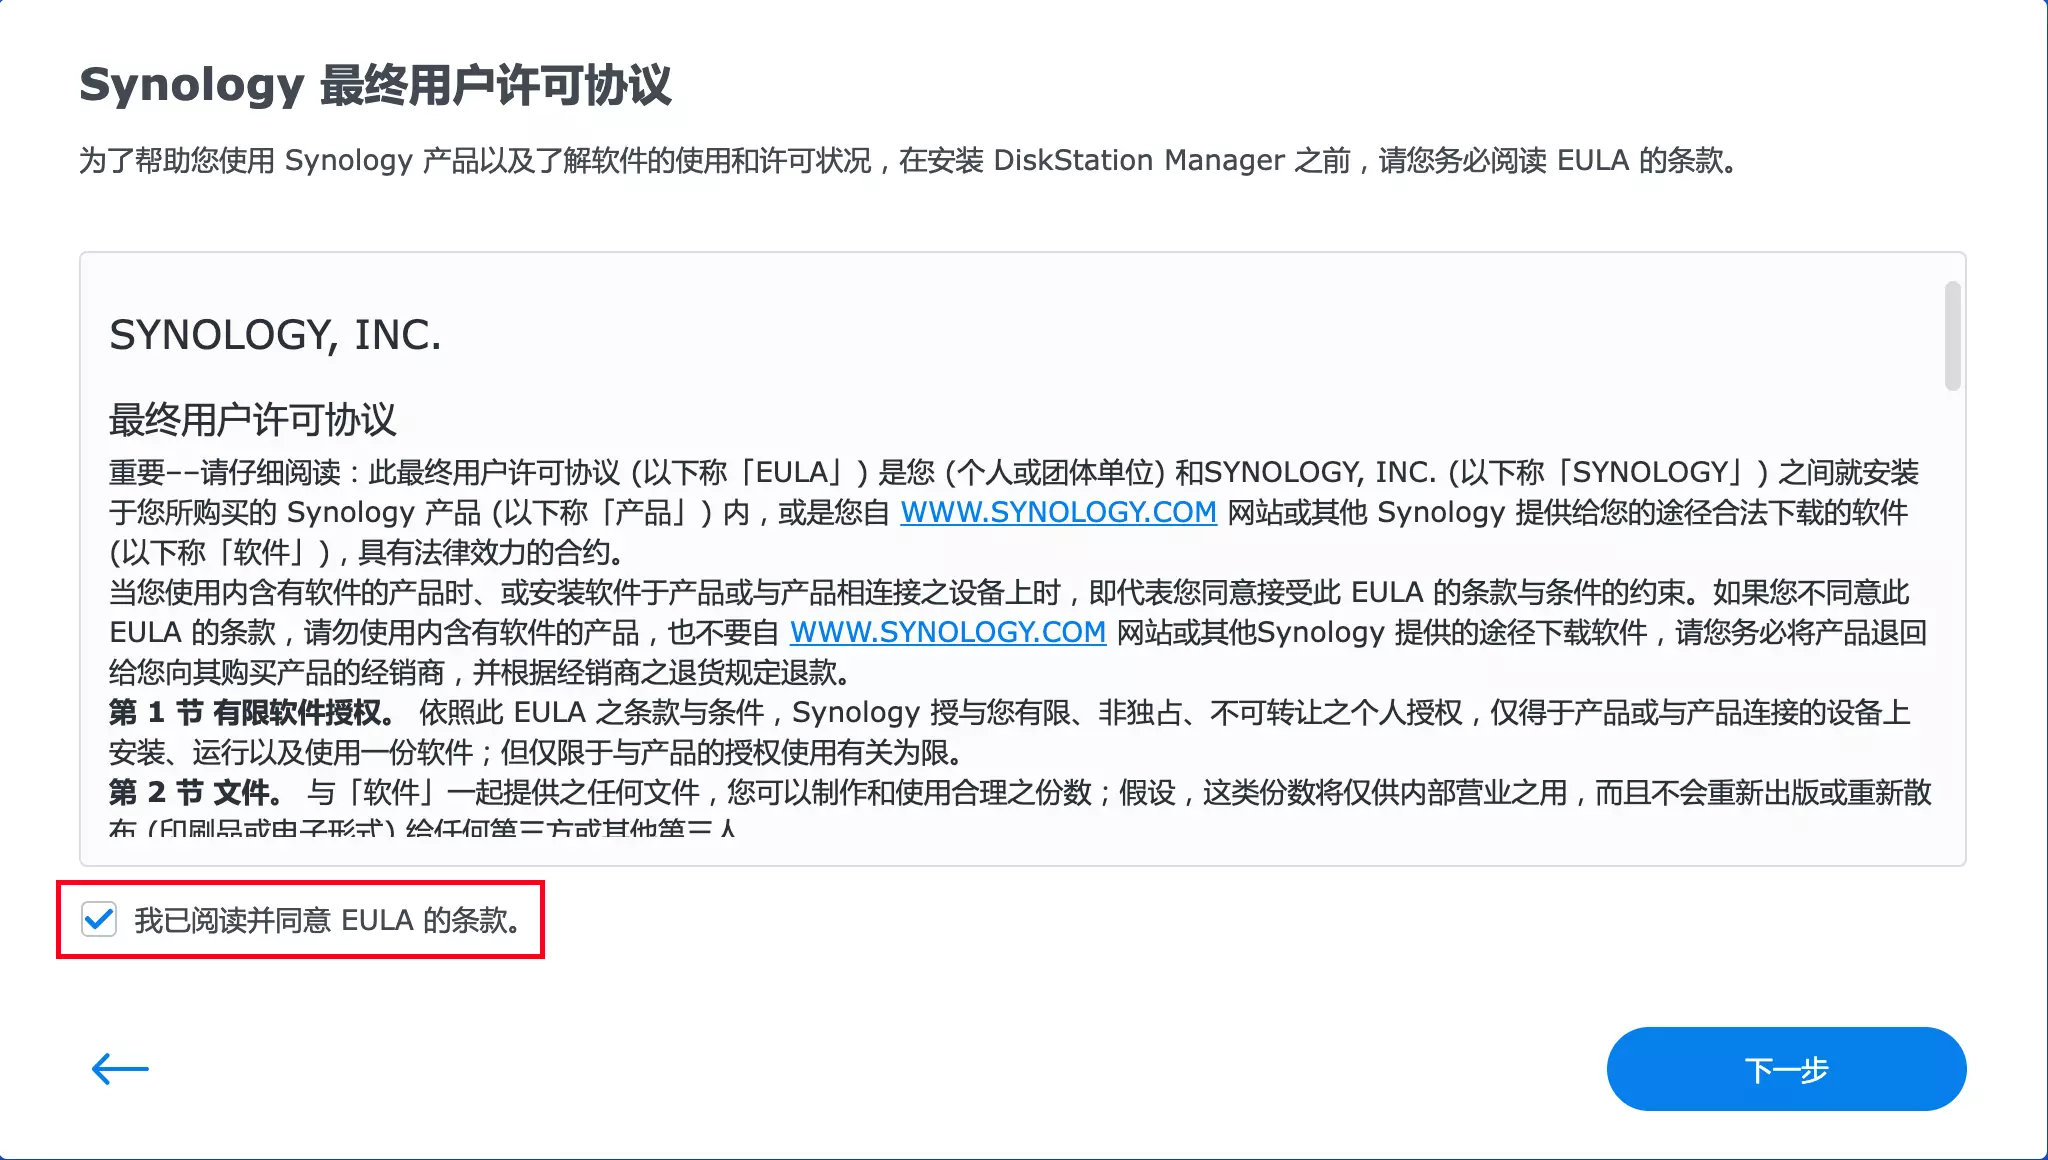
继续;
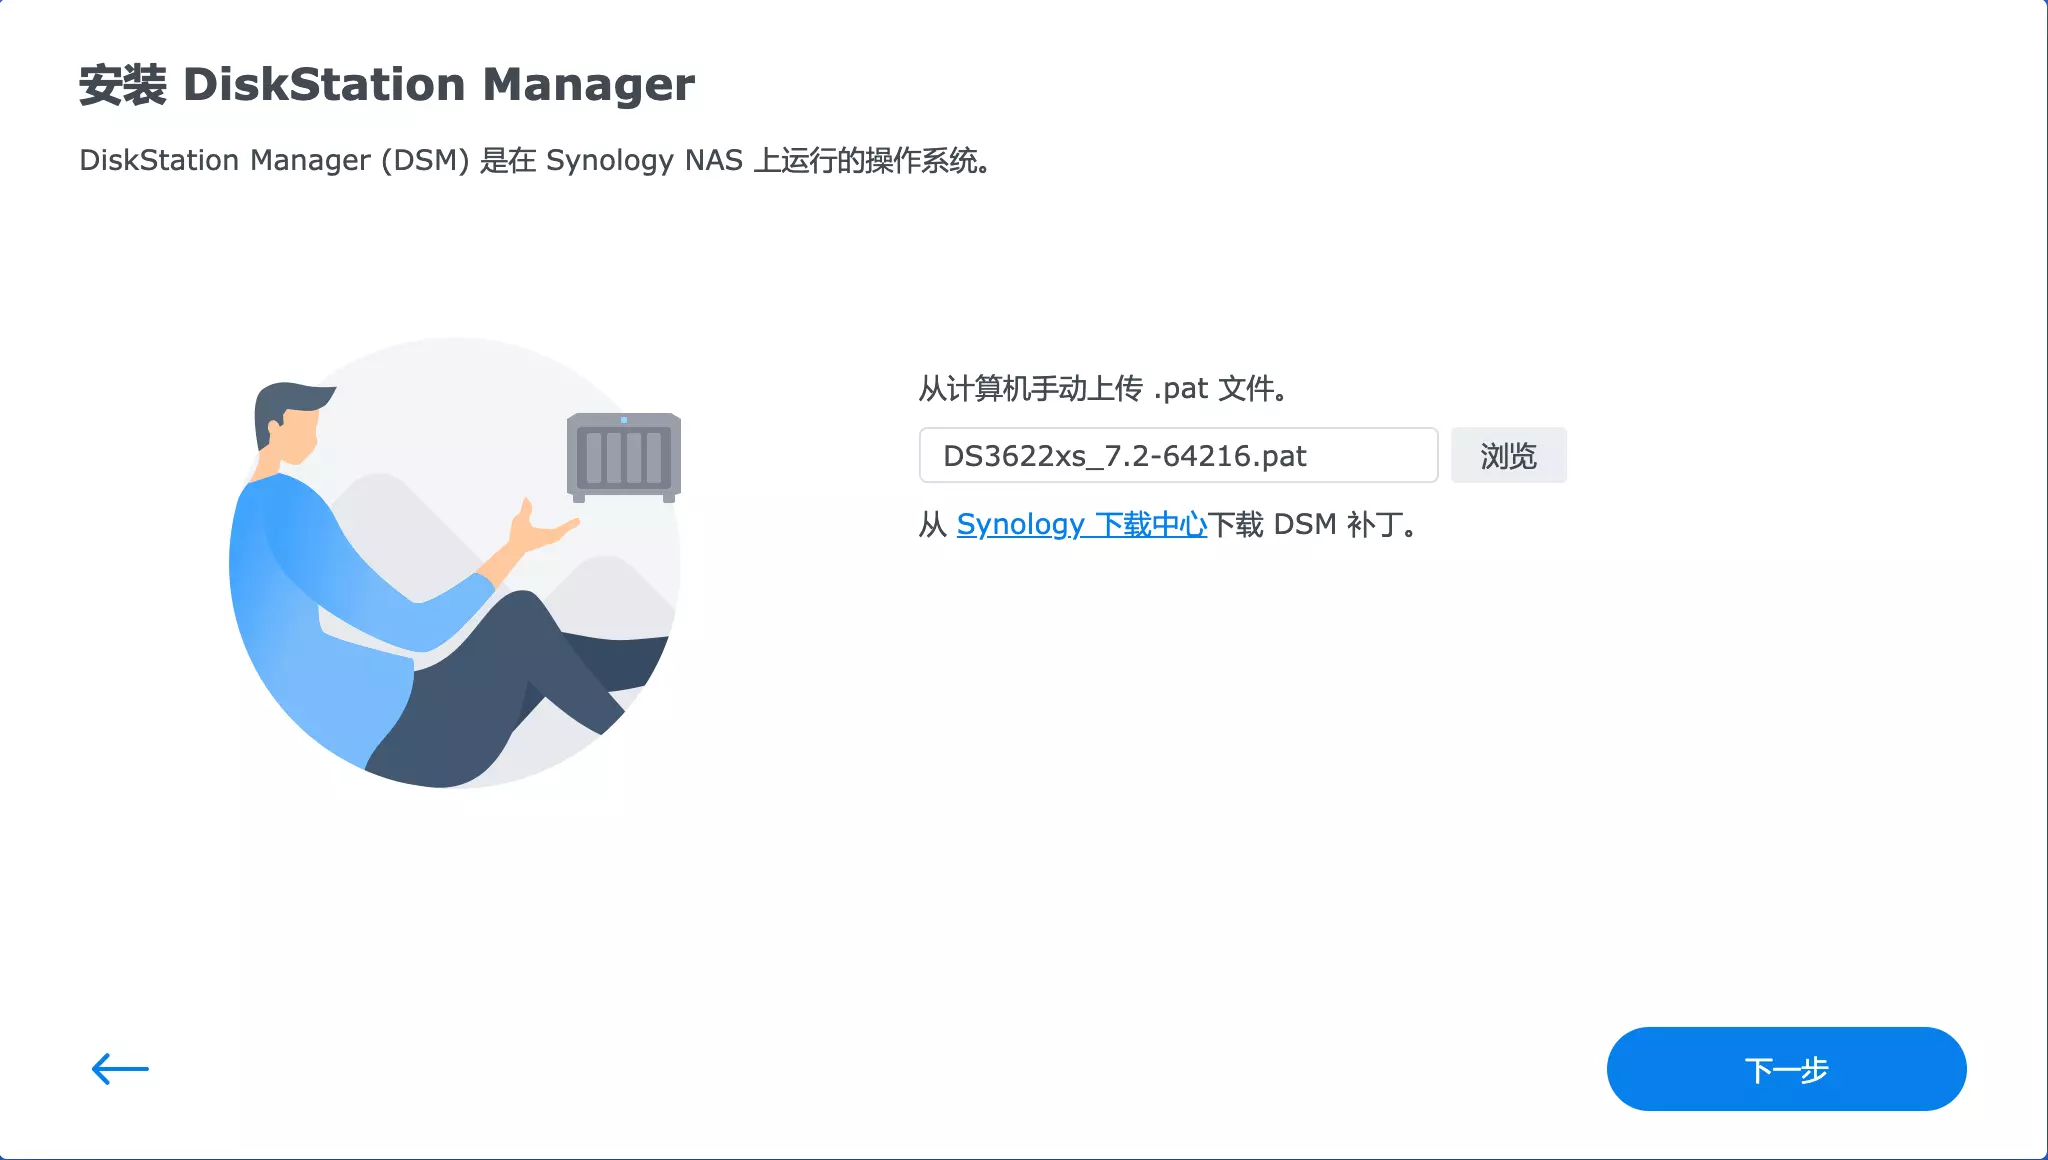
点击”安装”;
浏览;
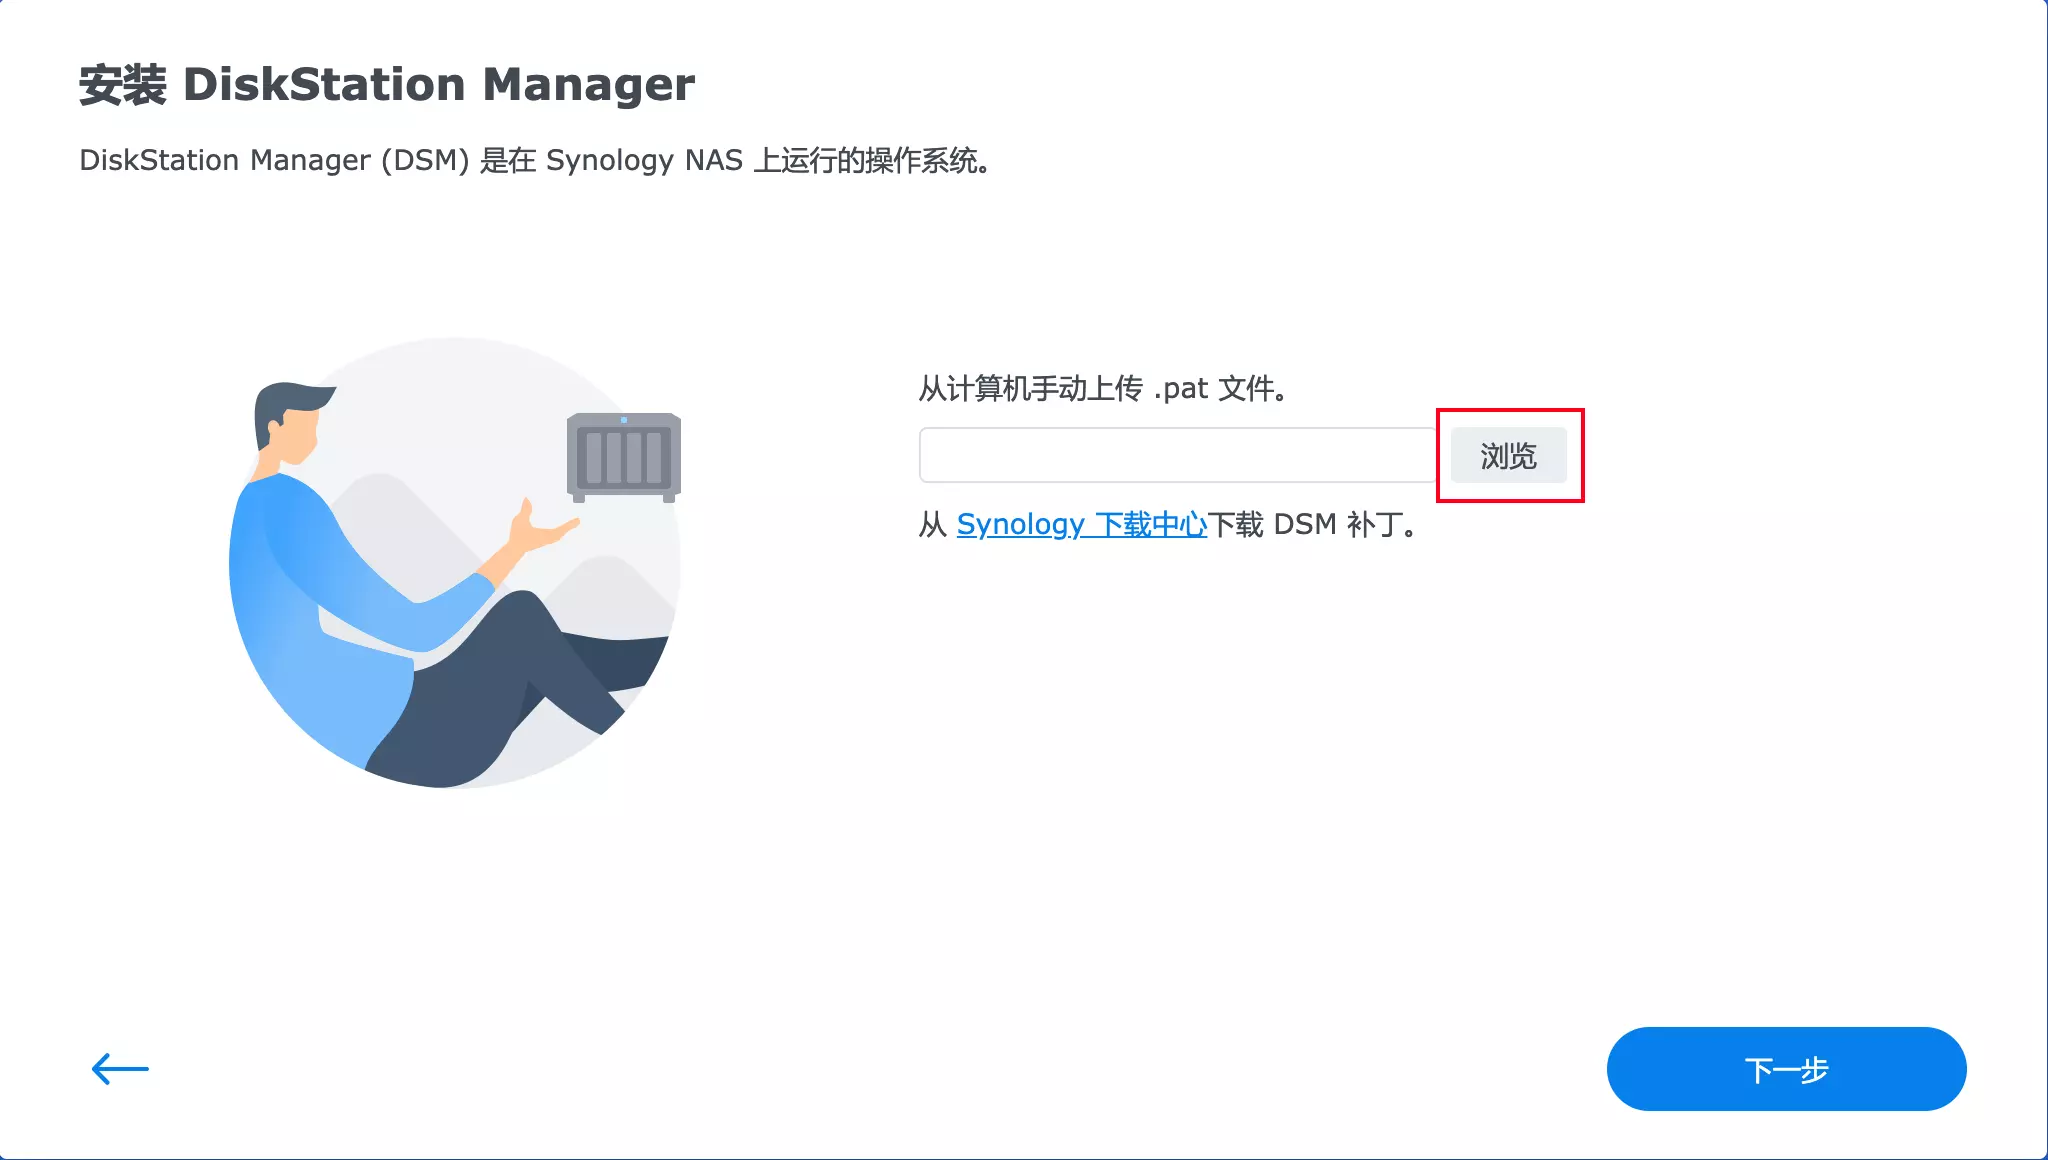
找到之前下载的 DS3622xs_7.2-64216(系统安装包).pat 这个安装包文件,打开;
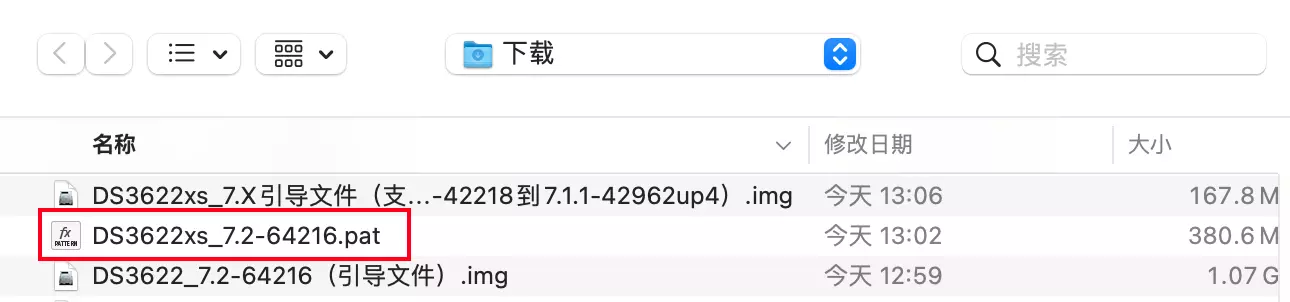
确认一下安装包的版本号(用什么版本的引导,就要选对应版本的安装包,不可以搞错),无误后点下一步;
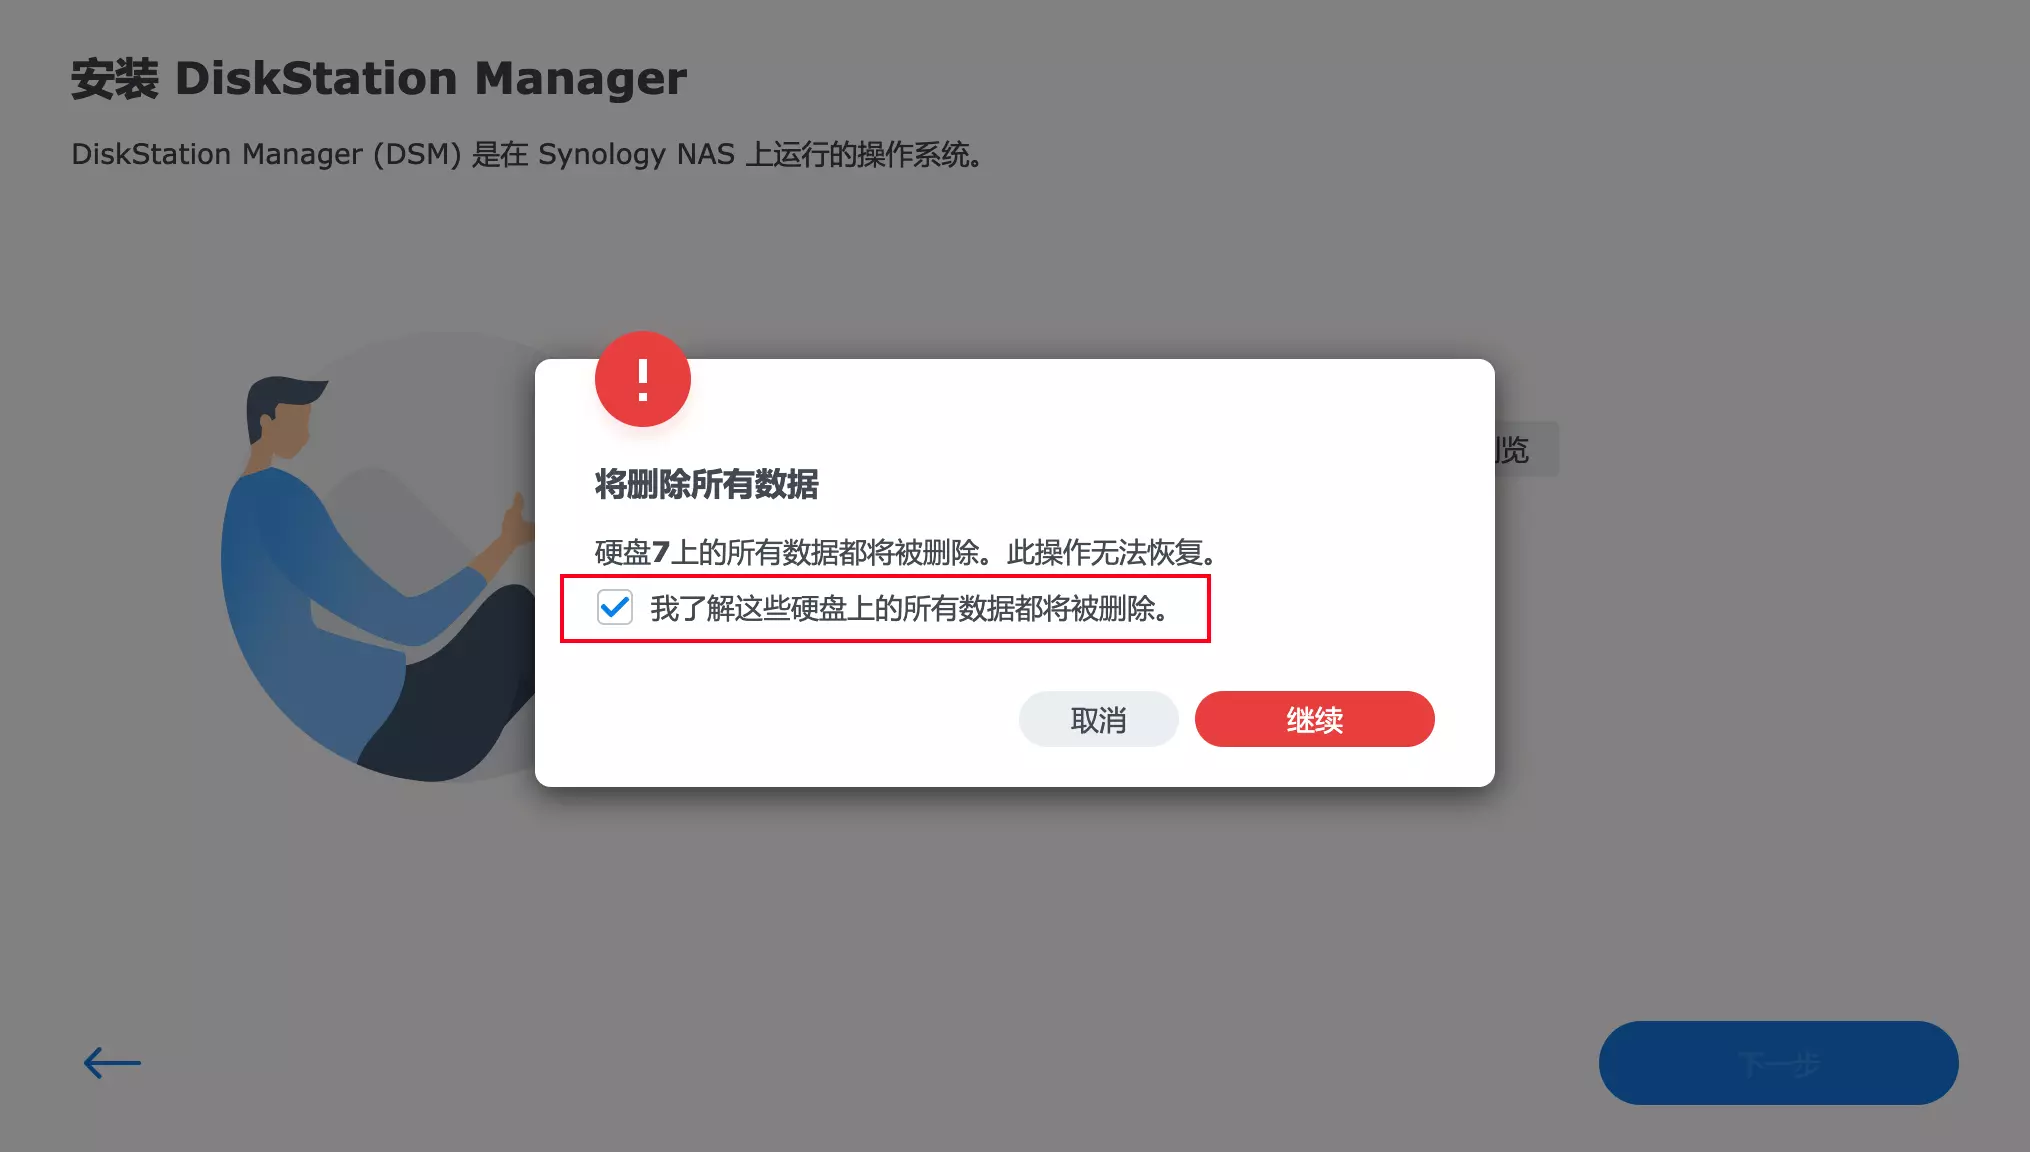
安装过程中,群晖系统会自动把存储硬盘重新分区并格式化为群晖格式的硬盘,在”我了解这些硬盘上的所有数据都将被删除”打勾,继续;
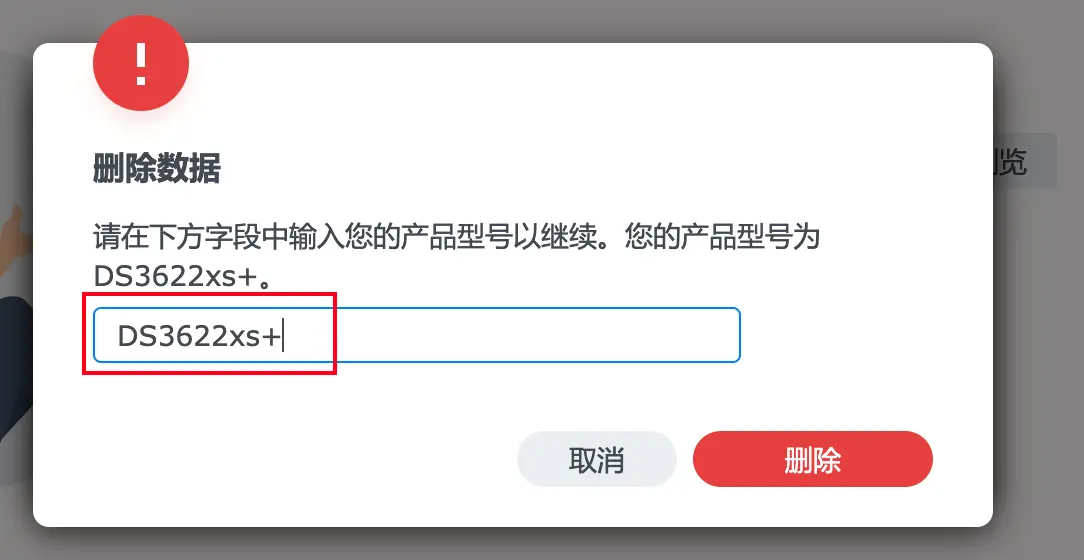
输入型号”DS3622xs+”,继续;
开始安装 DSM 系统;
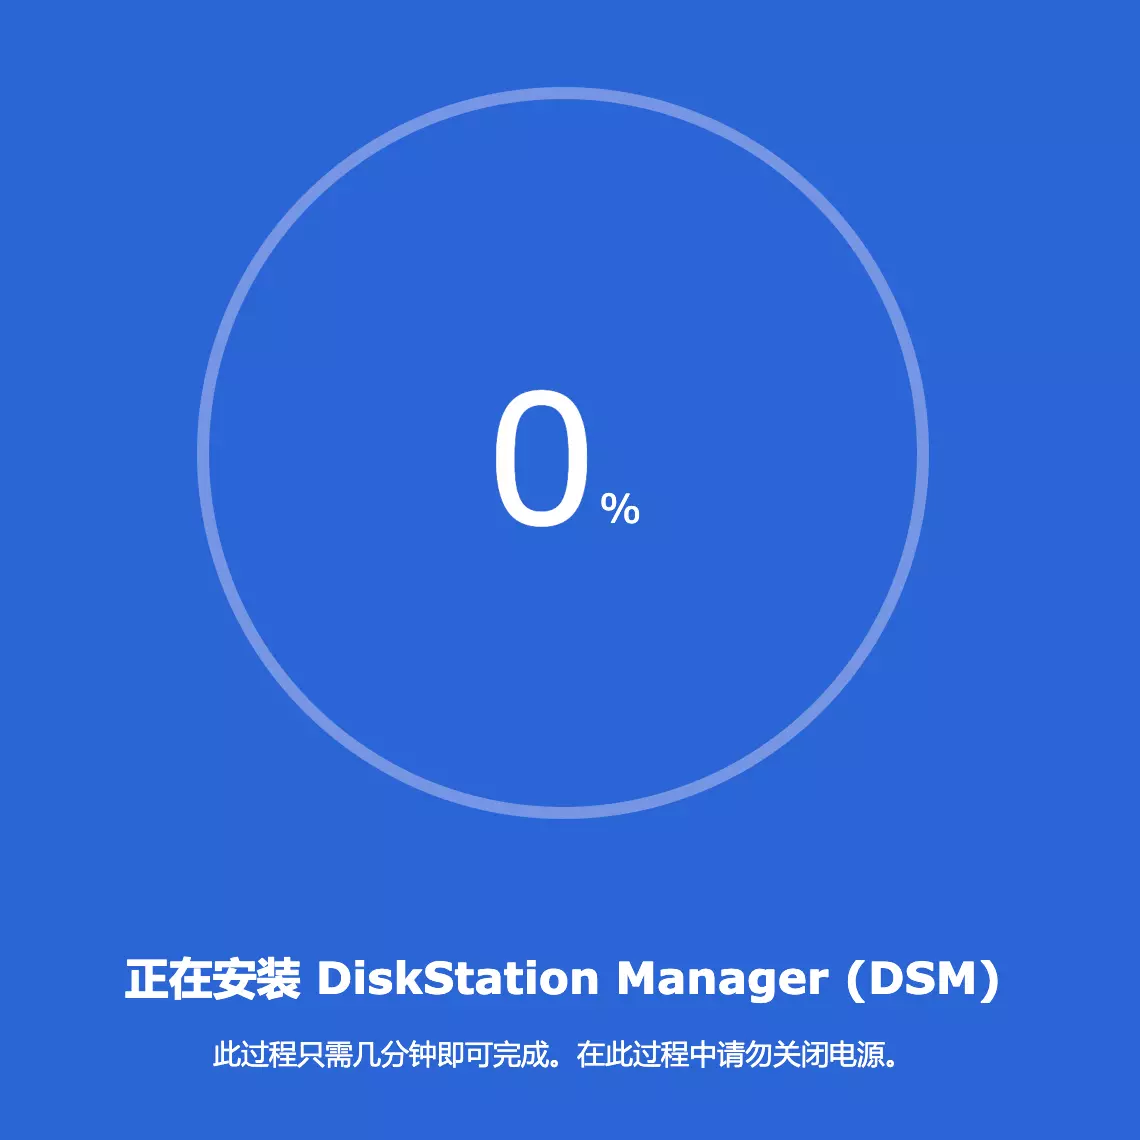
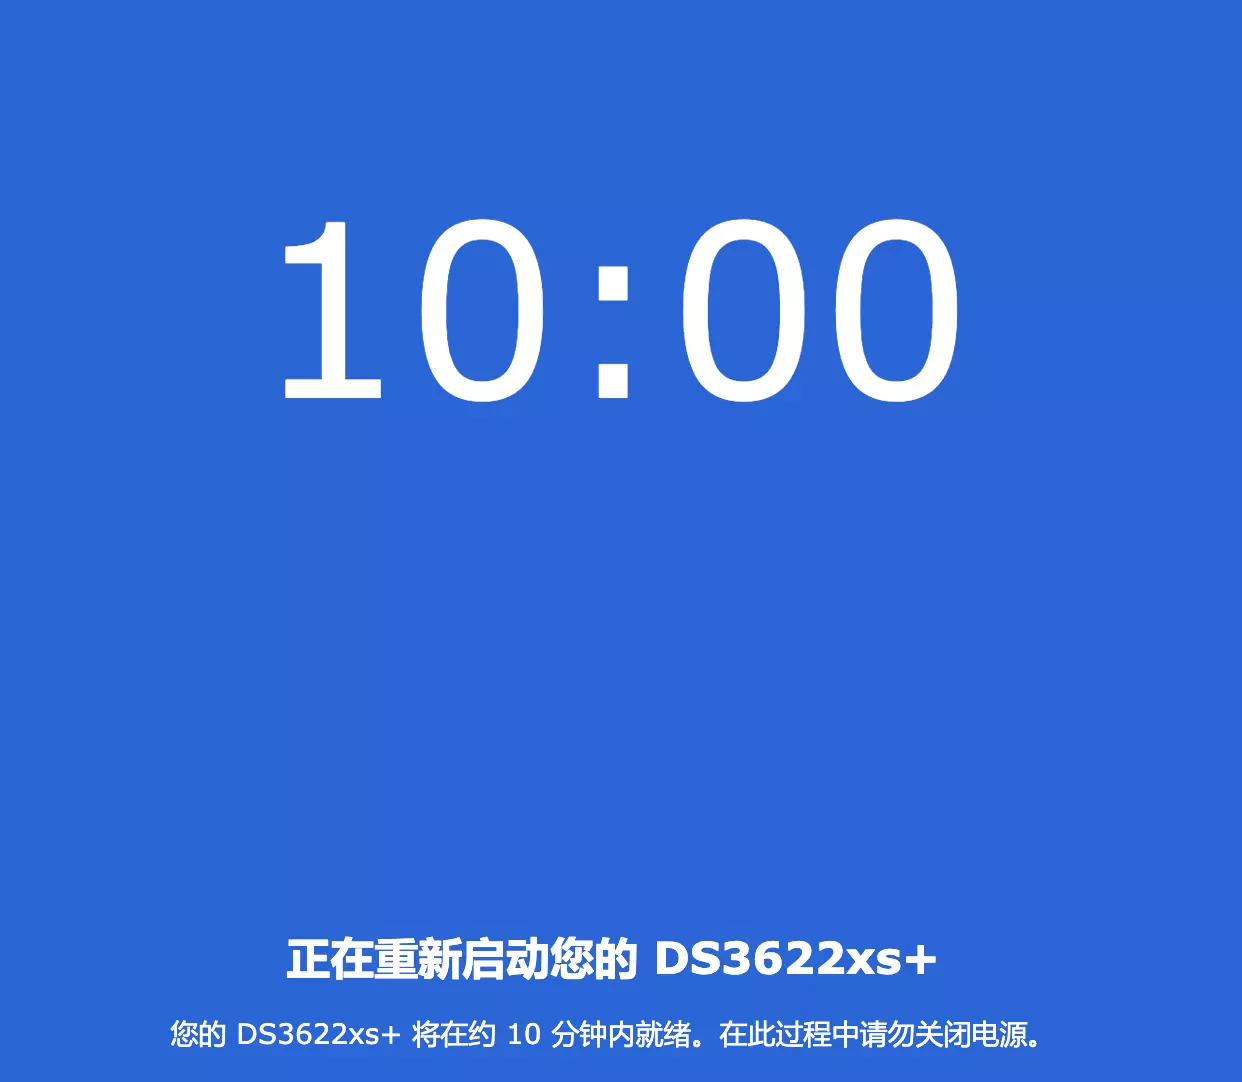
耐心等待安装,安装完成系统会自动重启,此时会显示一个10分钟的倒计时,重启等待的时间由硬件性能决定(正常等待1-10分钟);
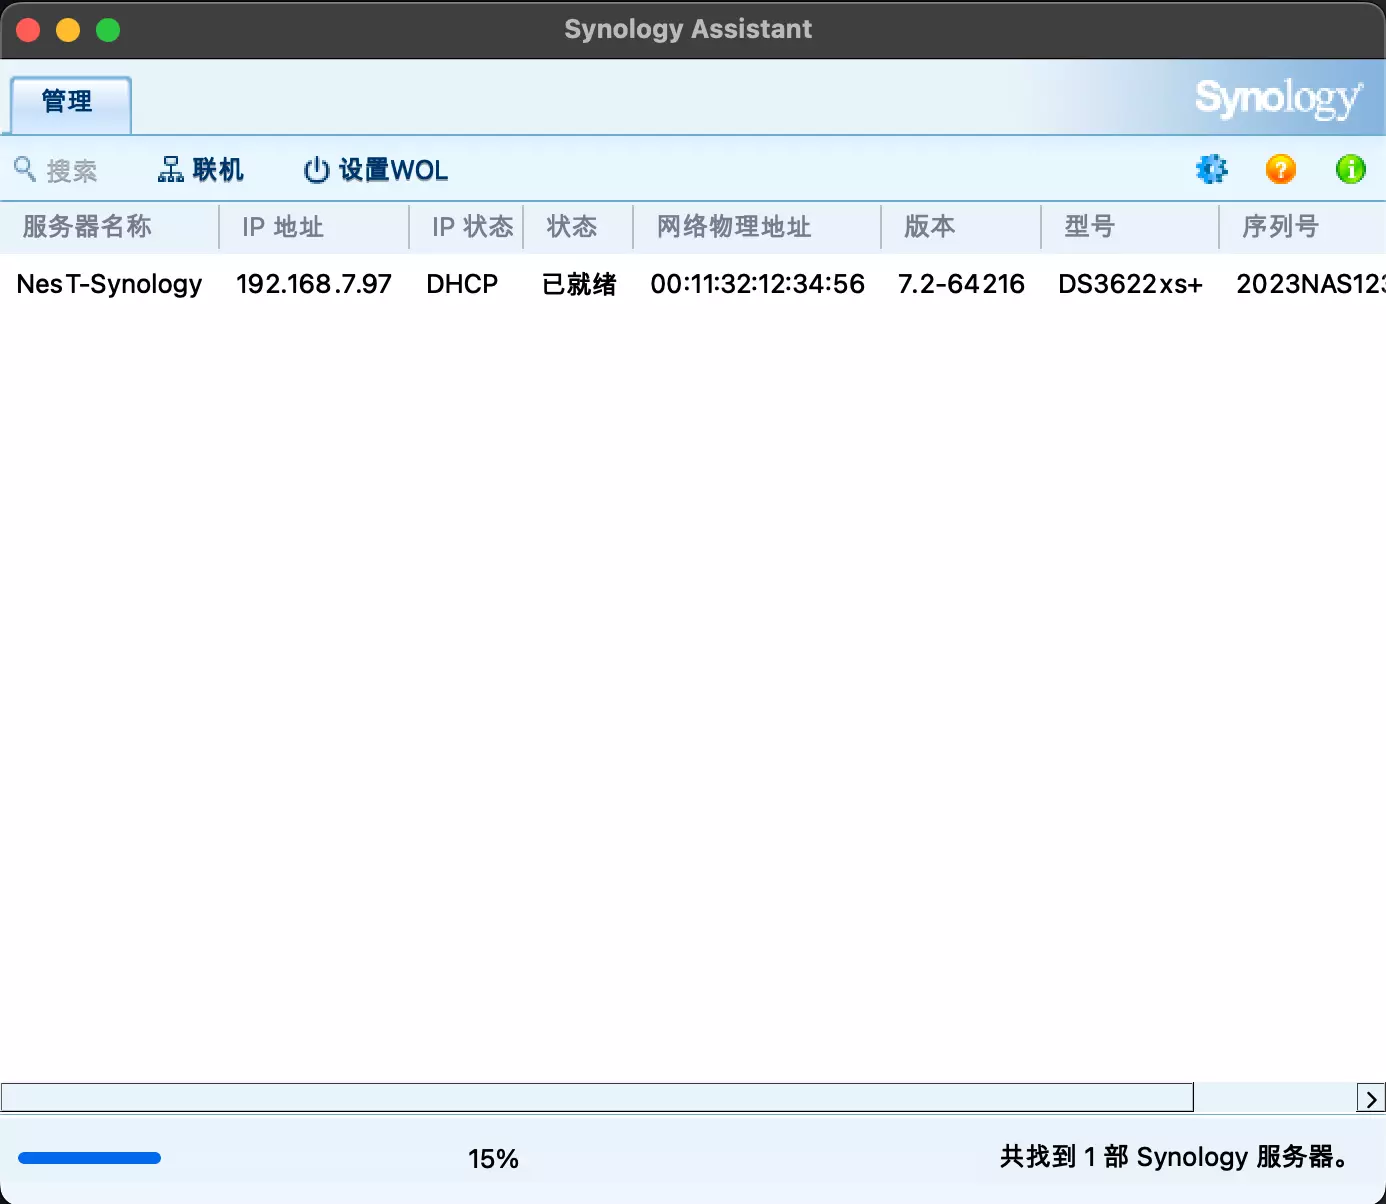
重启后回到 Synology Assistant 可以看到系统已经就绪。
配置系统
等待套件加载完毕;


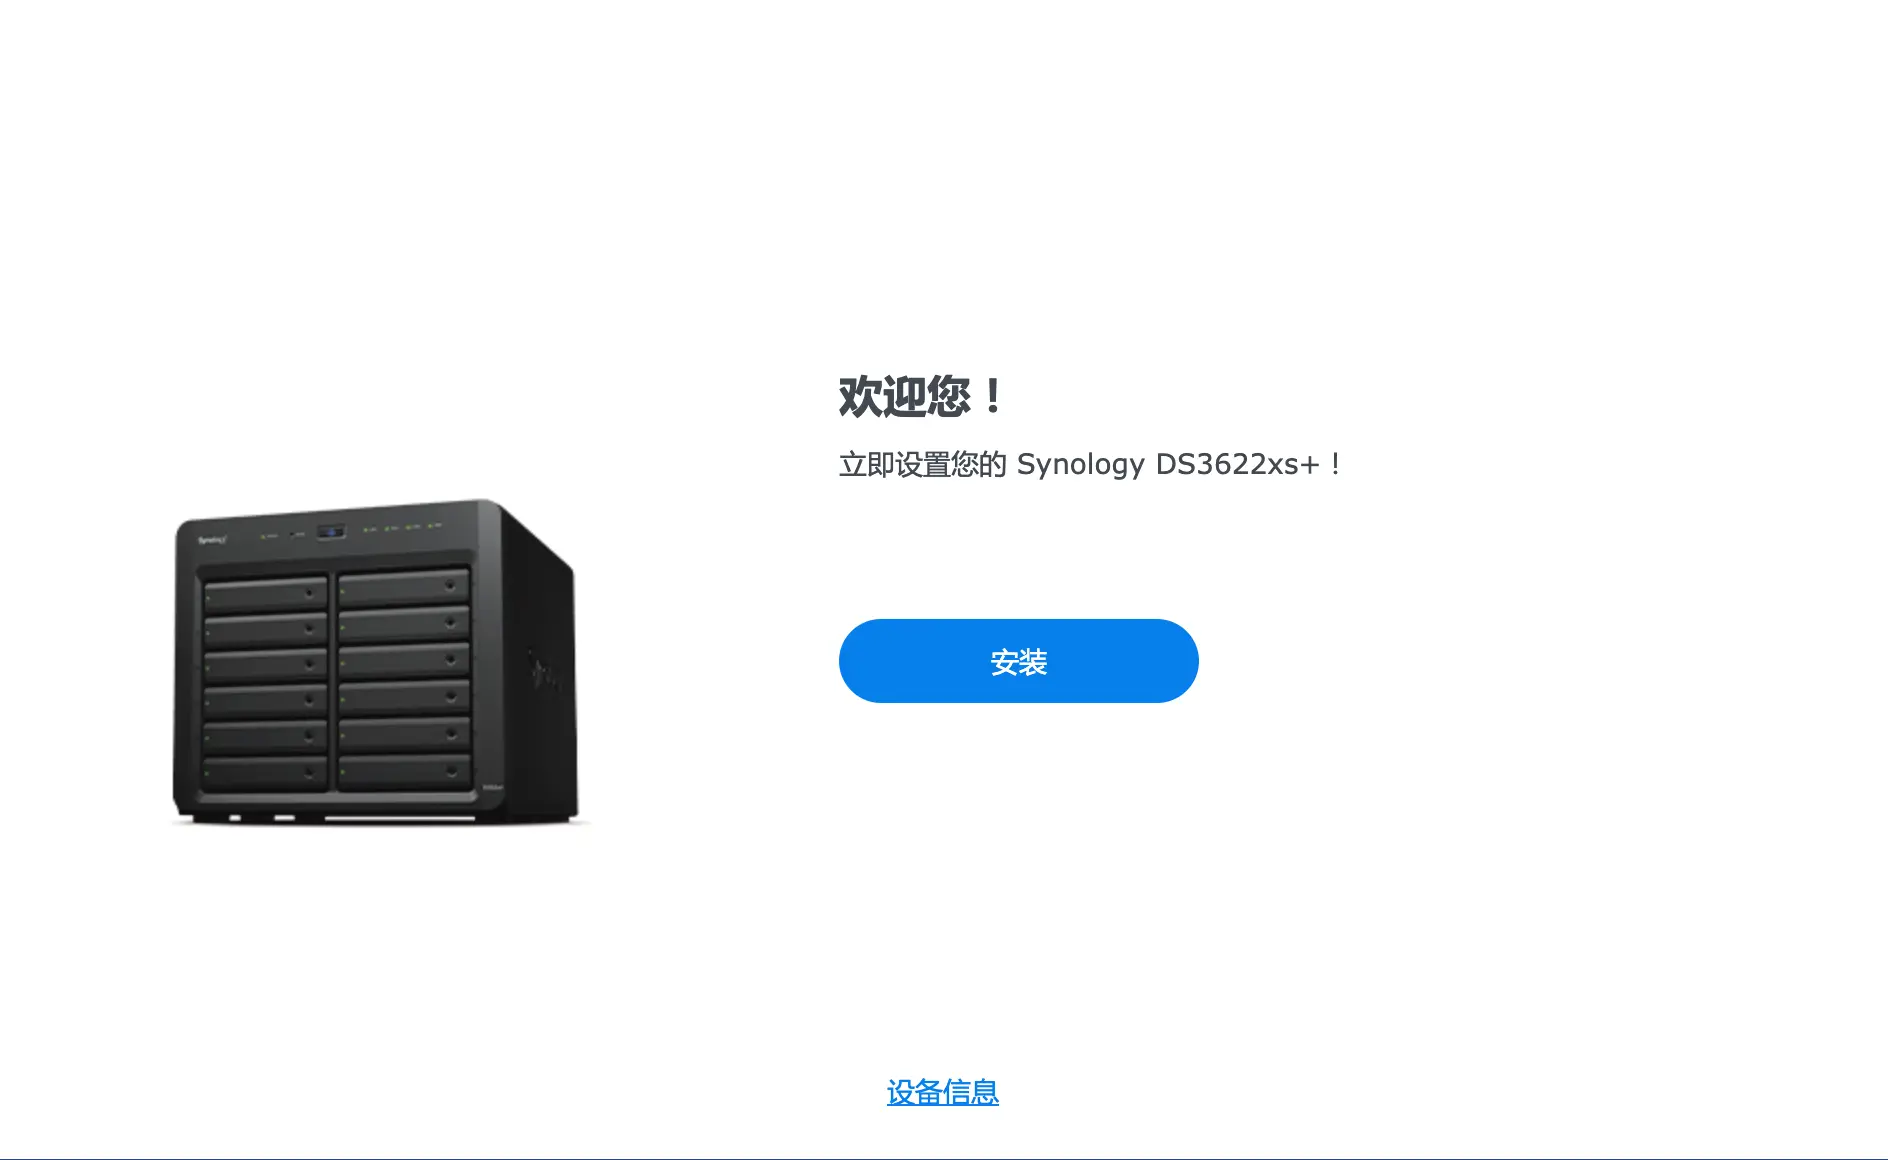
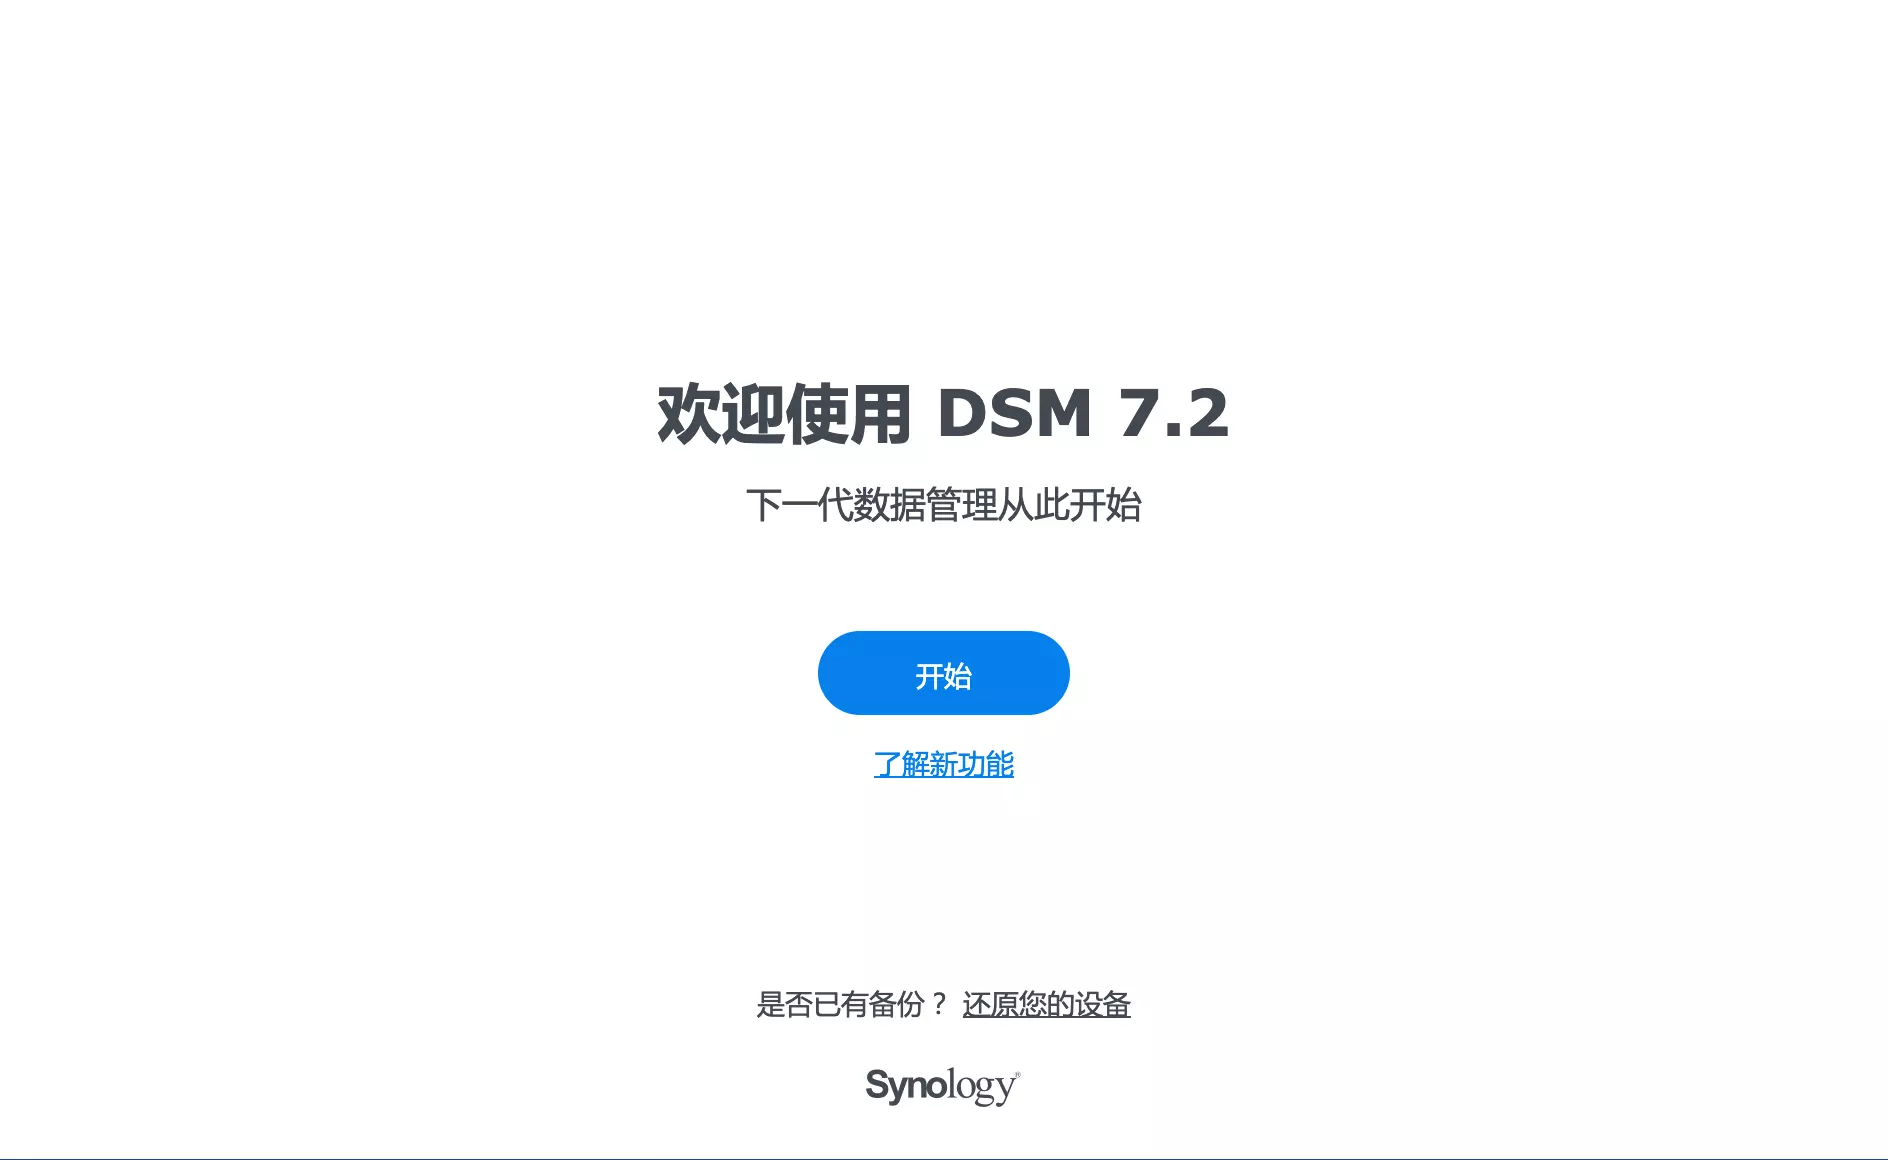
开始设置系统,”开始”;
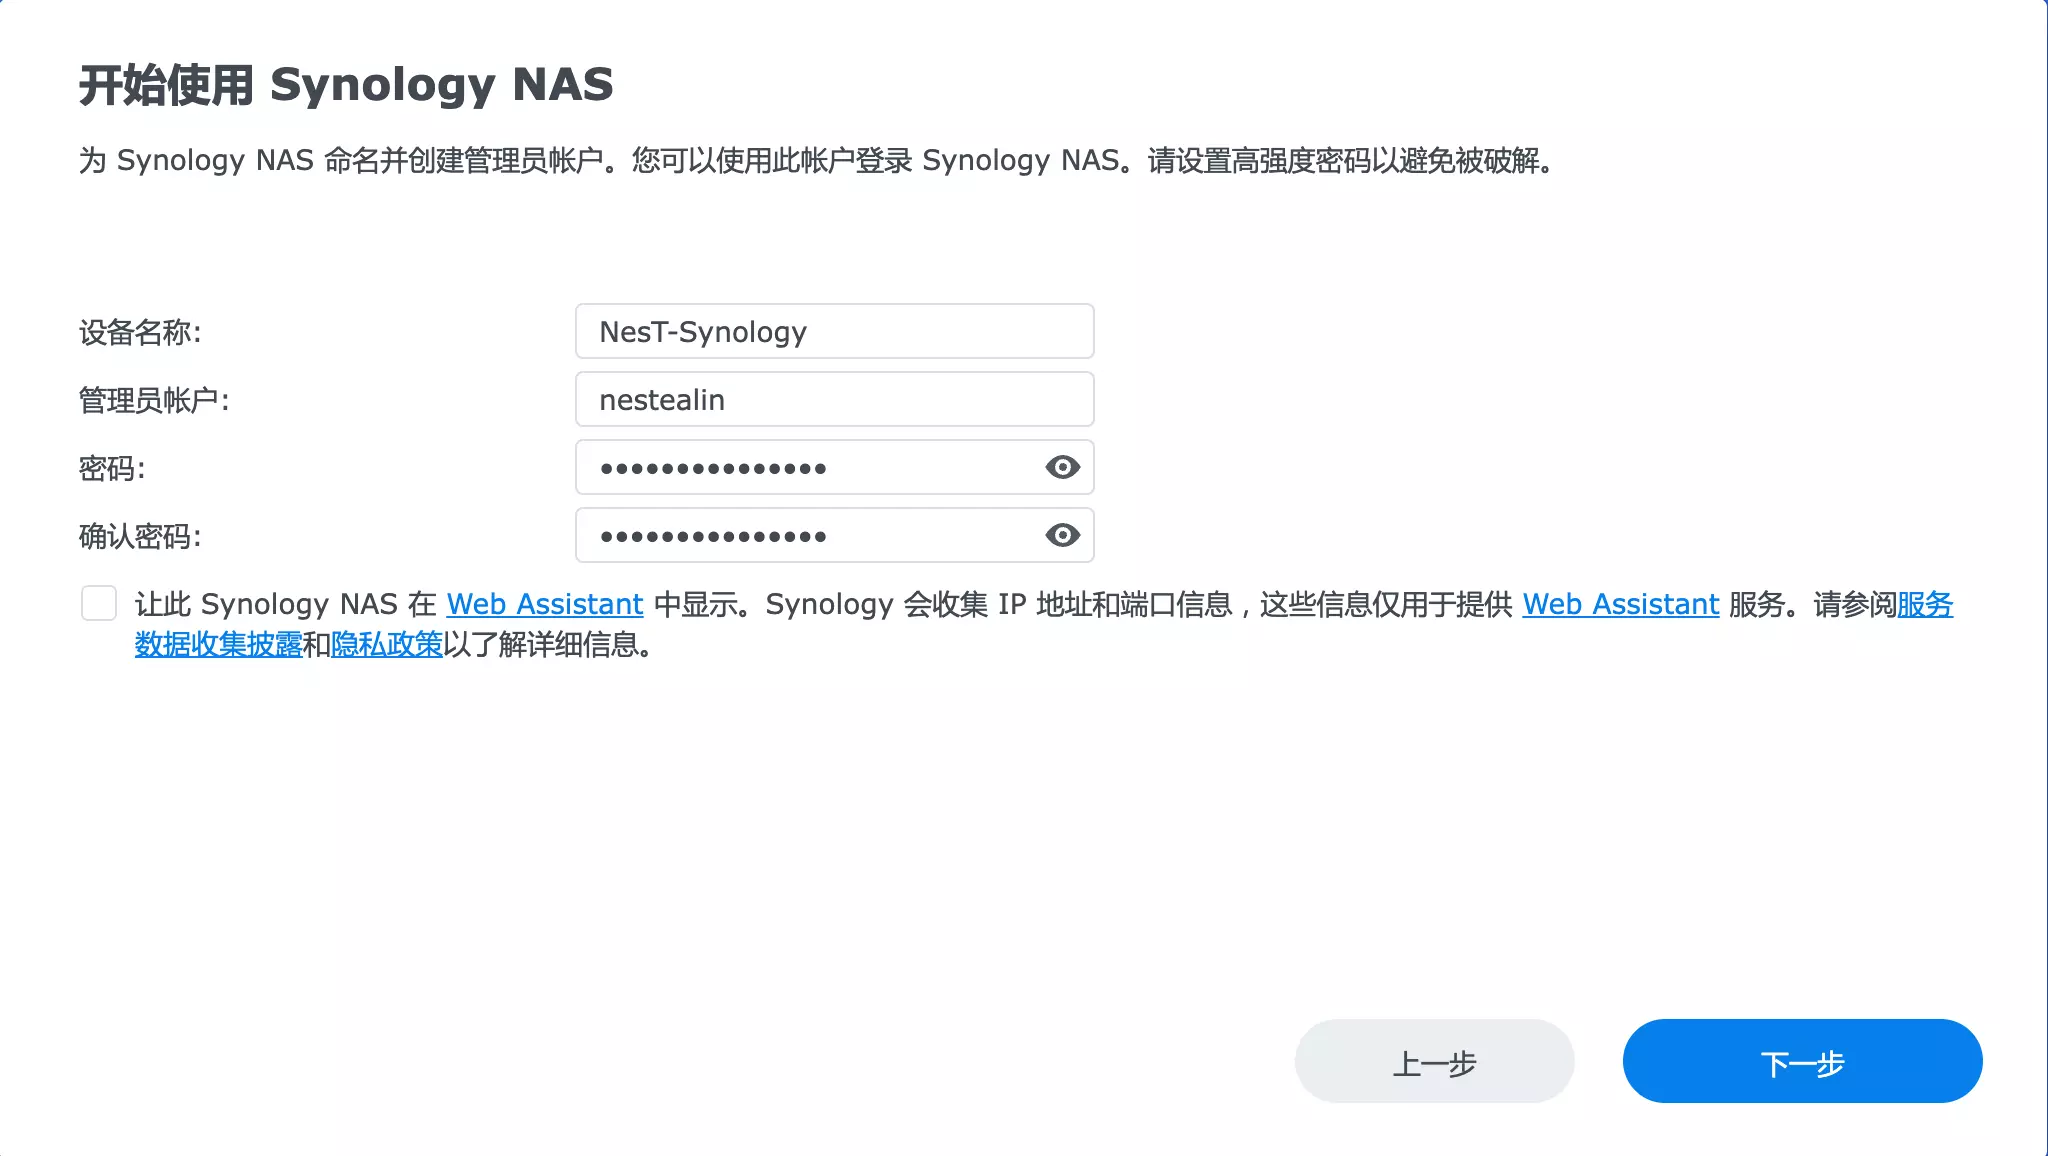
给设备起个名字(不可以用中文),设置一个用户名(不可以用admin),设置密码(密码要求:大写字母+小写字母+数字的组合,长度至少8位),下一步。
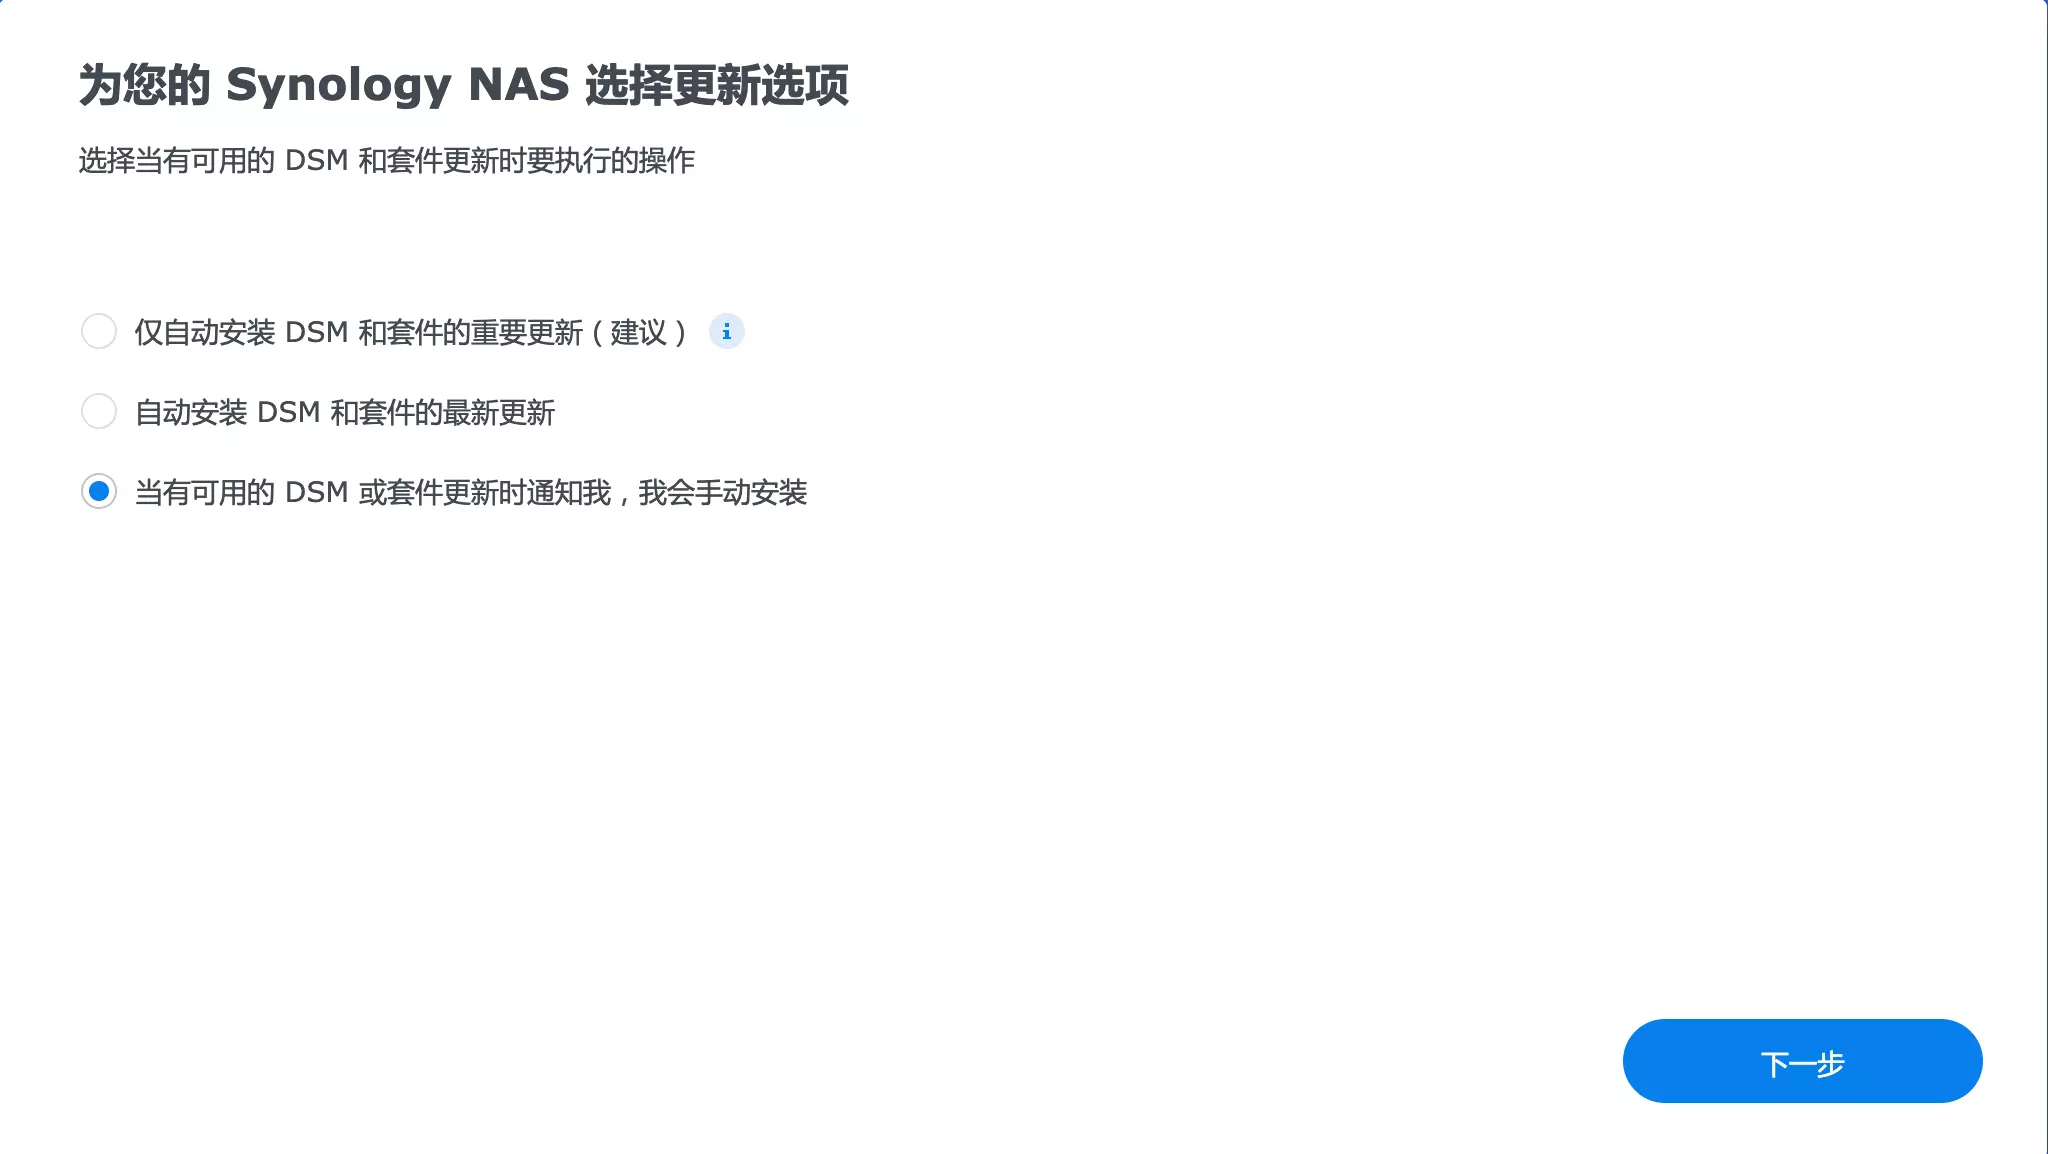
选”当有可用的DSM或者套件更新时通知我,我会手动安装”,下一步。
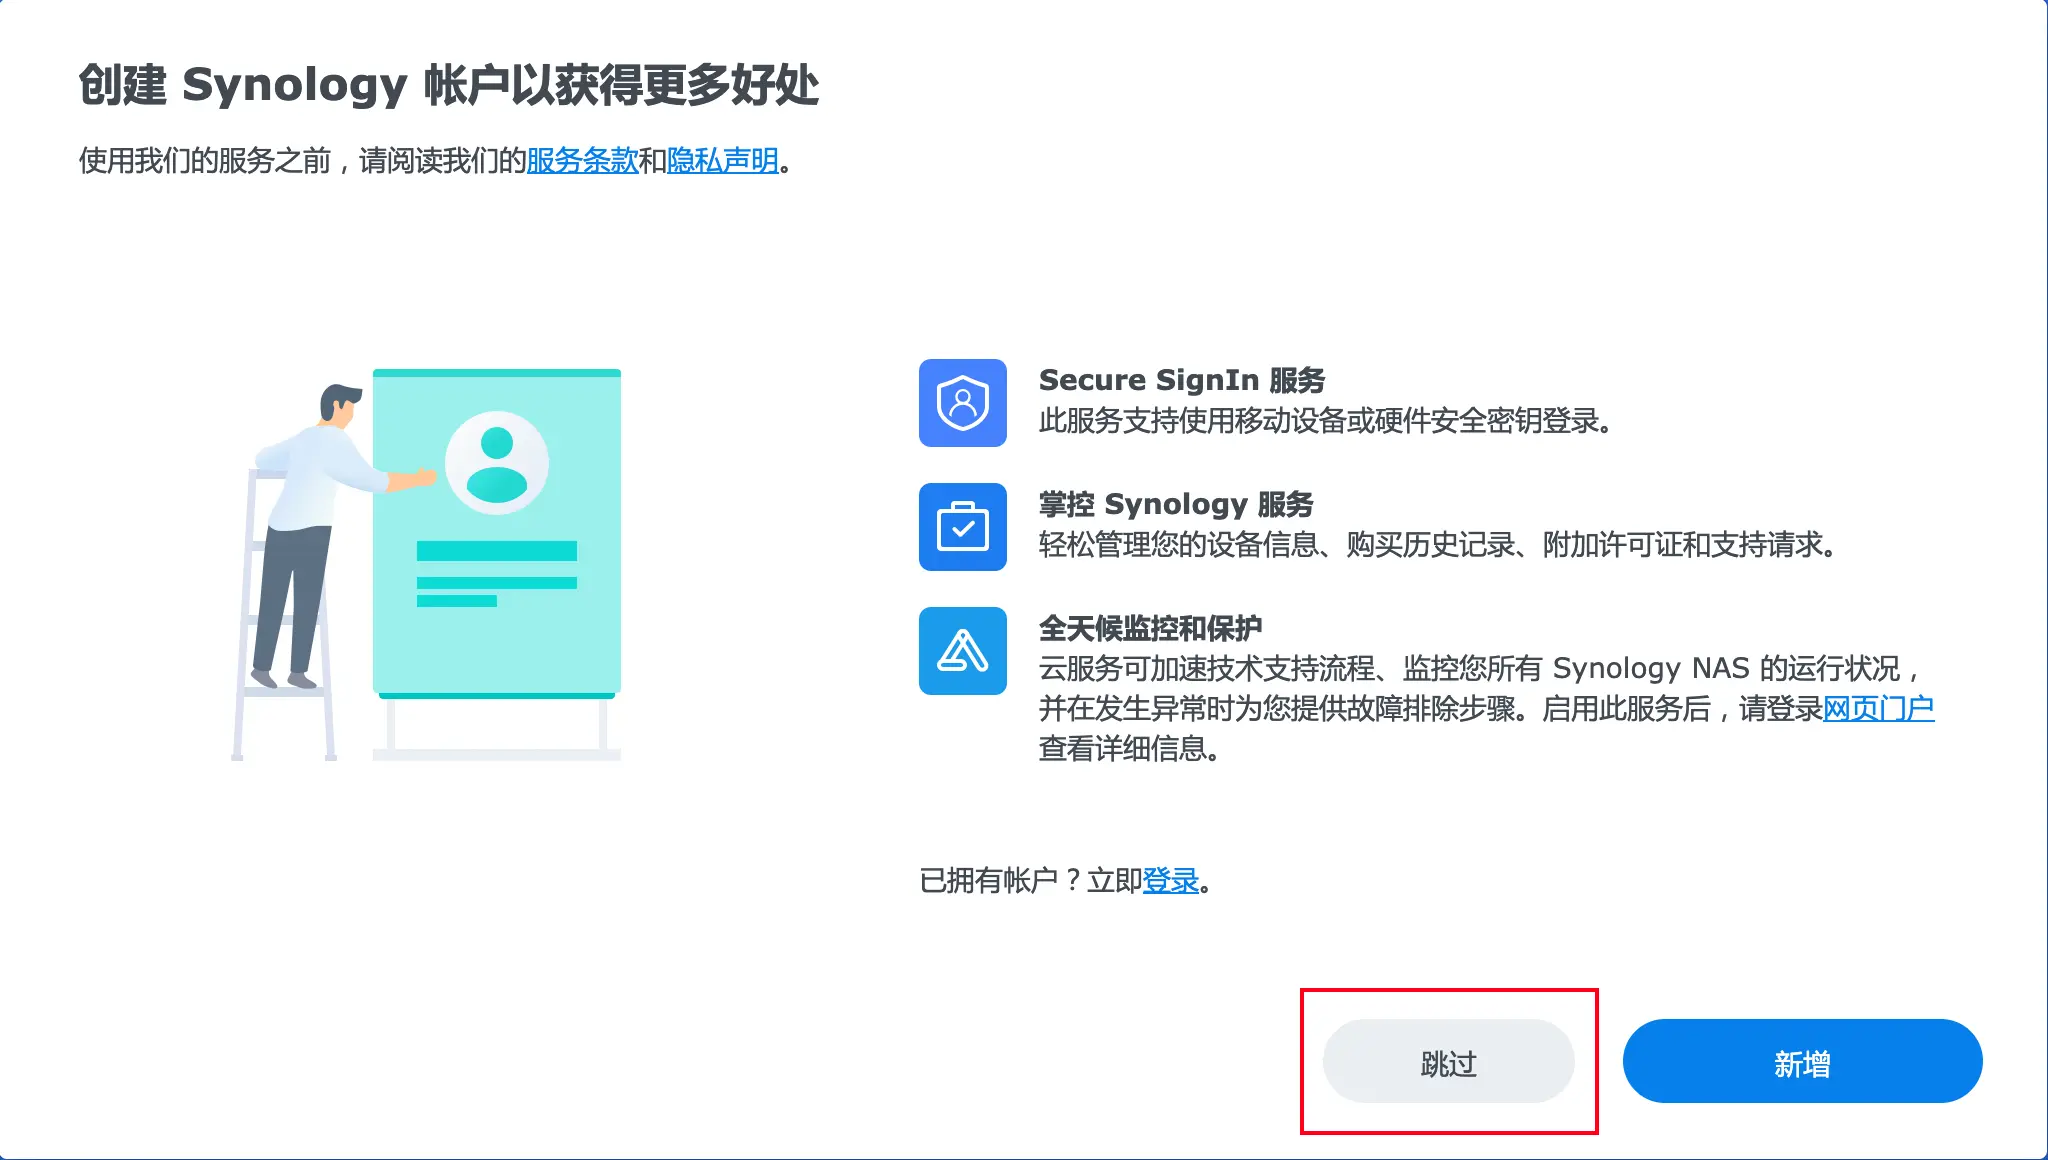
“跳过” Synology 账户登录;
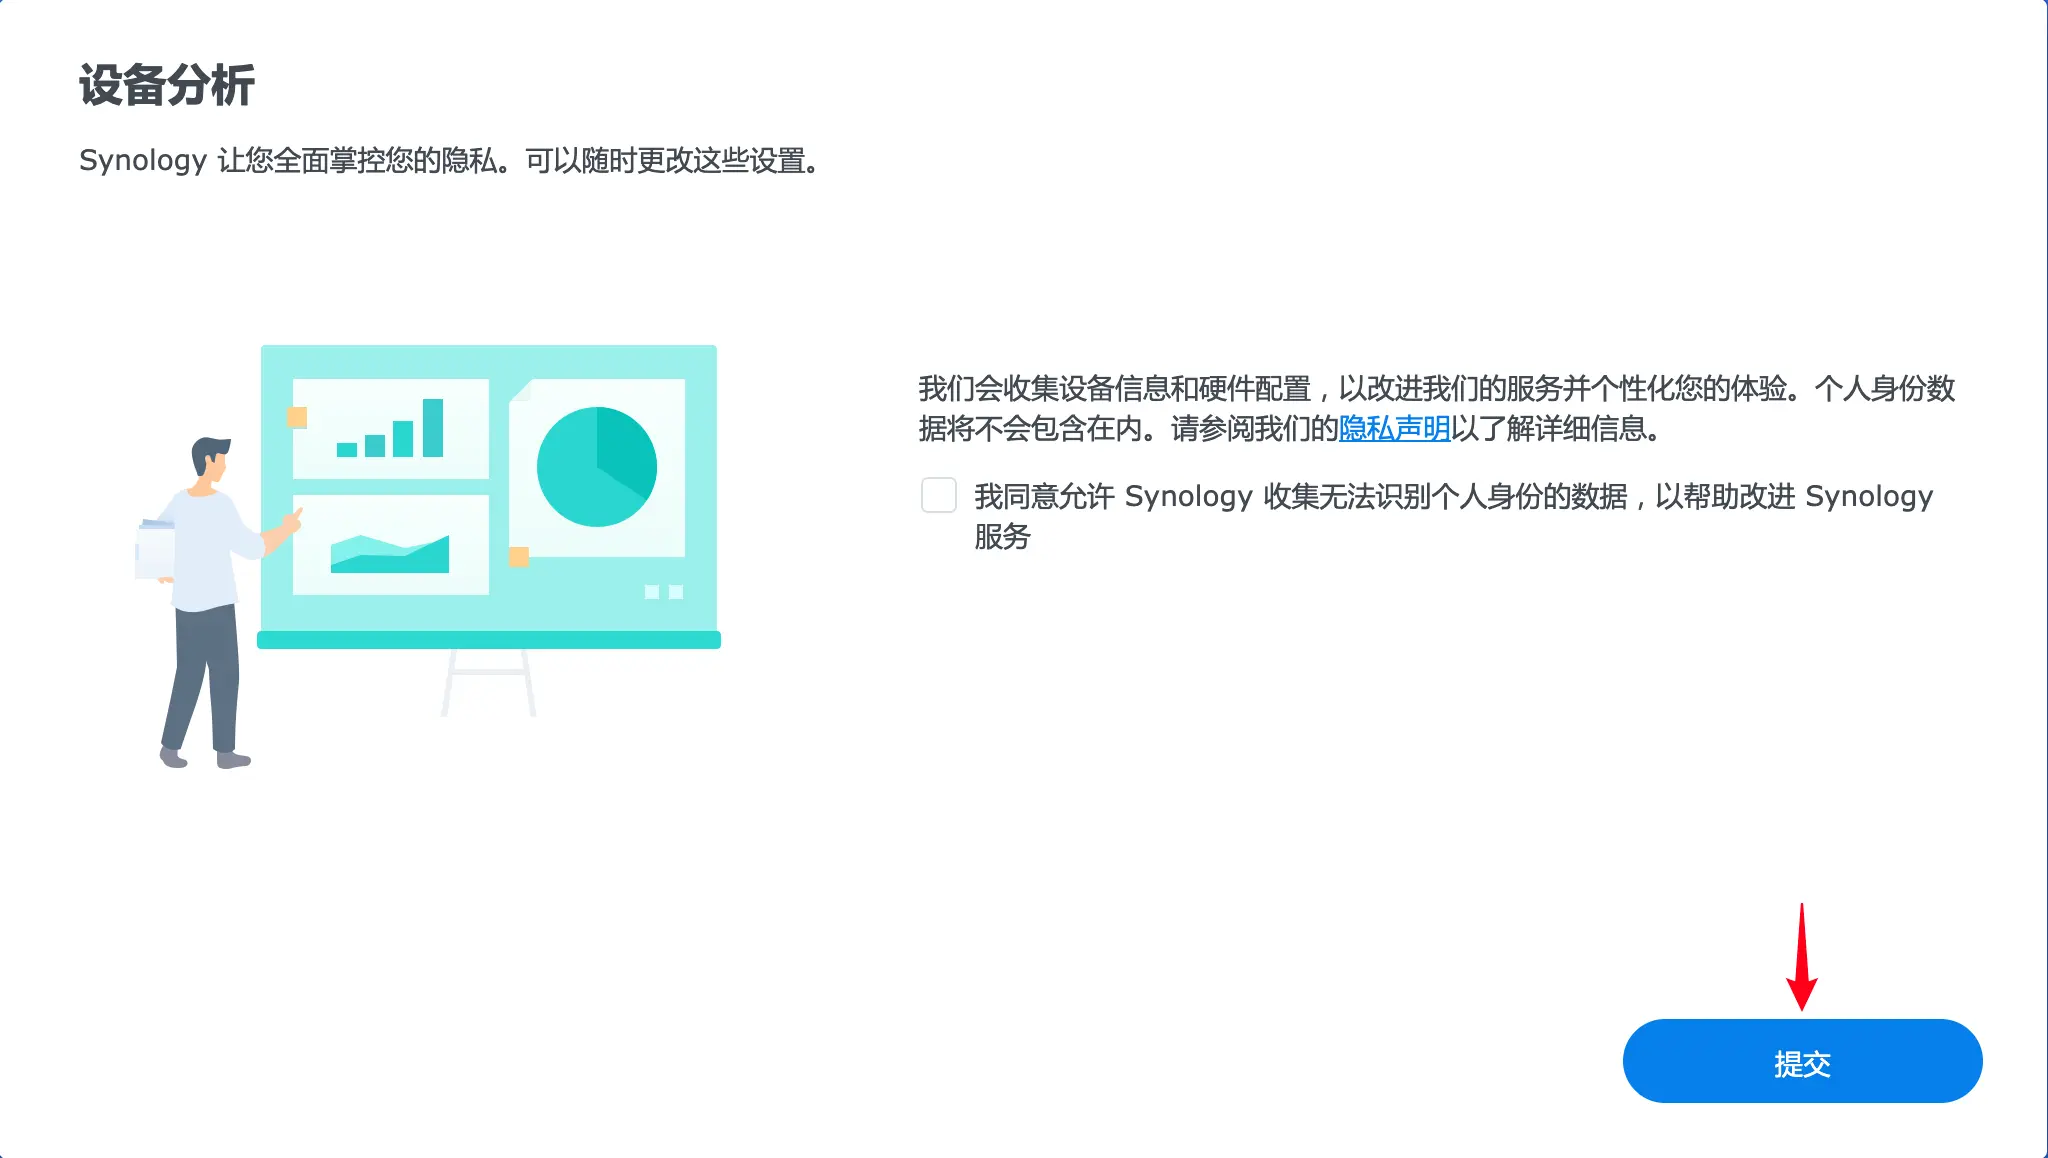
不勾选(不开启)”设备分析”,**直接点击”提交”**;
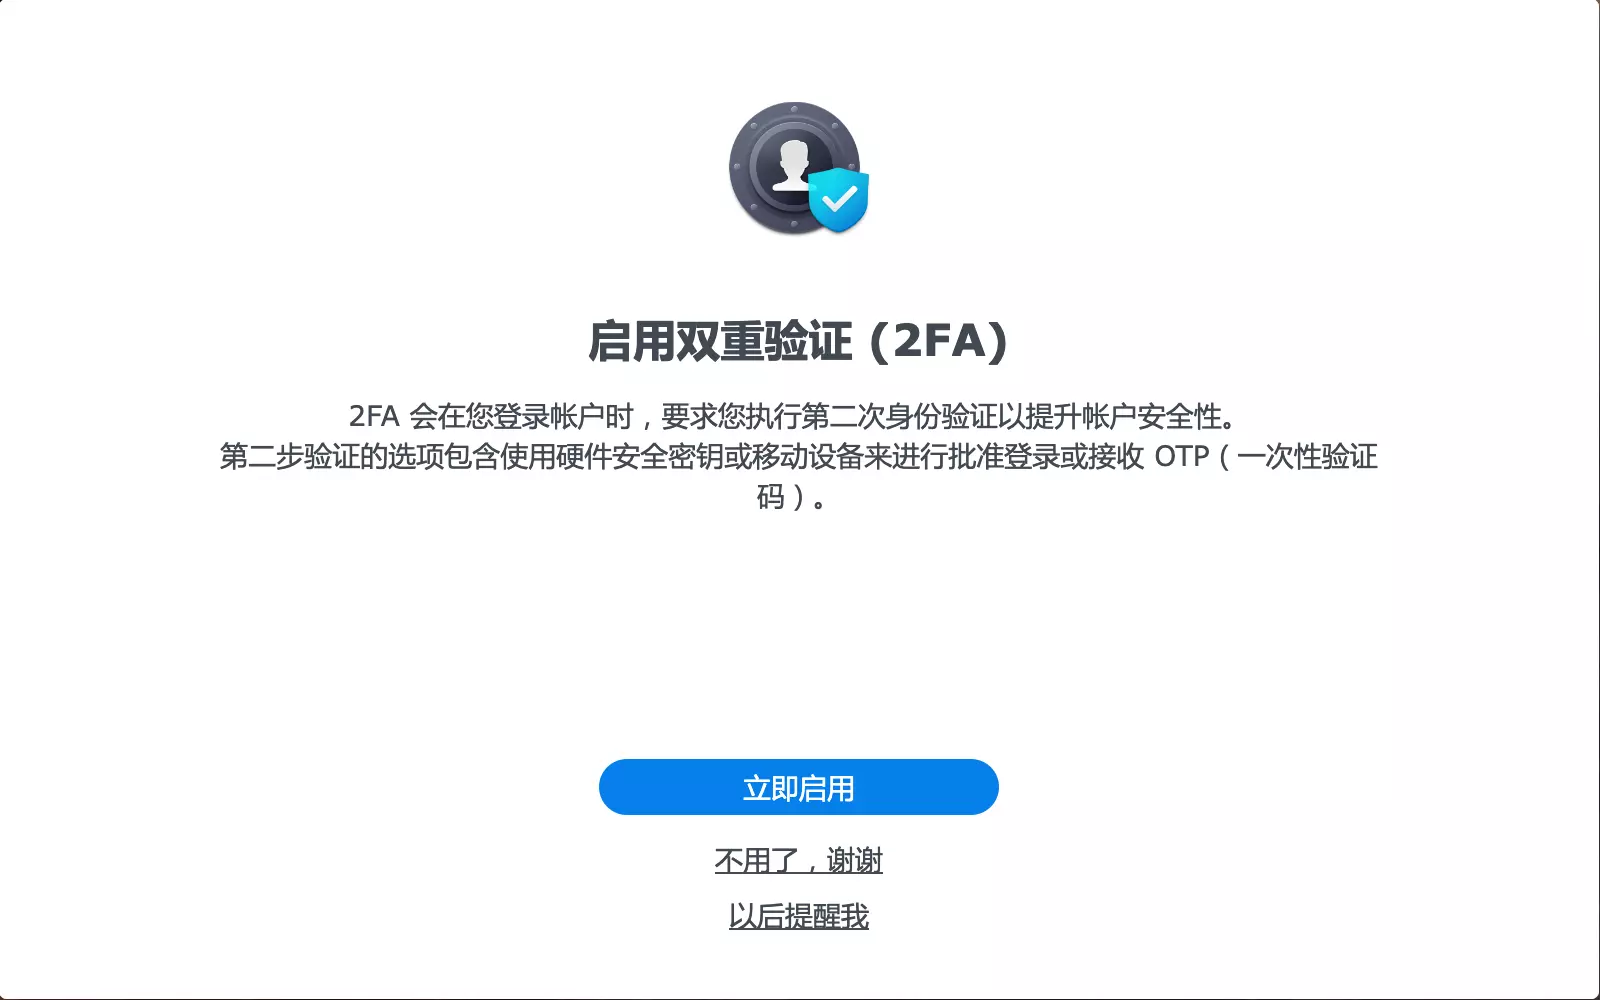
进入系统桌面,2FA提示可根据需要按需开启;
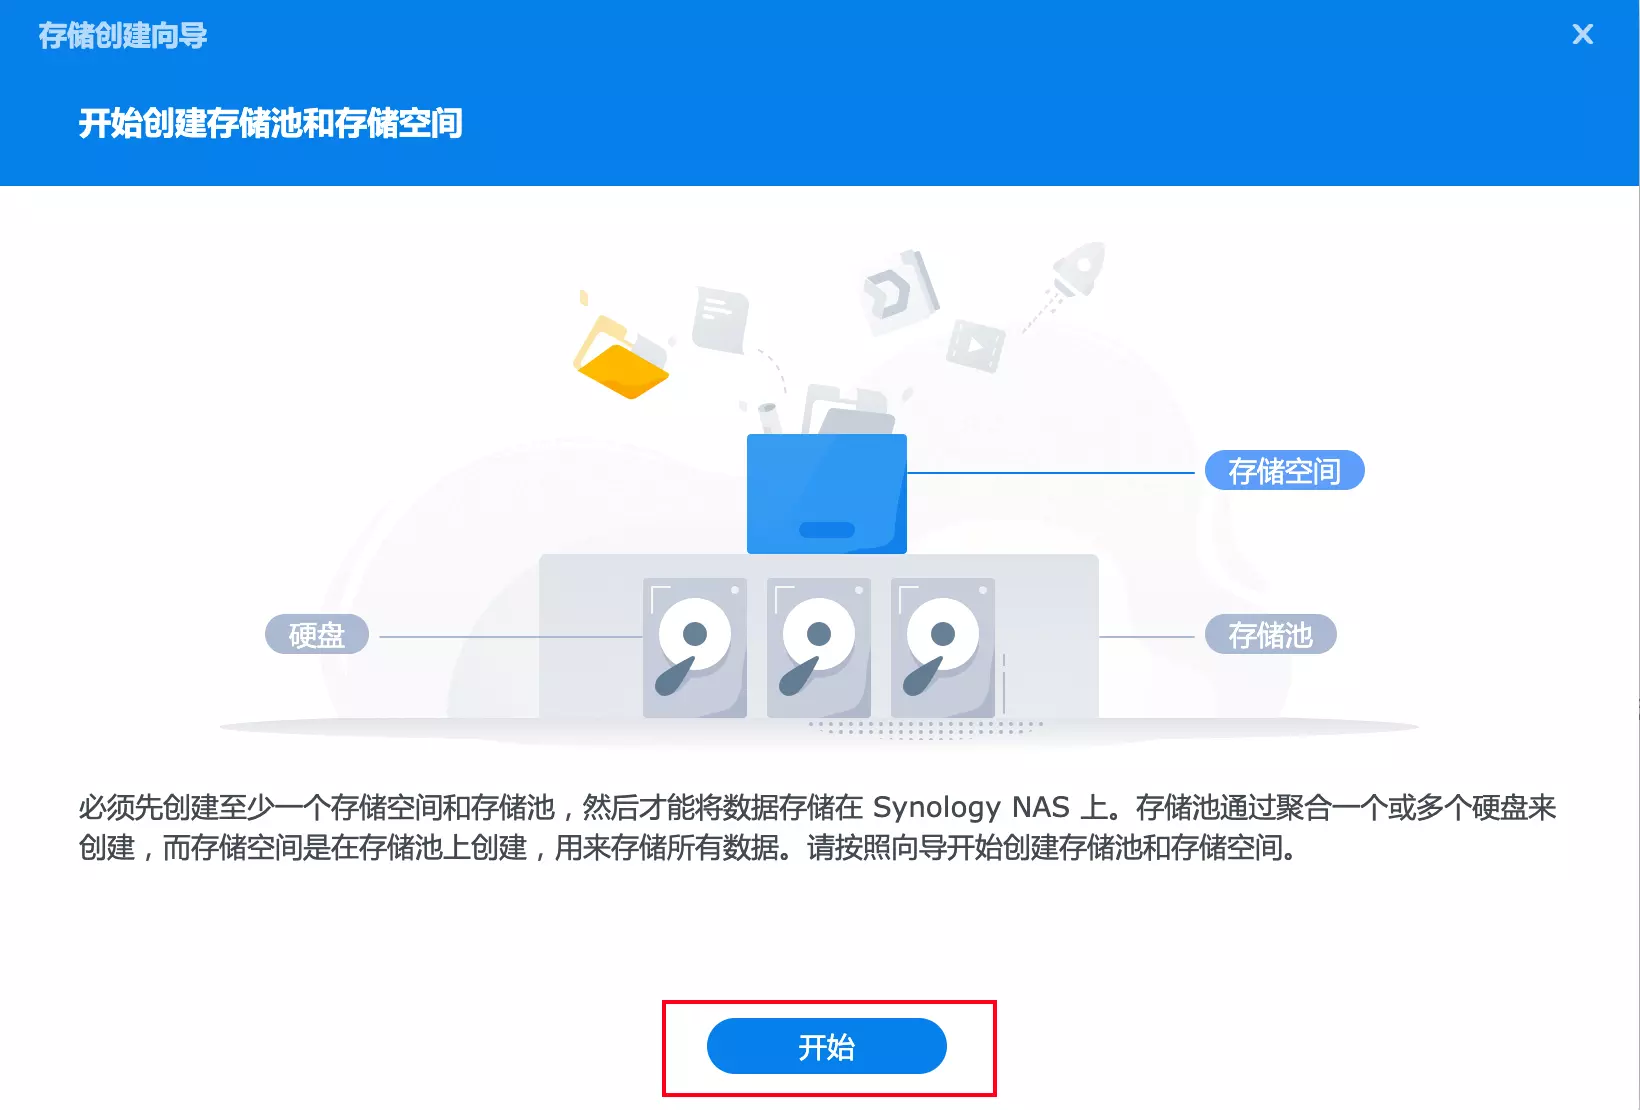
接下来提示创建存储池和存储空间,点”立即创建”;

开始;
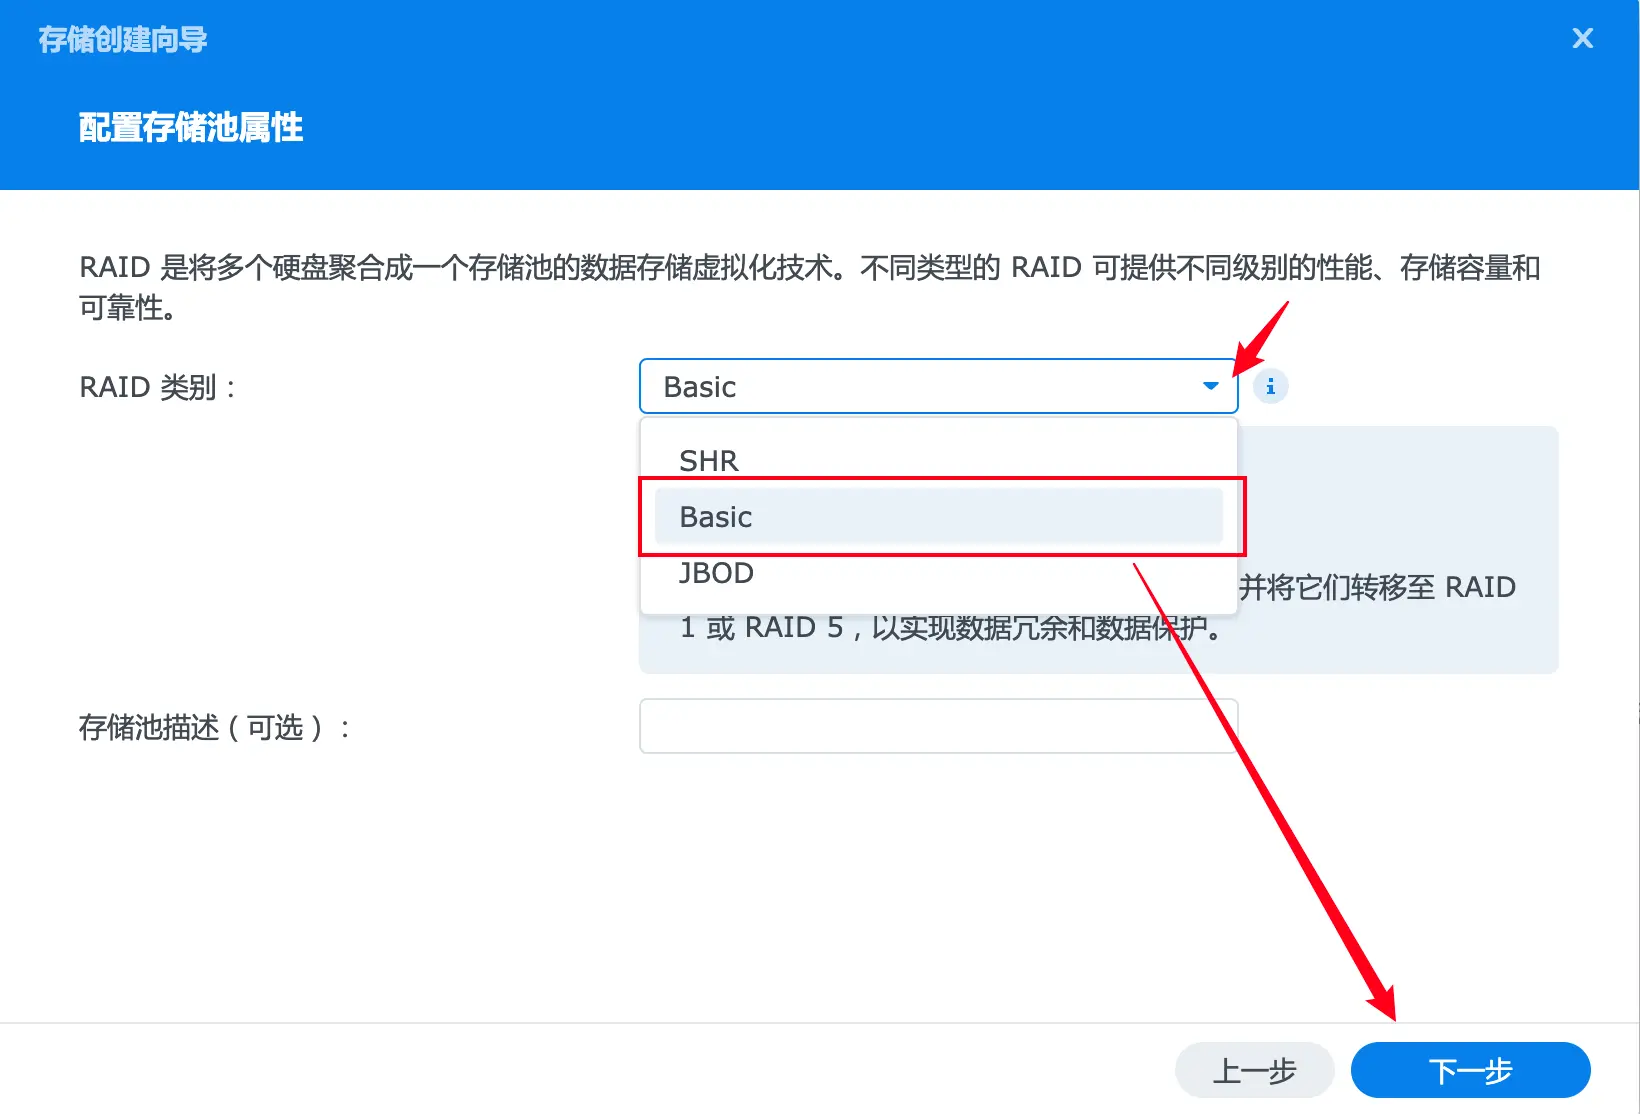
RAID类型根据实际选择(如果有多个硬盘需要组阵列的选SHR,如果需要把多个硬盘组成一个大容量的选JBOD),本教程使用单硬盘,选”Basic”即可,下一步;
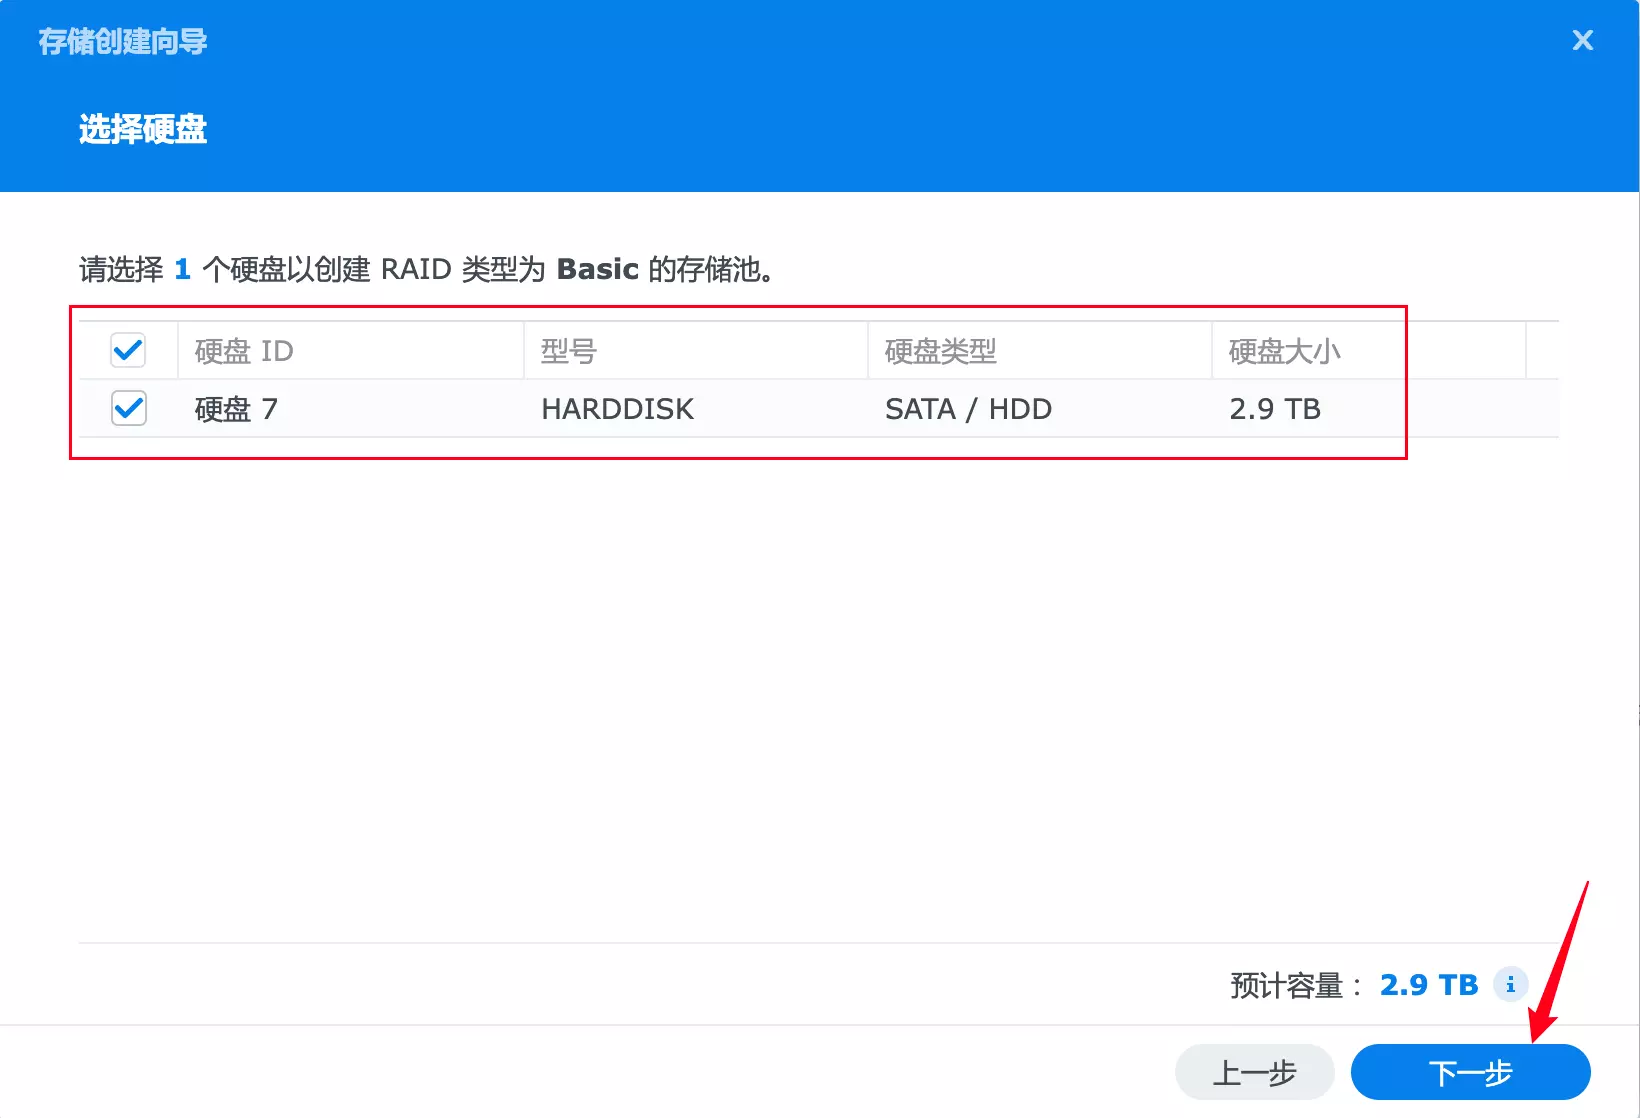
选中需要建立存储的硬盘,下一步;
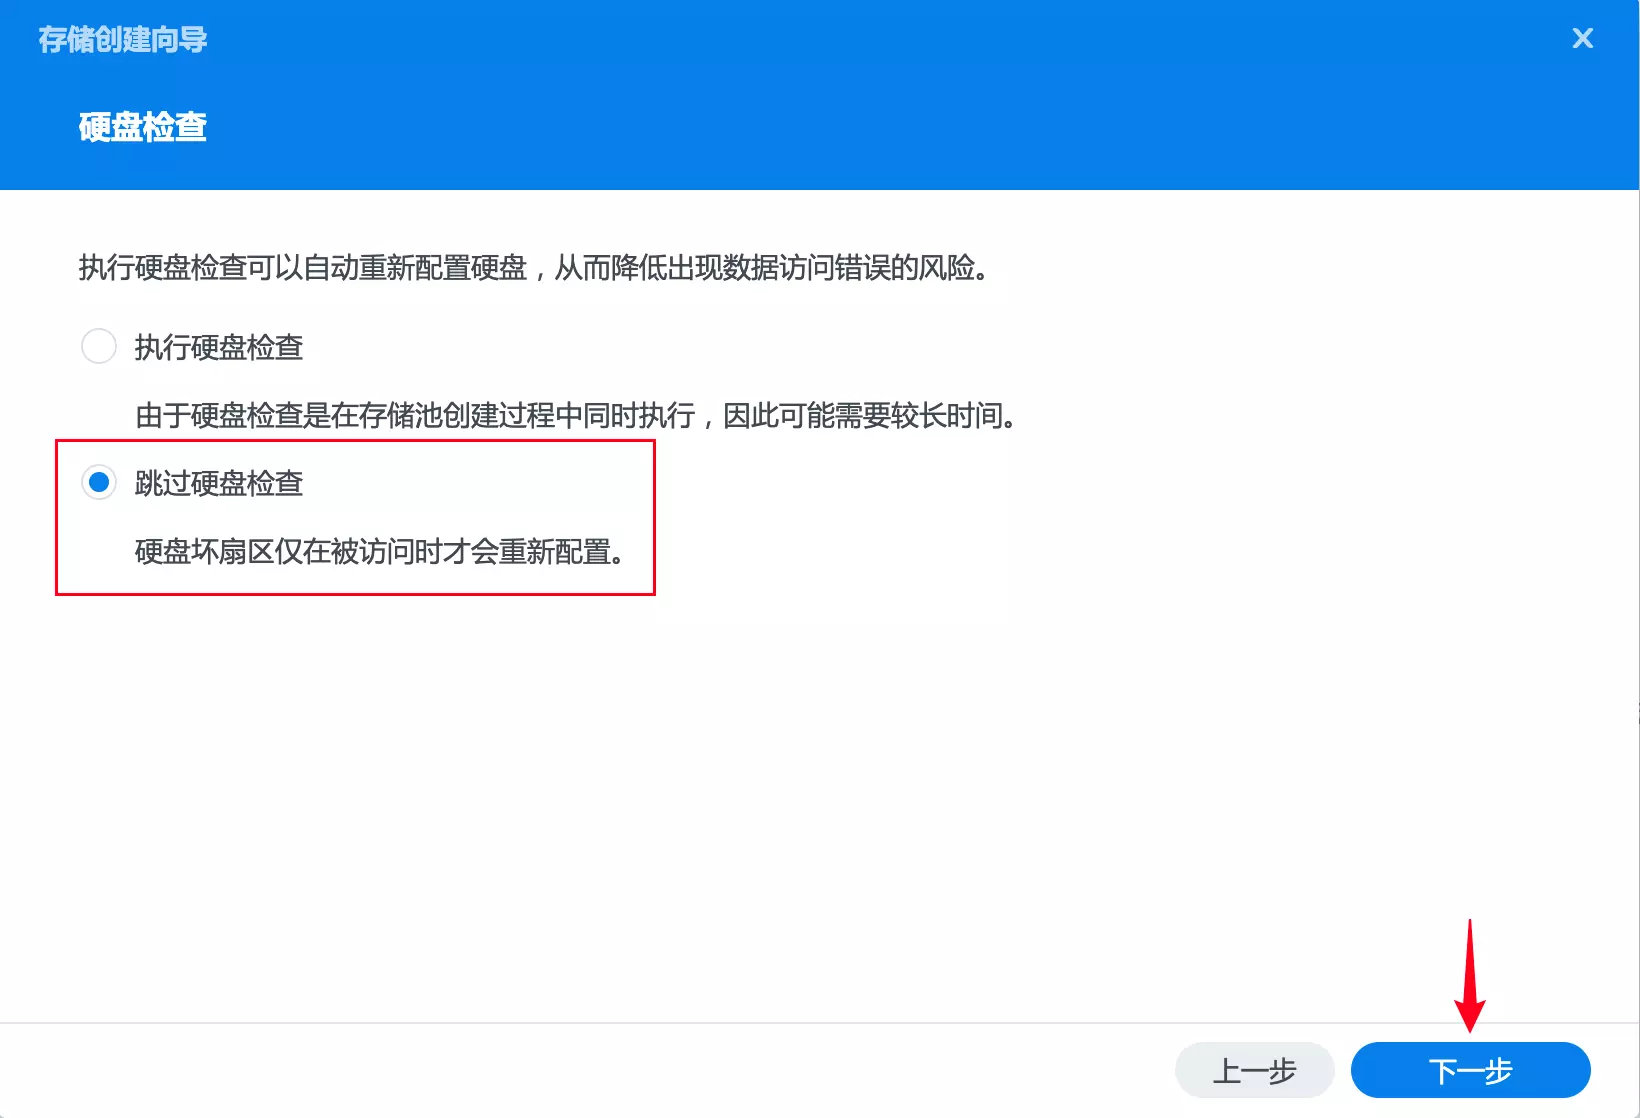
跳过硬盘检查(如果你组的是RAID,强烈建议勾选”执行硬盘检查”,以免硬盘出问题引起RAID损毁),下一步;
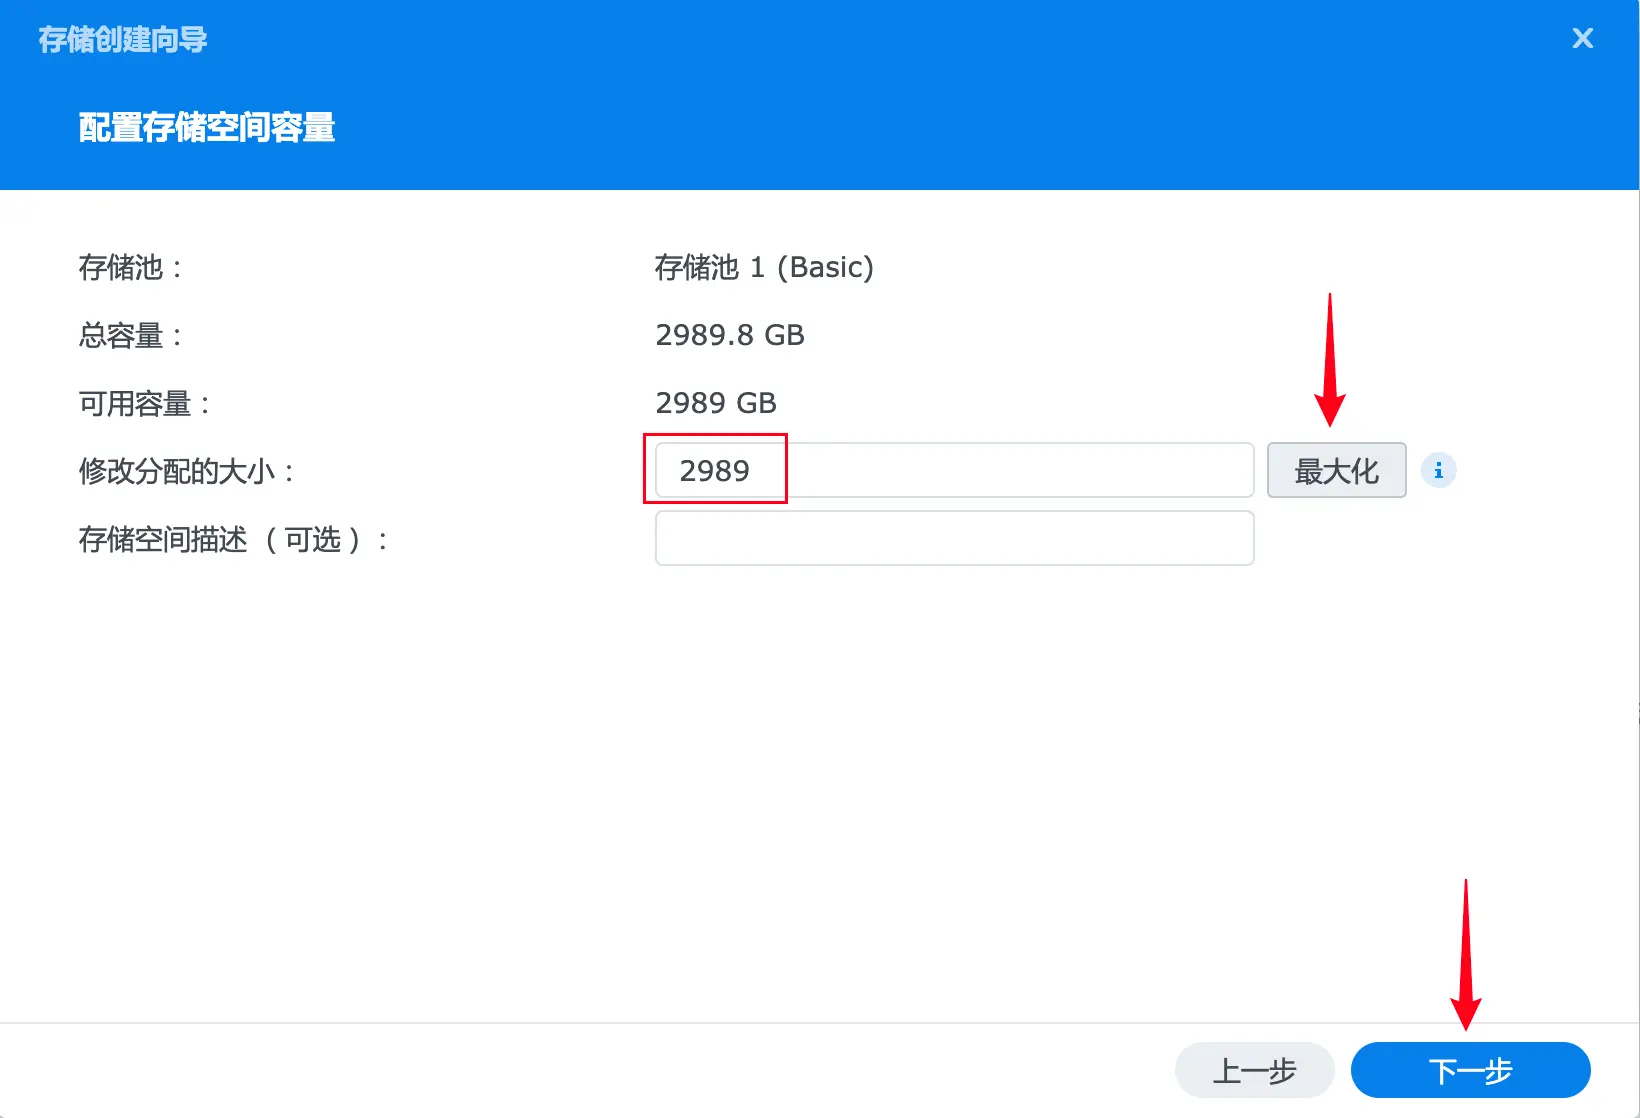
在”修改分配的大小”这里,点”最大化”,下一步;
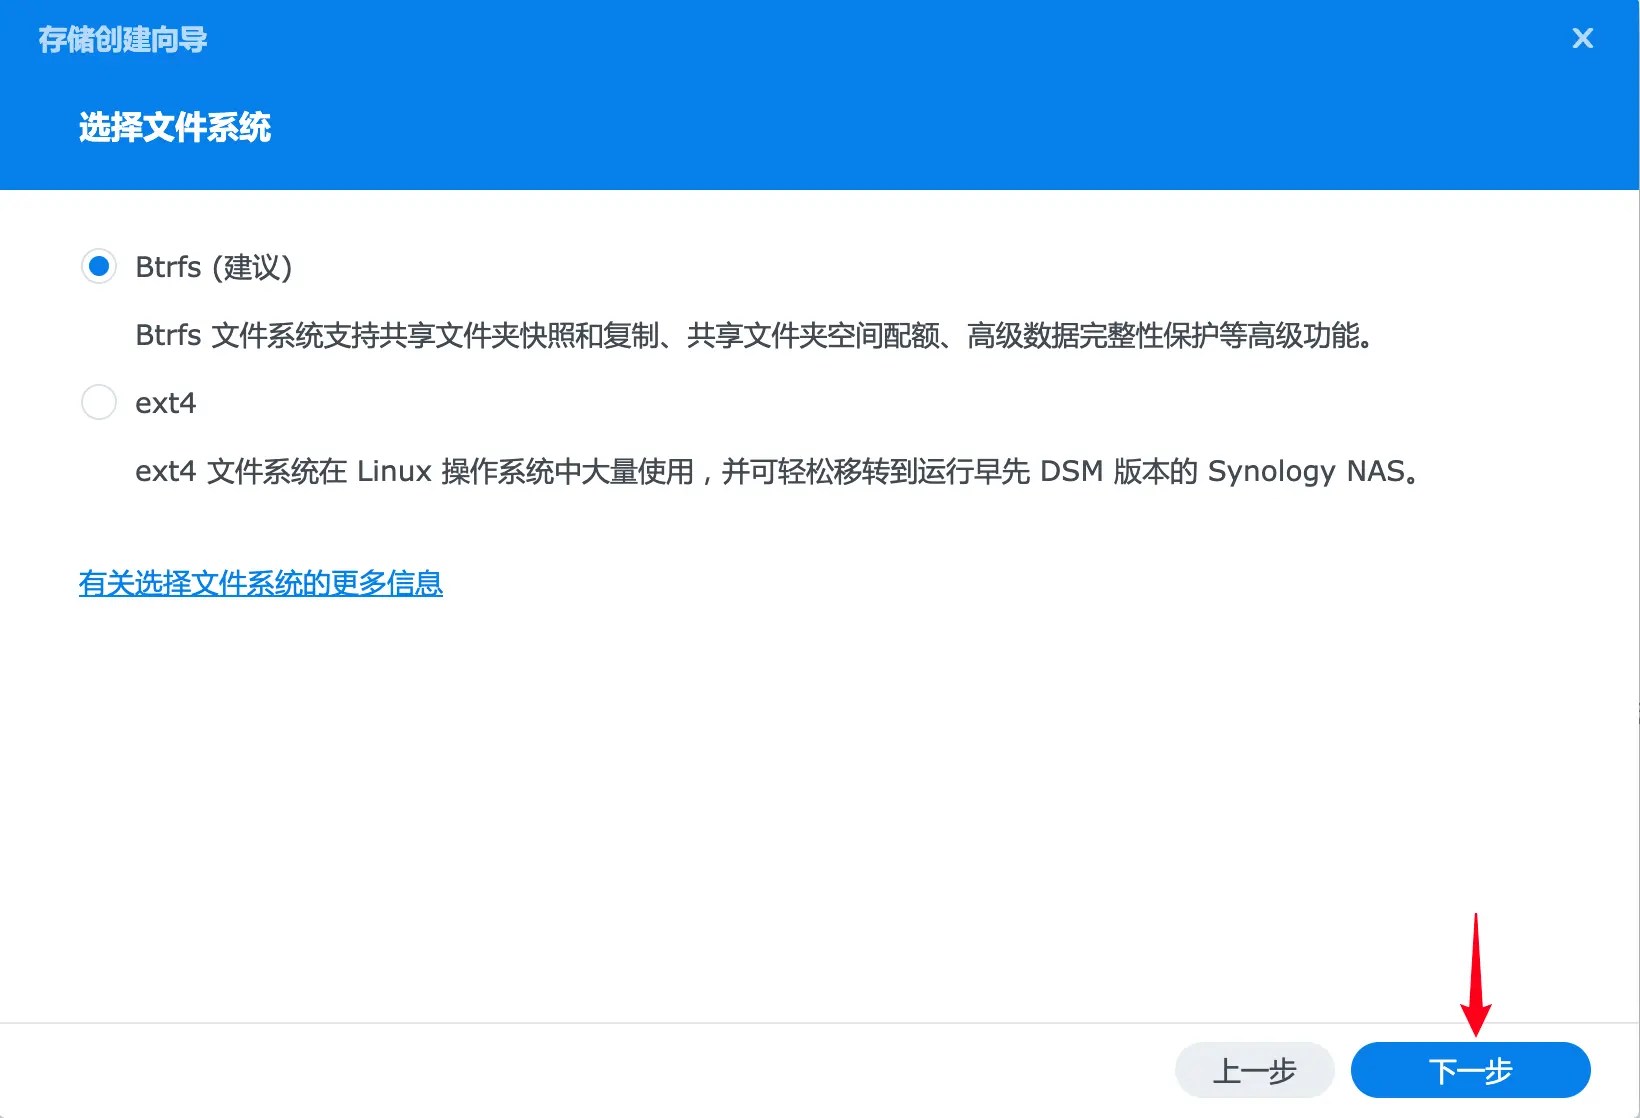
“选择文件系统”这里有两个选择,根据实际情况选择,如果想要使用群晖系统所有功能不受限制的,选”Btrfs”,下一步;
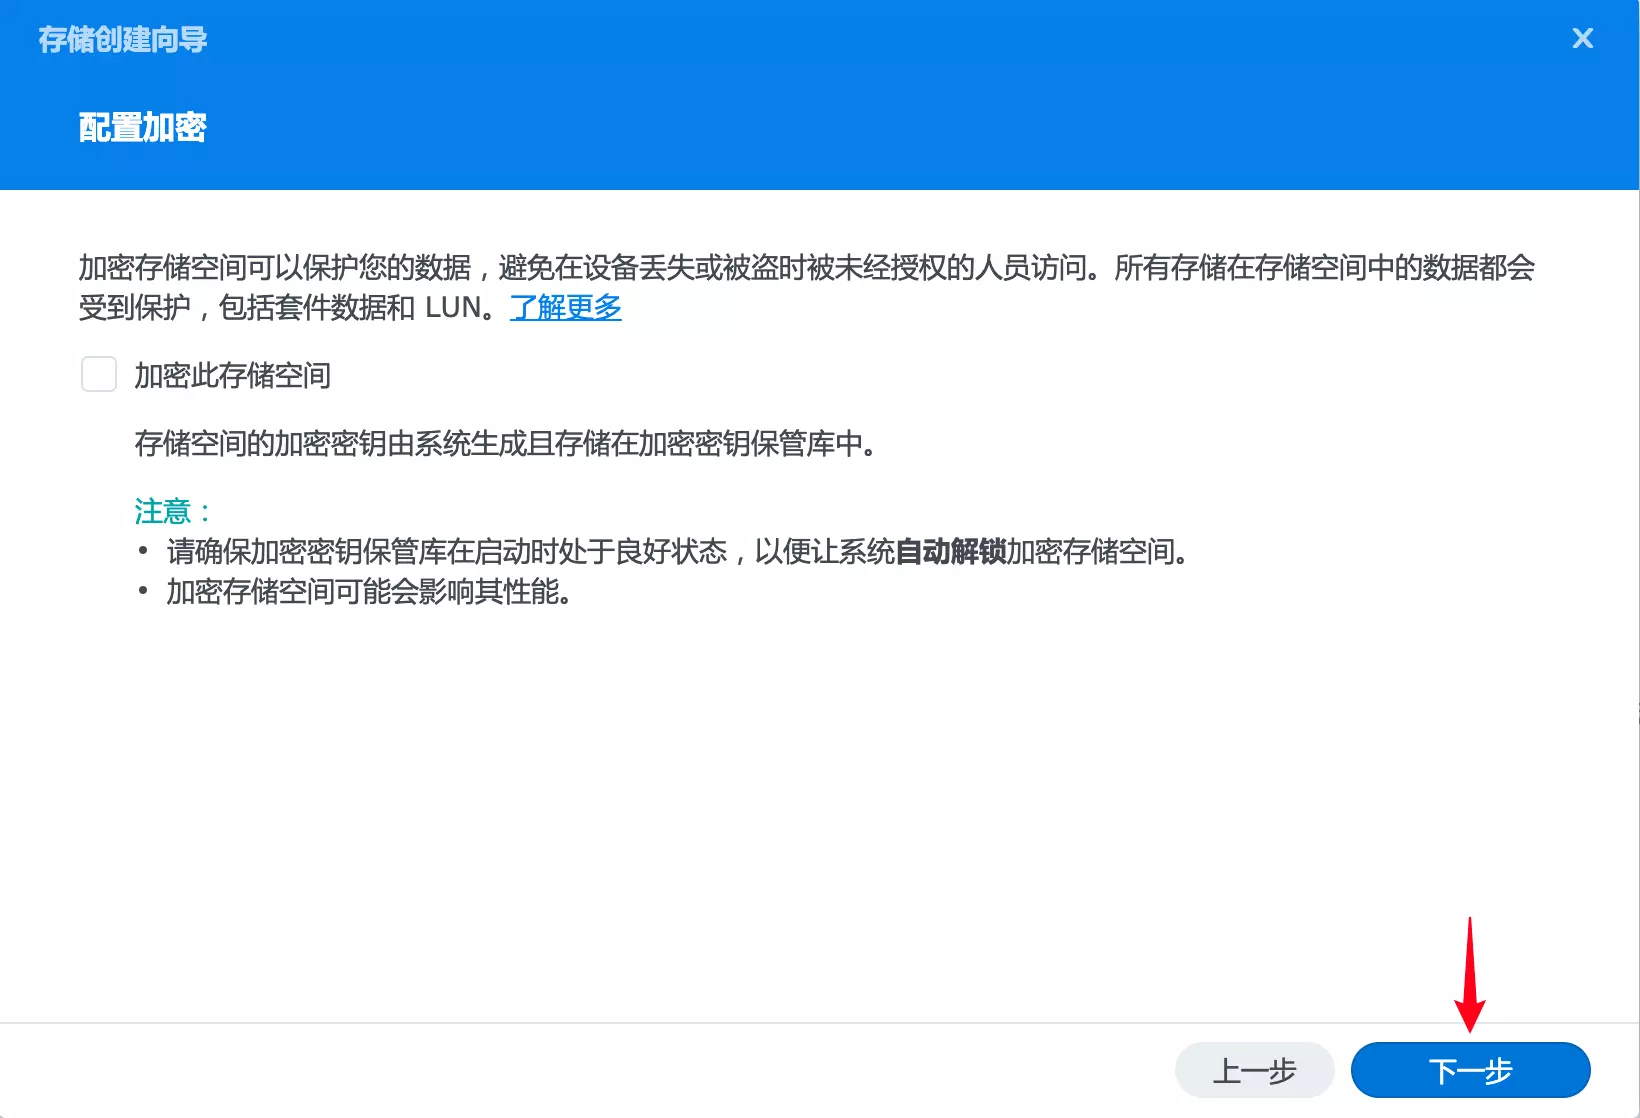
无磁盘加密需求,下一步;
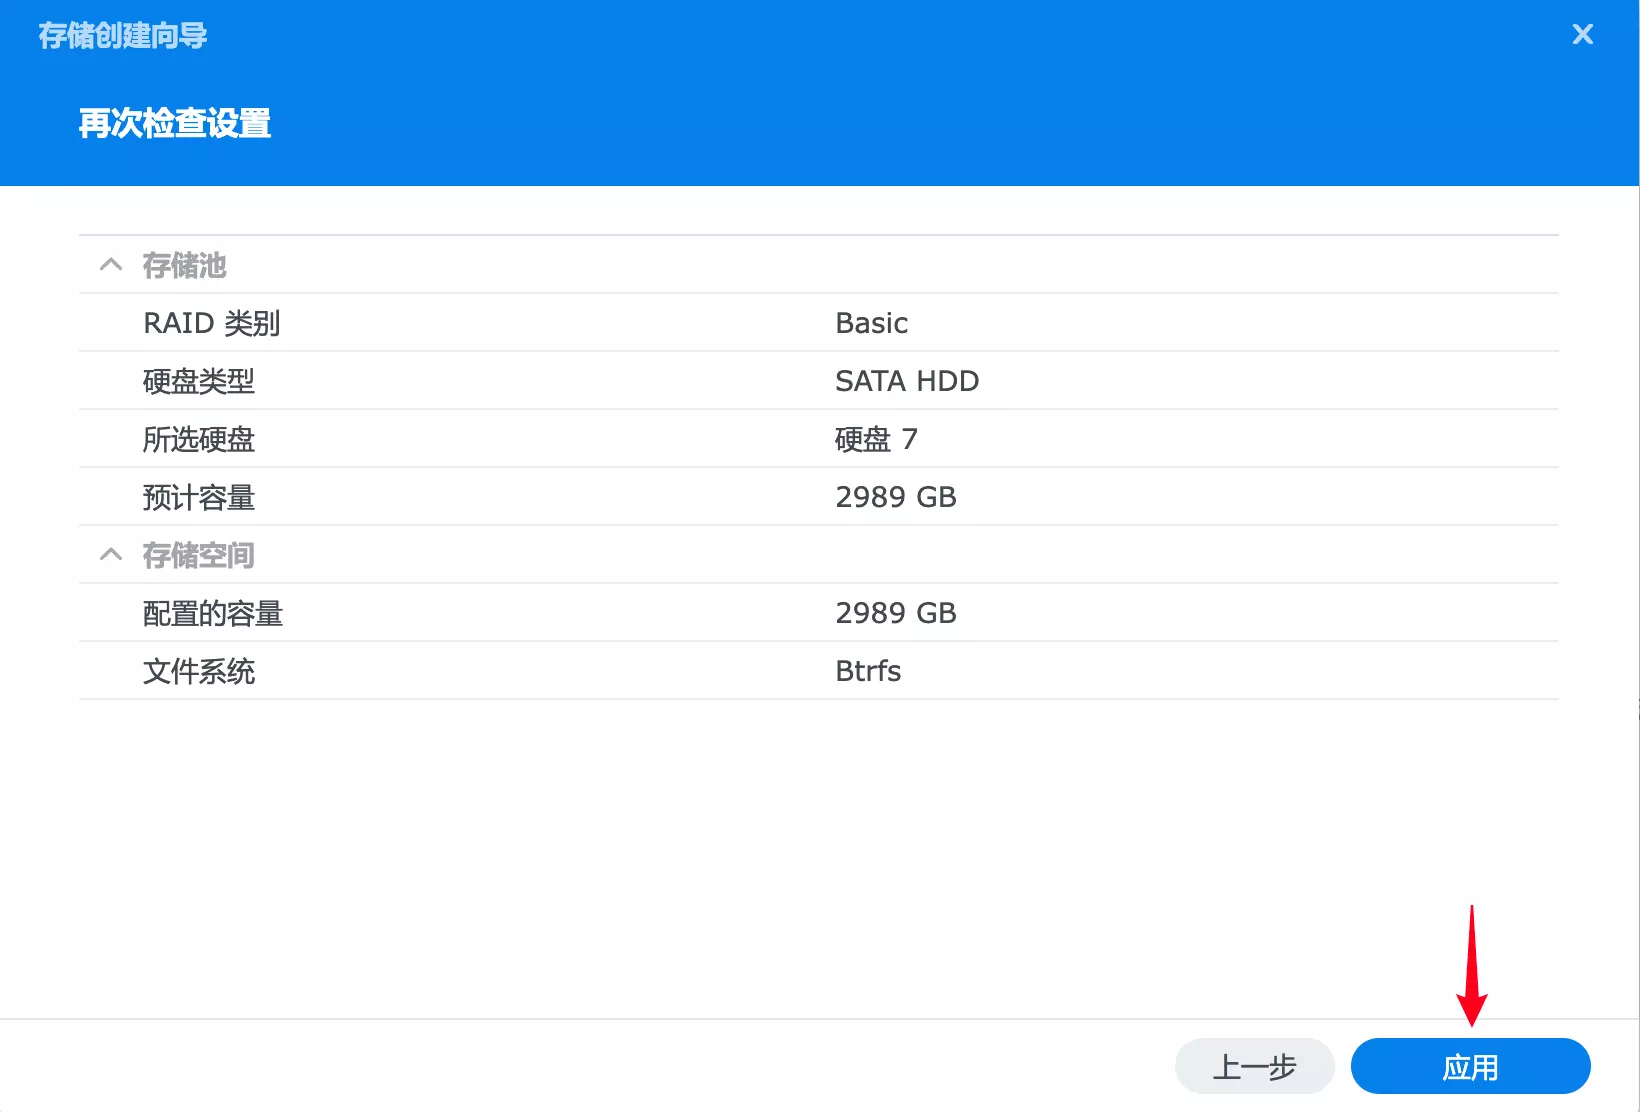
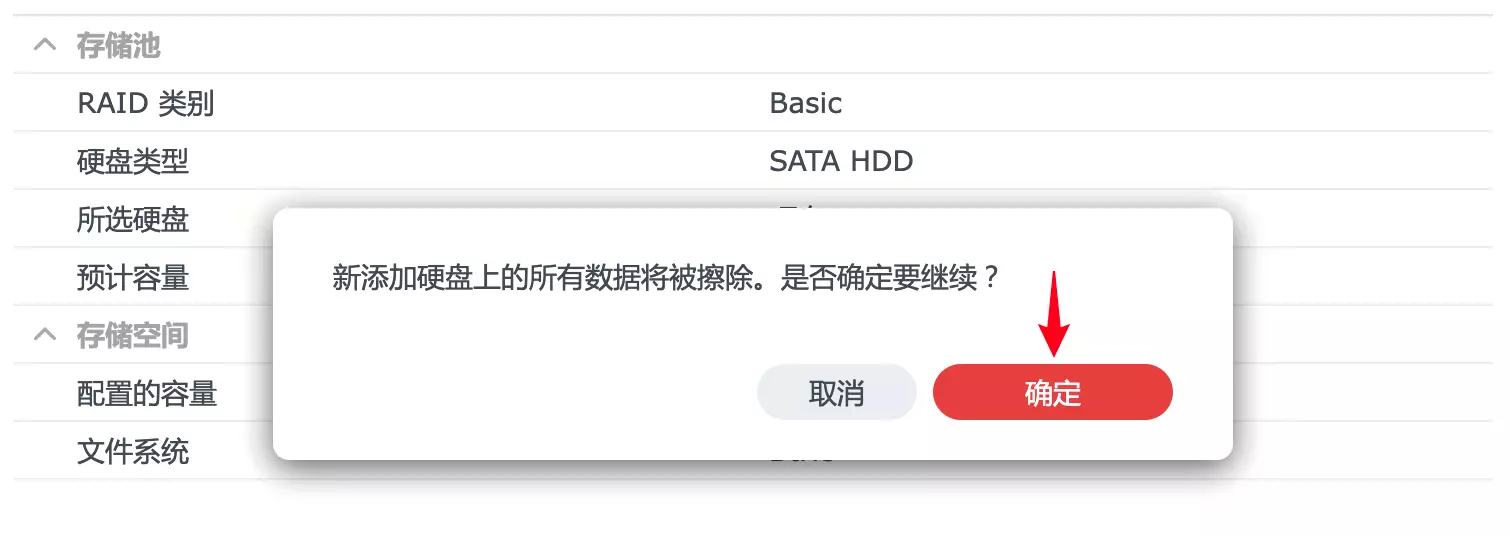
核对配置,应用;
格式化硬盘,确定;
确认版本
进入桌面
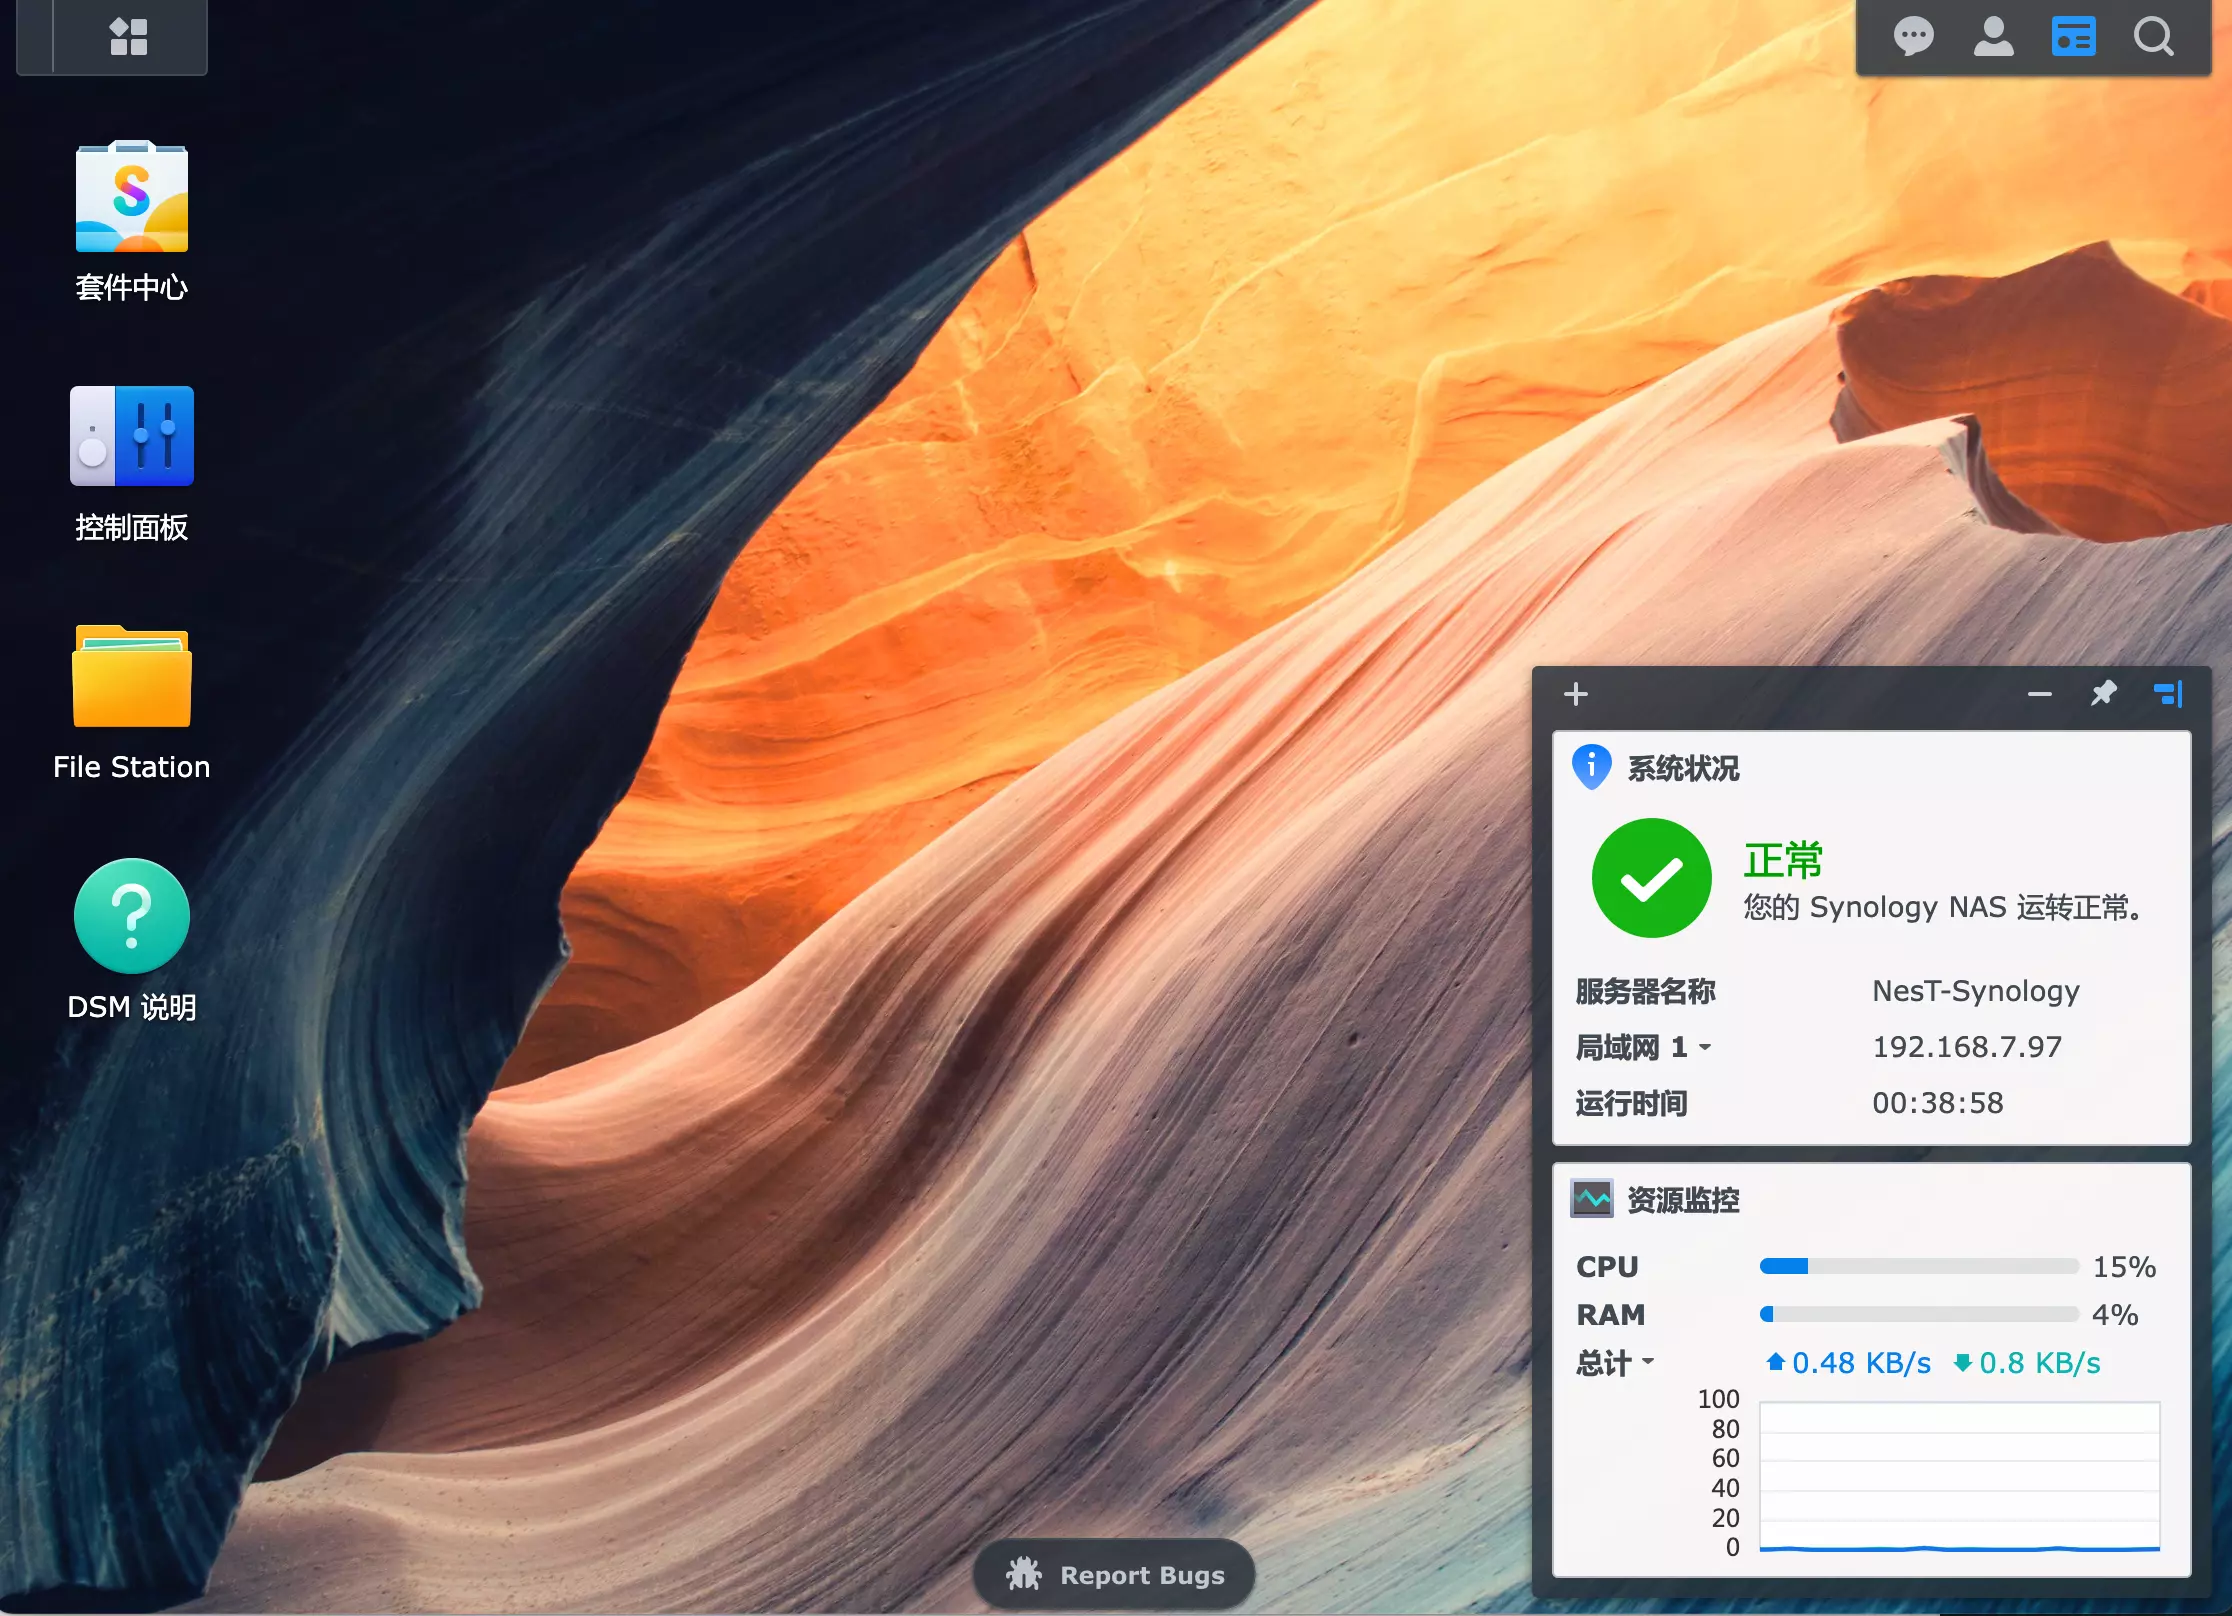
进入 “控制面板” – “信息中心” 确认系统版本
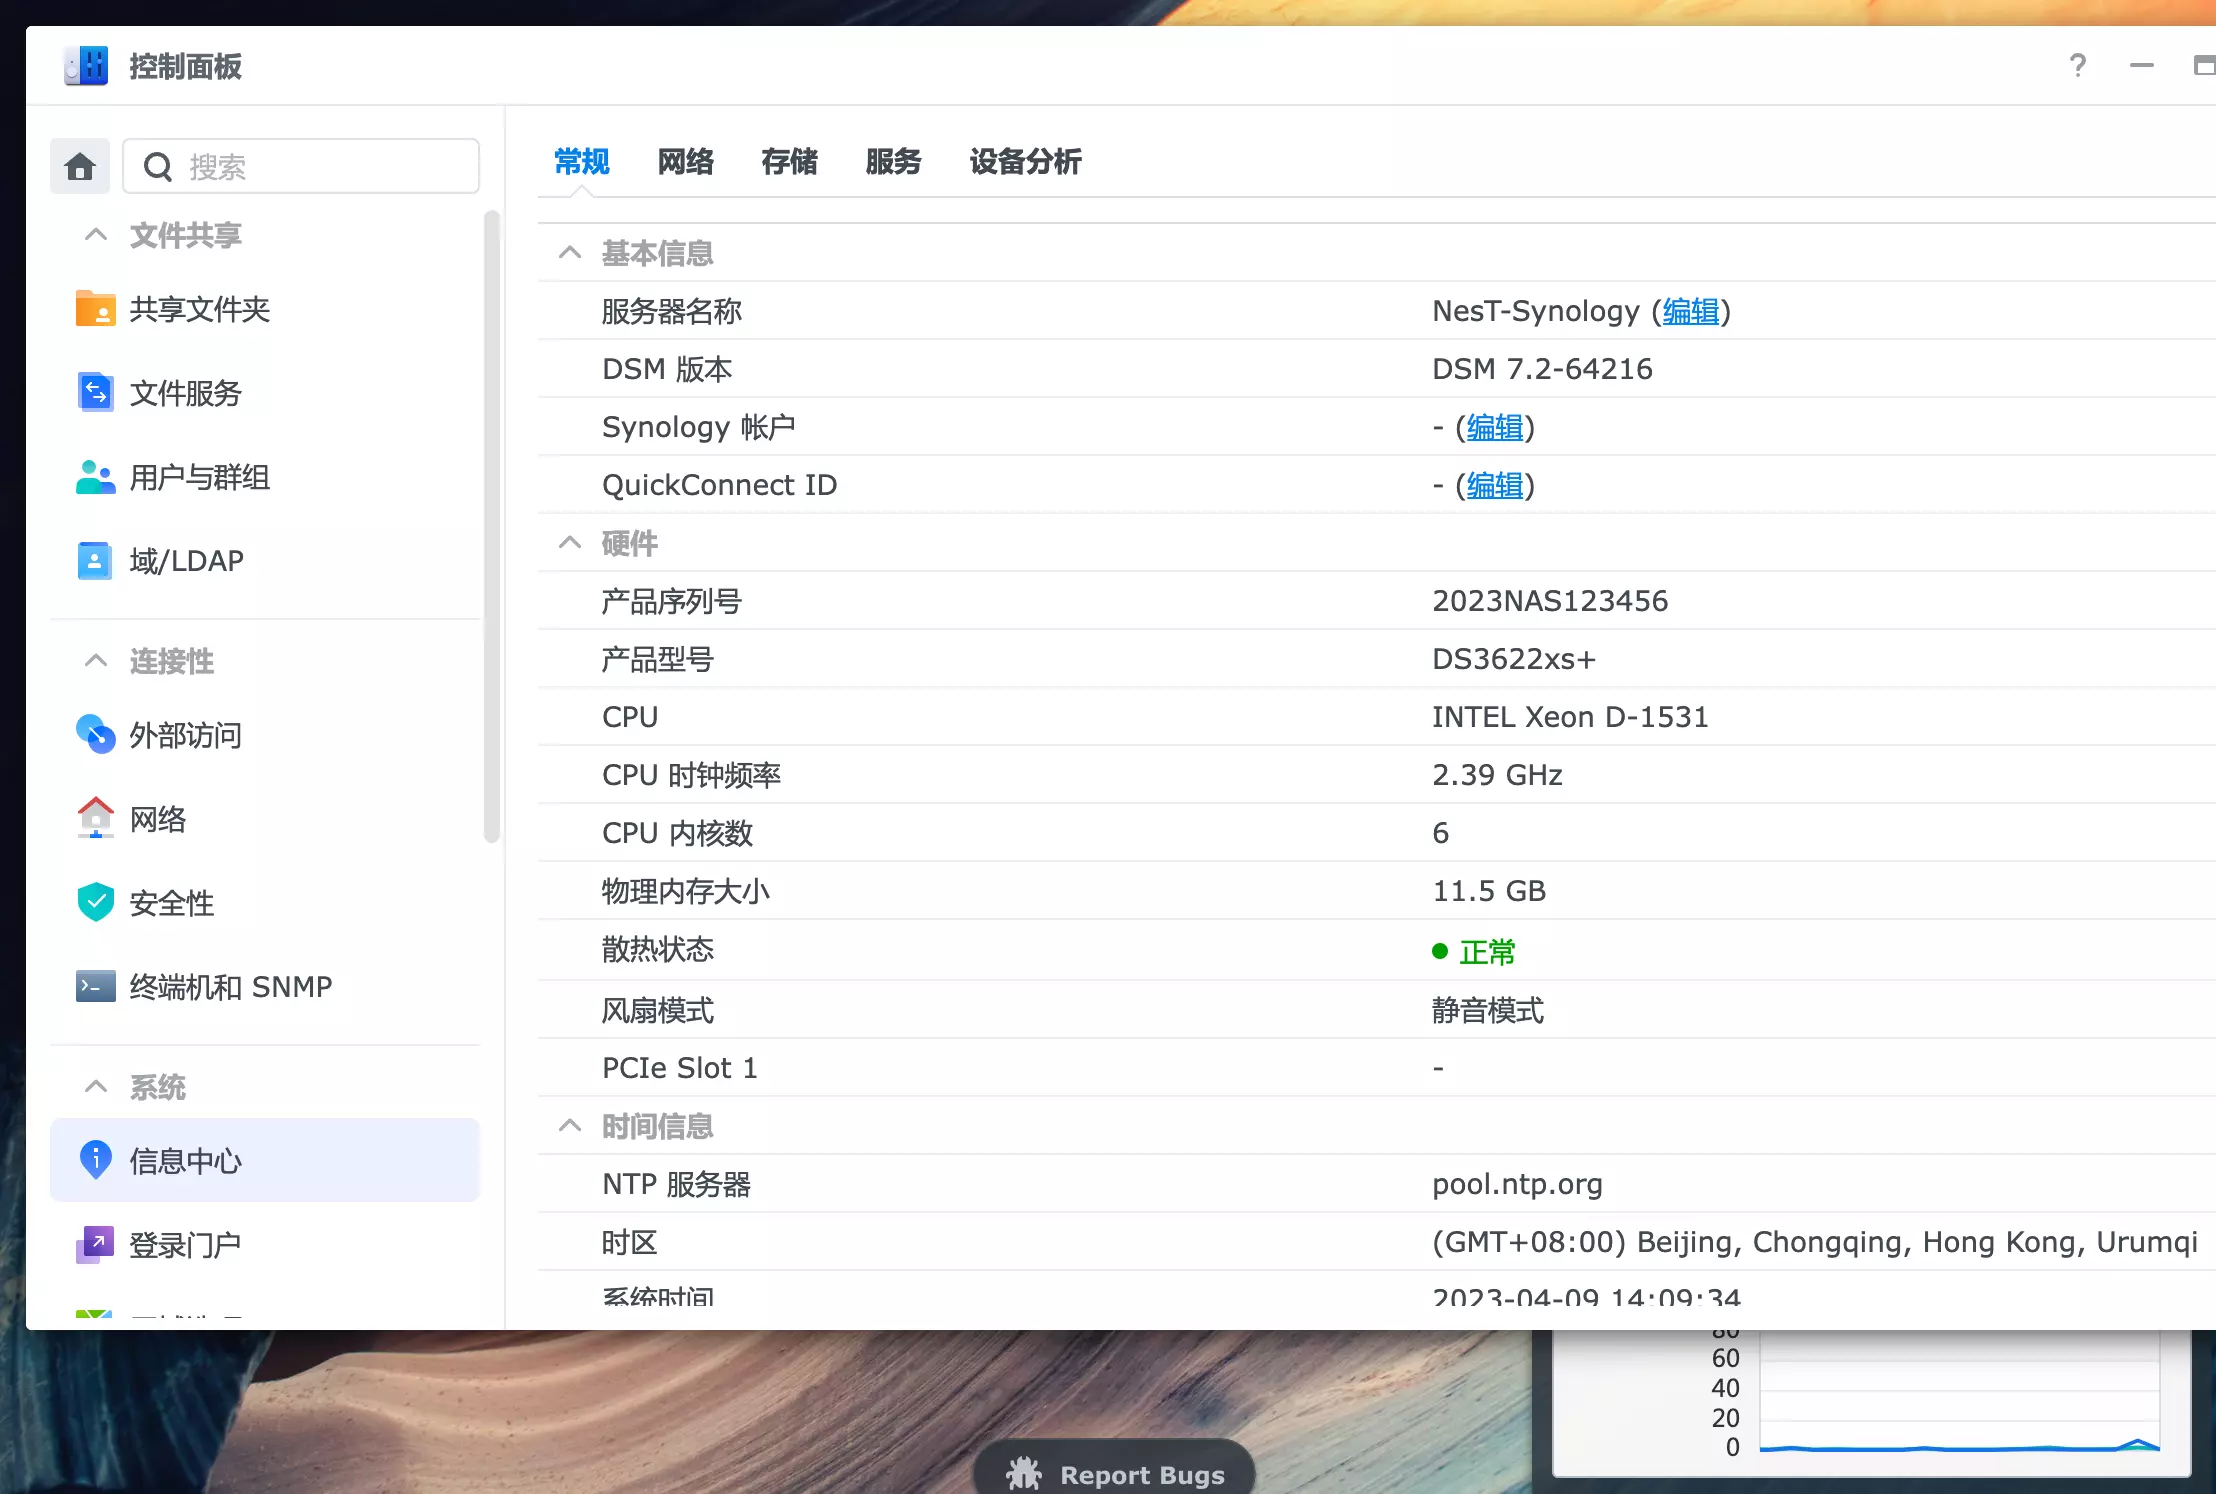
系统安装至此结束。